

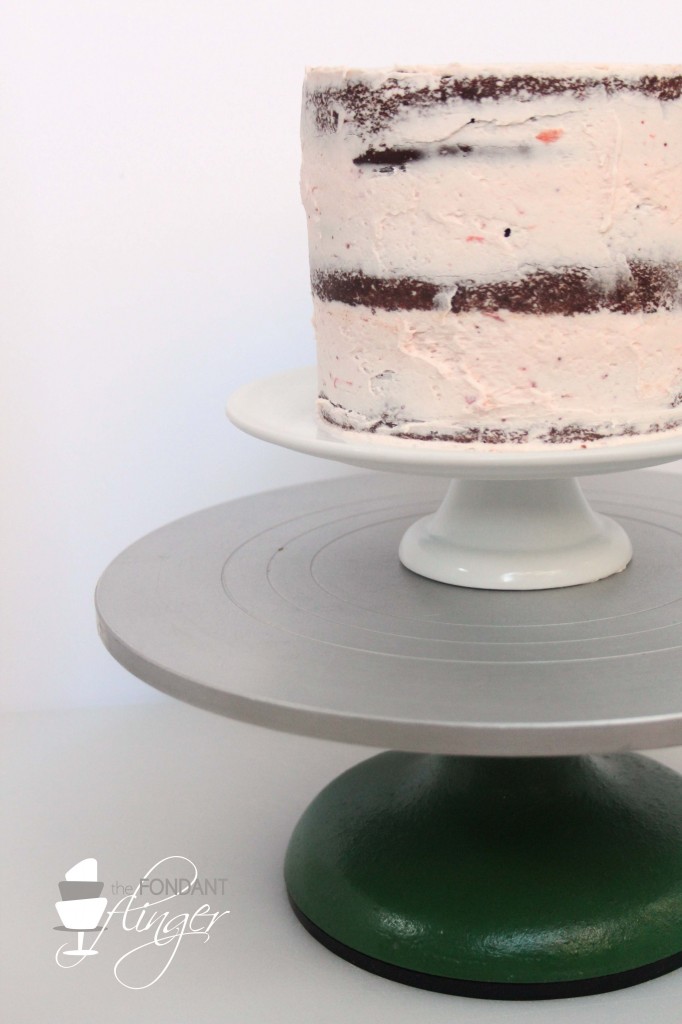
Its true! I’m finally finished with this little tutorial that I promised to you all several weeks ago. Thankfully, unlike the actual making of this tutorial, this technique is quite fast and easy. Here is a short list of things you’ll need to cover a cake in rustic horizontal lines:
- Chilled, stacked, filled and crumb coated cake - I like it chilled so there is no chance of the cake moving around at all while I’m finishing it. I also use swiss meringue buttercream to frost all of my cakes.
- A turntable
- Batch of buttercream
- Offset spatula
- Tapered offset spatula
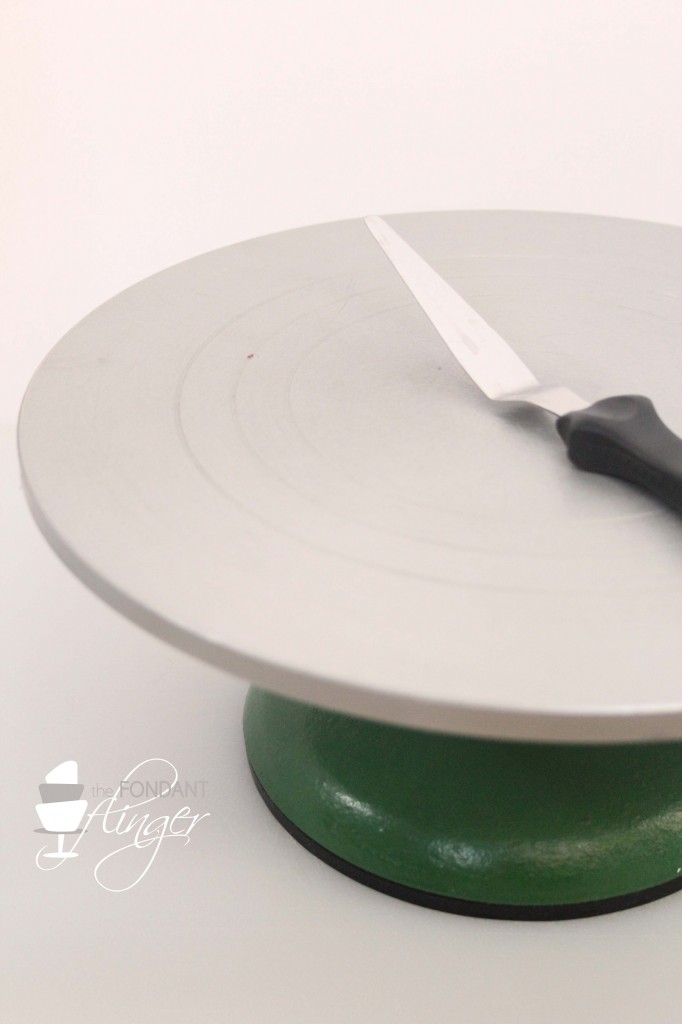
Place your prepared cake on the turntable.
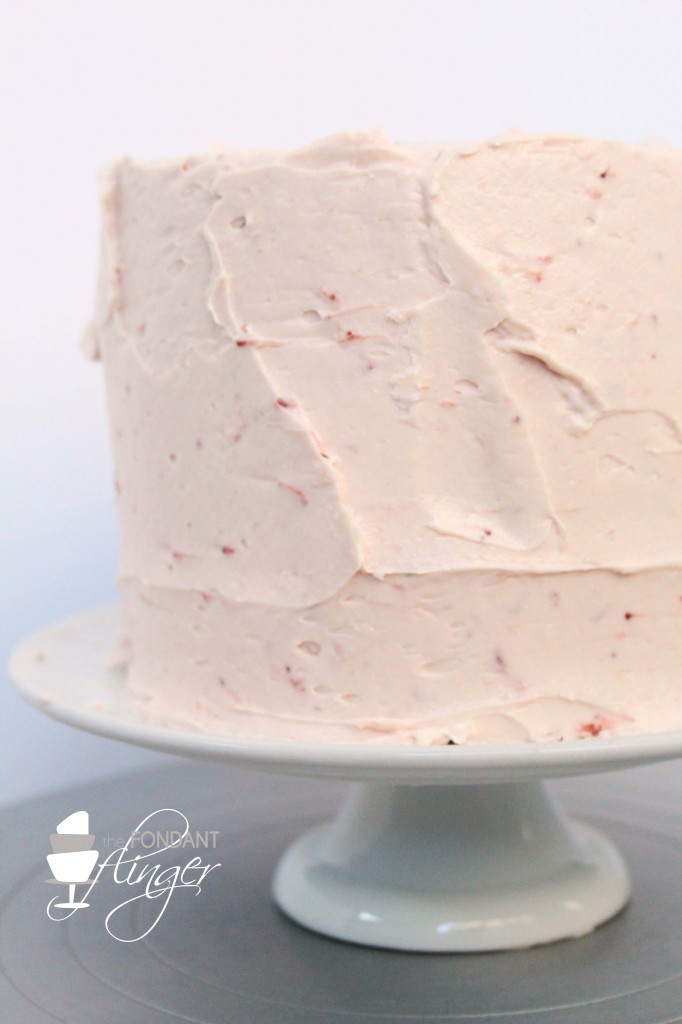
 Using your offset spatula, apply a layer of buttercream to the top and sides of the cake. I left the top of the cake completely flat instead of adding any sort of texture. If you choose to do that, make sure to spend the extra time to make the top of your cake smooth and even.

The entire cake should now be roughly butter creamed with at least 1/4 inch of buttercream.
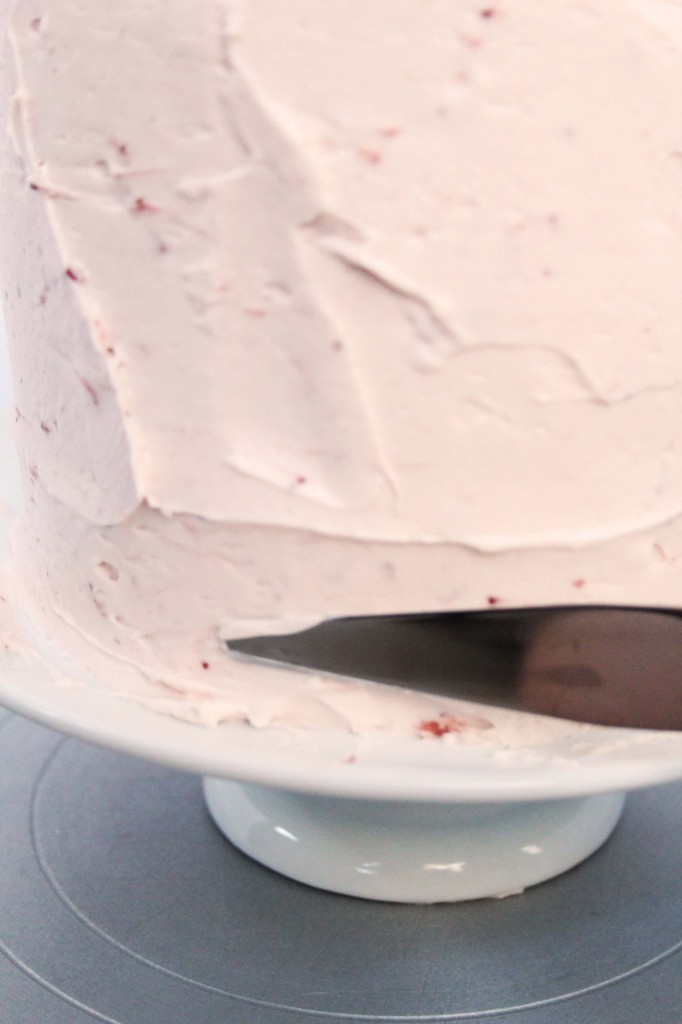
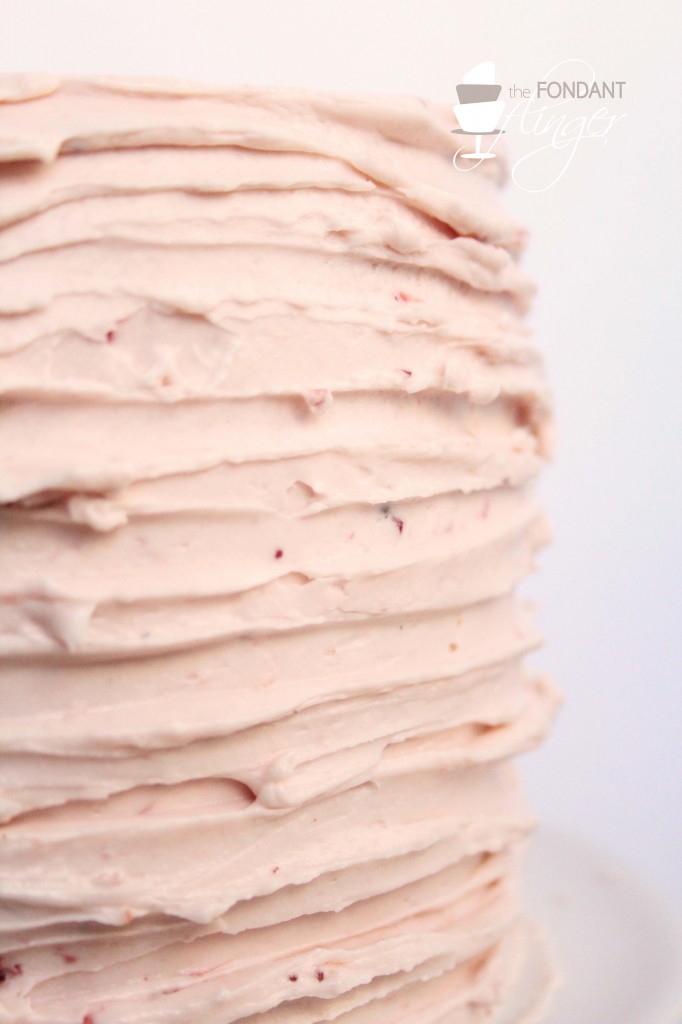
Grab your tapered offset spatula. I like to start at the bottom, though there probably is no reason at all why you shouldn’t be able to do the same technique from the top. I hold the tapered off set spatula almost flat against the cake, you don’t want to be gouging the cake as you rotate the turntable just leaving a slight indentation around the sides of the cake.
Gently rotate the turntable while keeping the tip against the sides of the cake. When you seem to be accumulating some buttercream build up, scrape off the excess buttercream from your spatula back into your buttercream bowl and place the tapered spatula right back where you left off. As I rotate I slowly begin to move my spatula up to create the next line around the cake. Keep rotating and moving your tapered offset spatula up the sides of the cake till you reach the top. Once I reach the top of the cake, I come back and “fix” any areas that don’t quite match up to the other areas of the cake.

But thats it really! Just a whole lot of spinning while indenting.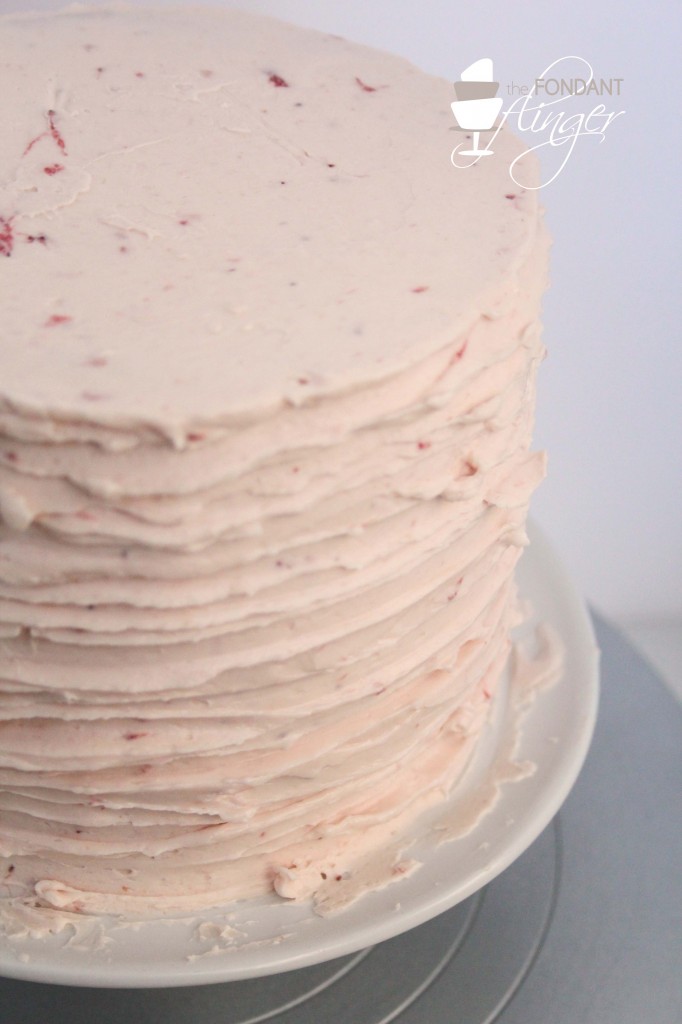
Remember that it doesn’t have to be perfect. That’s the beauty of a rustic design. Embrace your occasional glob of buttercream, your line that goes askew when the phone rings and startles you, and the large bump over a chunk of strawberry in your buttercream! These “imperfections” give your cake character.
If you have multiple tiers to do, just stack them up after completing the buttercream and allowing the tiers to chill a bit in the fridge. Super simple, super quick and super rustic!
As always, if you all have questions or comments, I’d love to hear them and will try to get back to you right away.
Wow, 2 months!
HA! Yes only 2 months!!!!
Thank you for this, I usually make fondant covered cakes and stay clear of buttercream ! This I think I can manage, and I love the rustic look.
Super super easy, Margie. I mostly do fondant work as well but its good to have a couple buttercream tricks up your sleeve, just in case.
Your right!
Made my first wedding cake this weekend and the Bride requested a messy butter-cream ruffle effect - your tutorial fit the bill, perfect!!!
So glad it could help you out, Wendy!
I have a wedding cake to do in a few months and the bride is wanting the rustic look. Thanks for sharing the tutorial!
Glad it could help, Deanna!
Wow this is fabulous , Thank you for sharing . I do have a question which you may be able to help me with , I note that these cakes are quite tall , do you put dowels in the cake to stop them from tipping over in transit ? And would I stack the cake as I normally would as per a fondant double tier cake ? Thank you immensely