
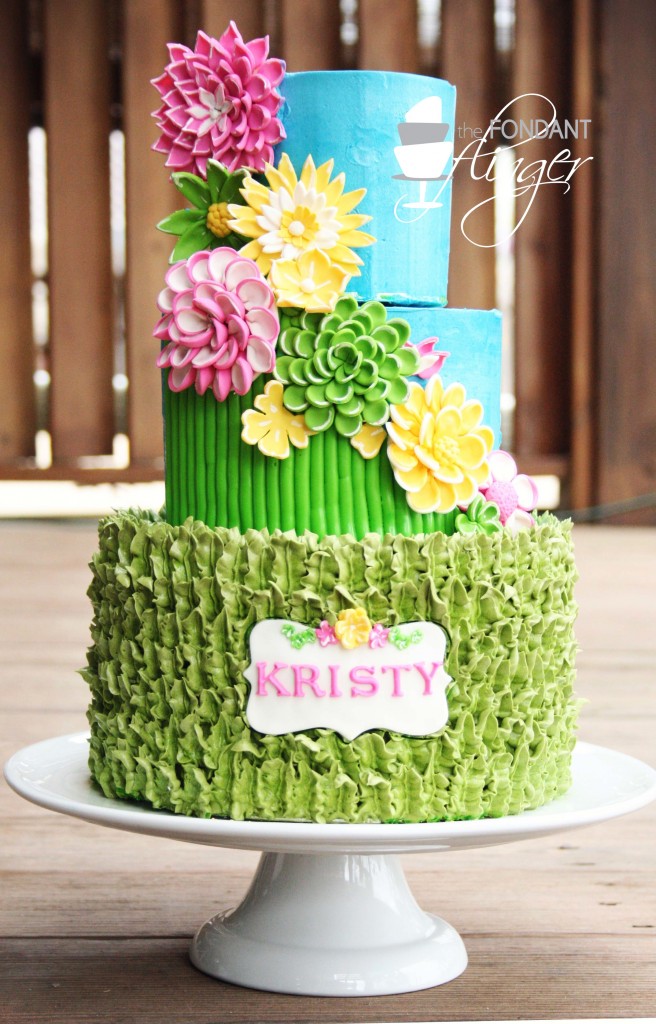
As featured on Half Baked - the Cake Blog ( www.thecakeblog.com), its the “Welcoming Spring Cake”! Maybe you could have guessed but I LOVE color and texture and a chance to combine the two? WOO! I get excited just thinking about it. I don’t often get the chance to play with buttercream textures but when I do, I am reminded of how easy it is to create a gorgeous ruffle, shell or other pattern with a simple squeeze of a pastry bag. Here is my recap on this Welcoming Spring Cake:
We moved from Alaska to Louisiana last fall so we know all to well the difficulties in starting over in a new place. It can be intimidating and emotionally difficult adjusting to a new area, making new friends and helping your family adapt to their new surroundings. We were incredibly blessed as a family to find a church that embraced our family and helped ease our transition. This same church was in the midst of finding a new pastor. Several months went by and the pastoral committee felt that God was calling one particular man to this position at our church. The congregation had the opportunity to meet him and the church unanimously felt the same way.
Within a matter of weeks, we were welcoming he and his family to our church. Part of that welcome included a ladies luncheon welcoming the new pastor’s wife, Kristy. The Ladies Committee asked me to make a cake for the event and match it to the bright spring napkins that they had bought for the occasion.
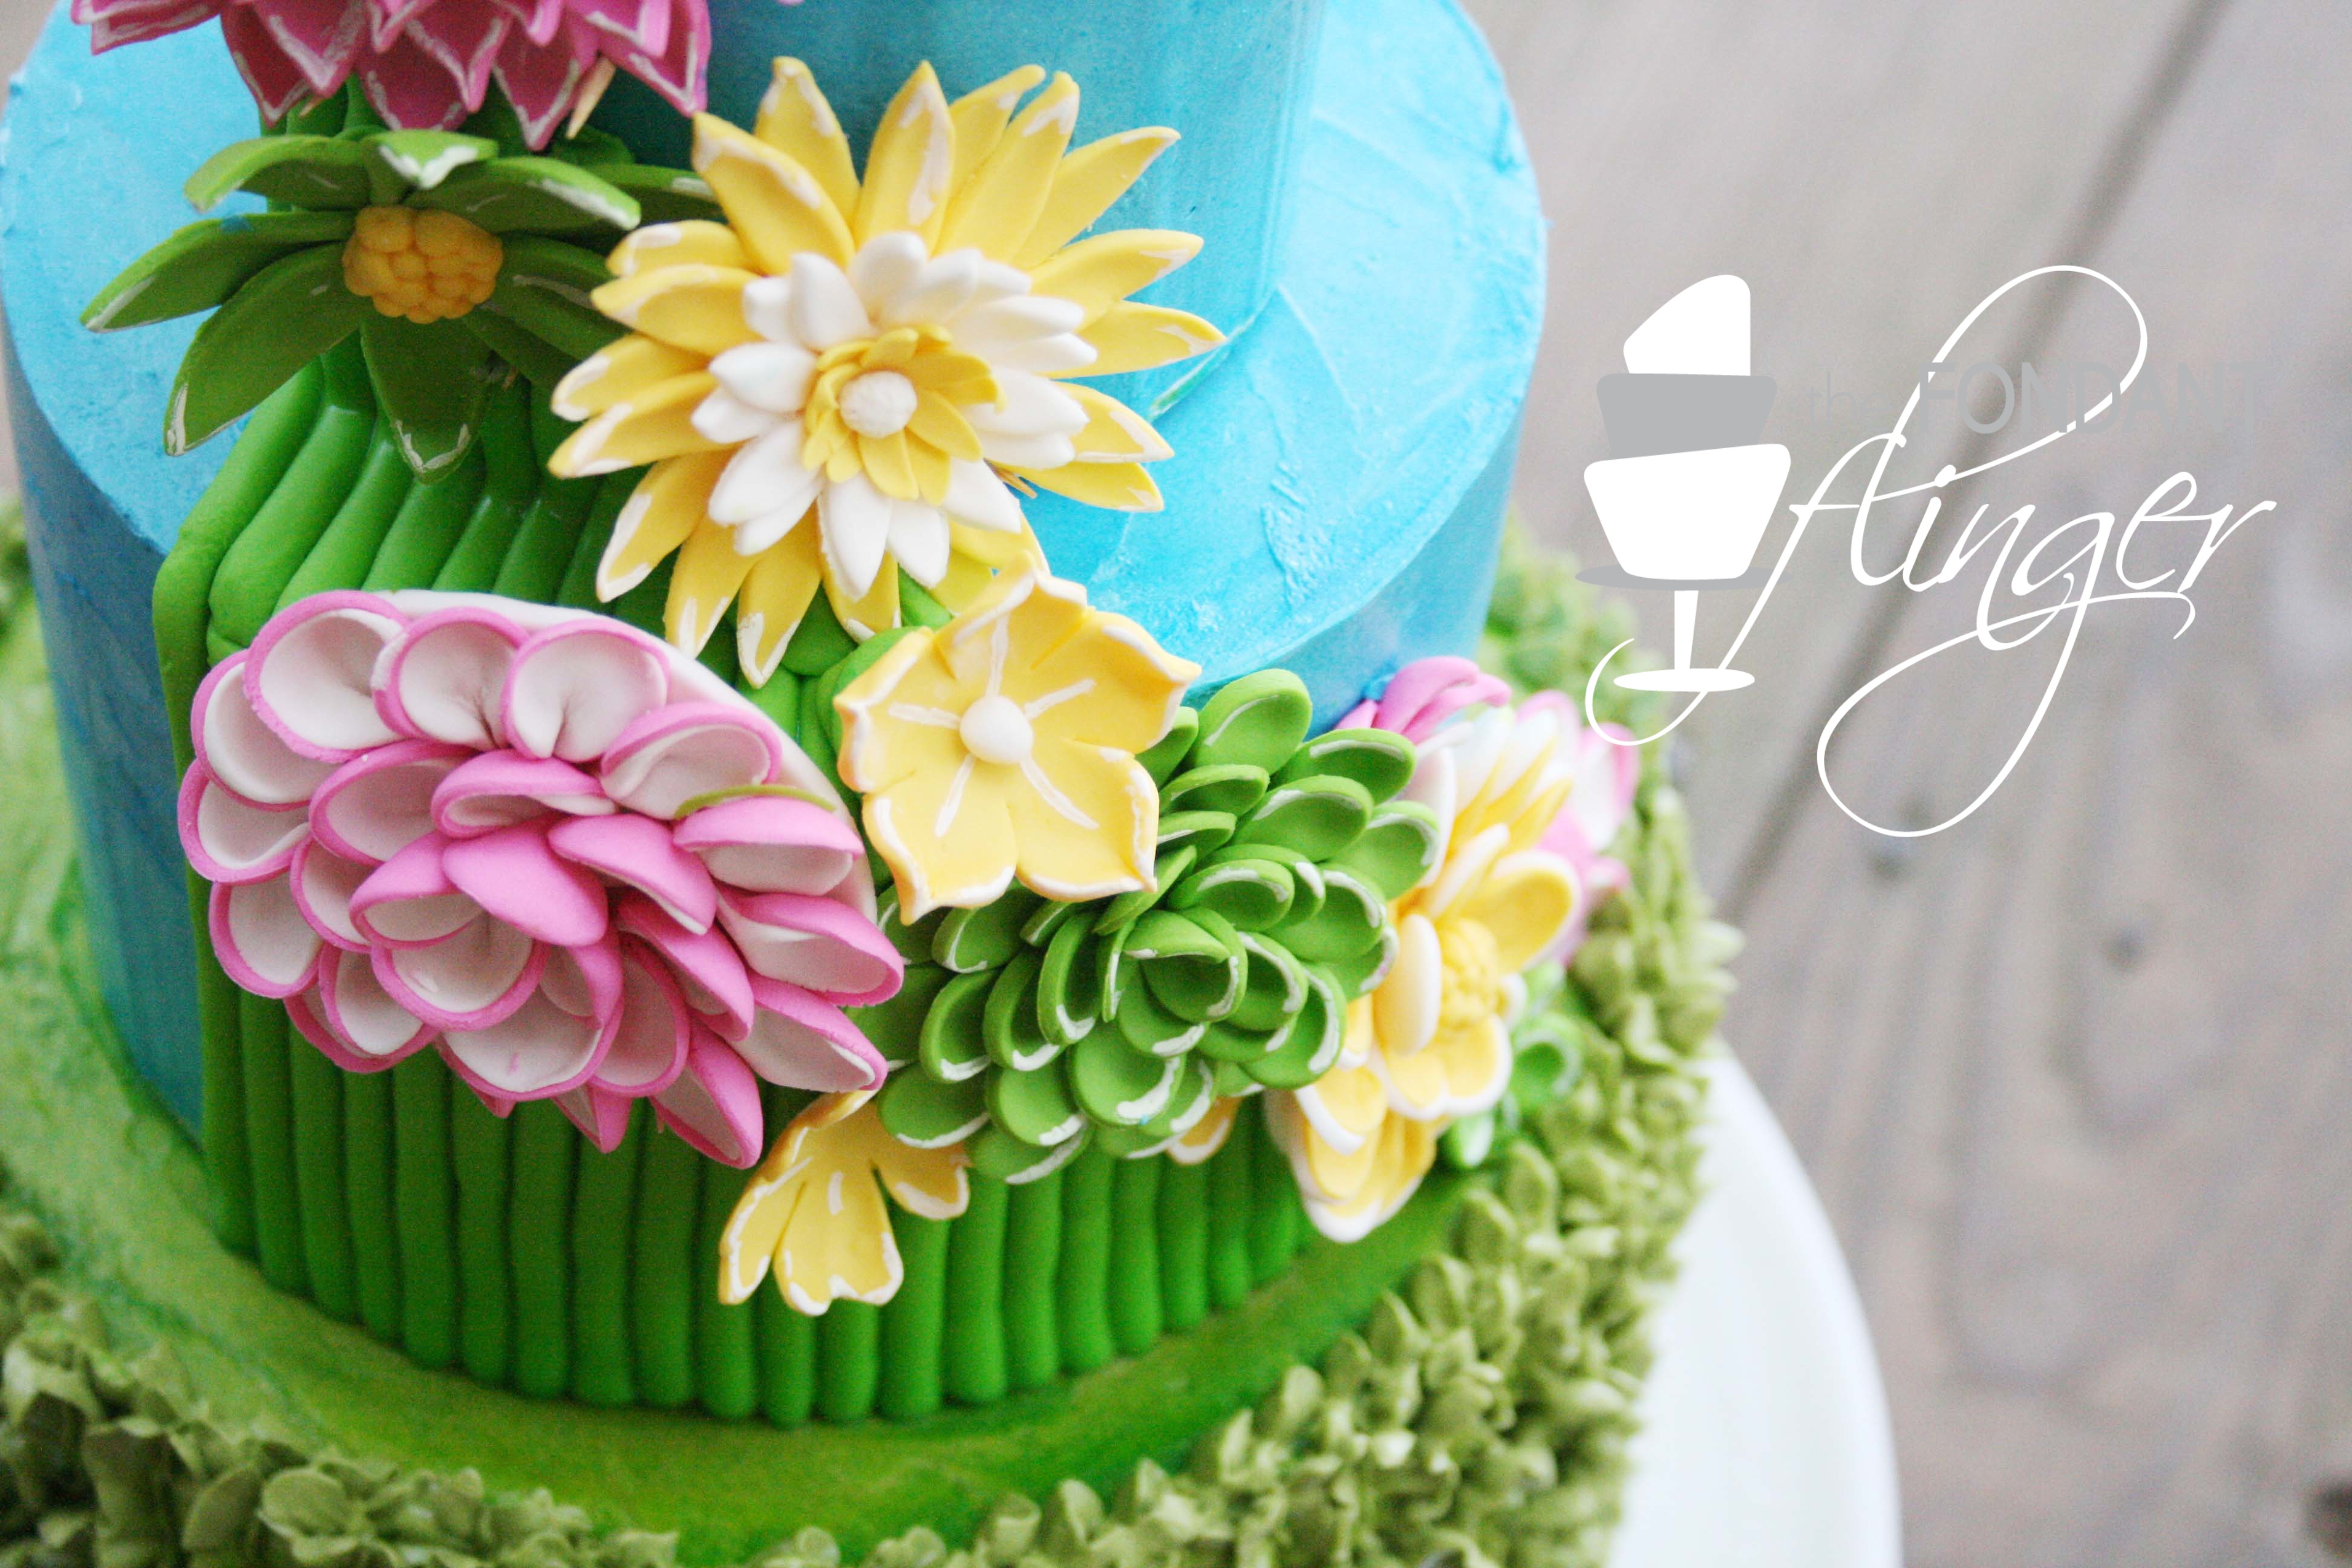
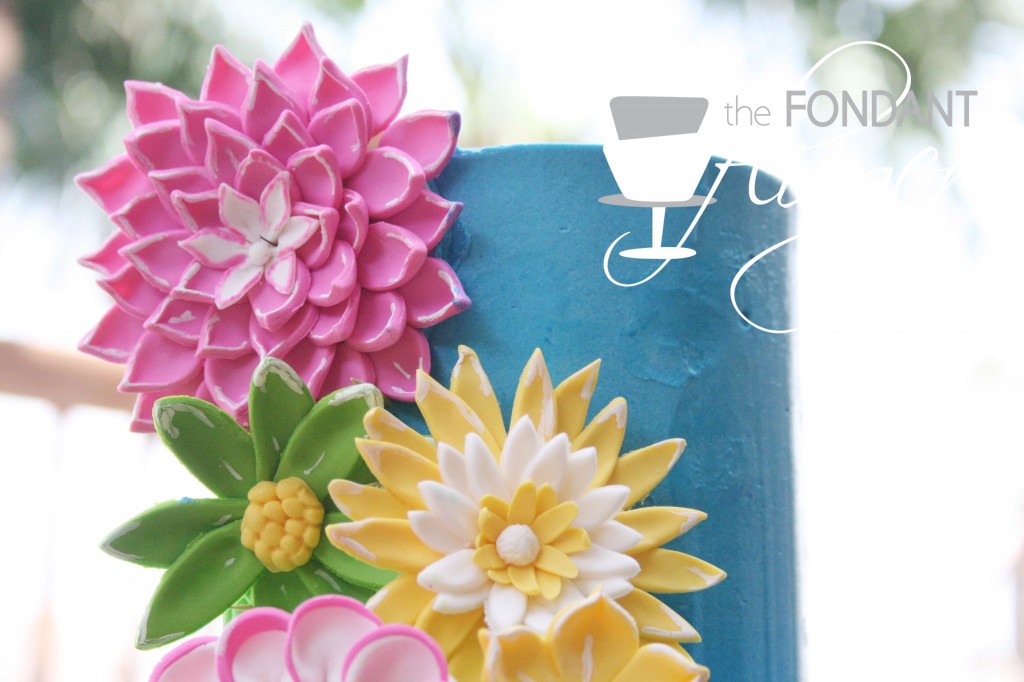
I worked directly from the napkins to recreate the style and feel of the flowers depicted on the napkin. Using gumpaste, I created different version of the flowers and highlighted the petals with white food coloring. Since the cake was going to be buttecream, I used wires to provide more stability when placing them on the cake.

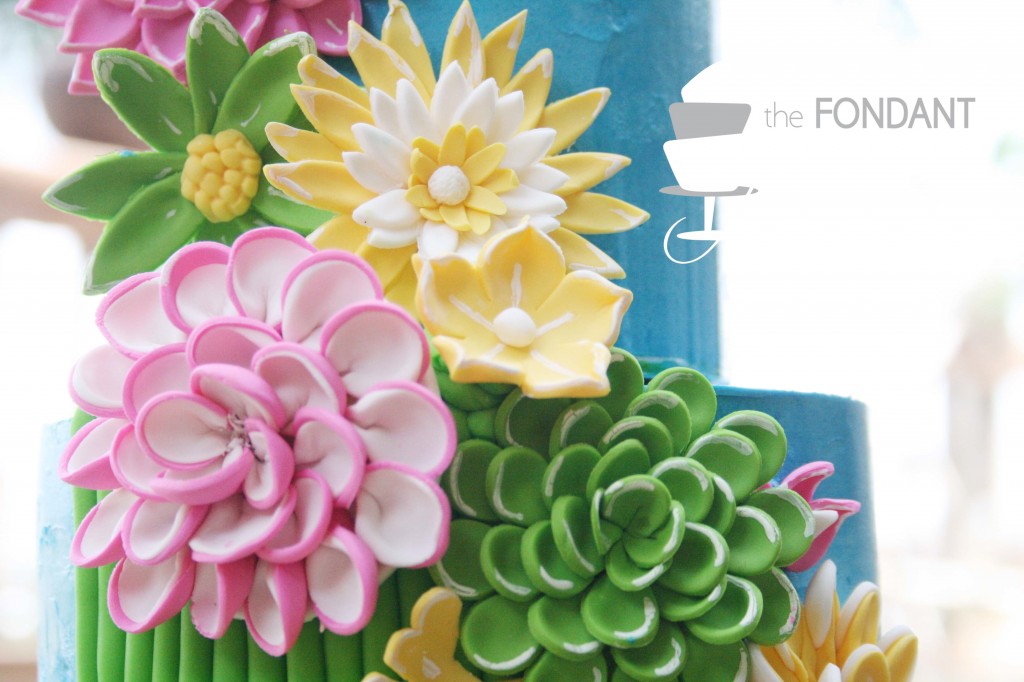
Using an extruder, I created the “stems” of green fondant and cut them to create a diagonal line down the center of the cake to achieve the “cascading” appearance of the flowers.

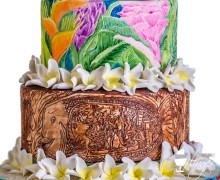
Using a plaque cutter from coppergifts.com and gumpaste, I created Kristy’s name plate for the bottom tier.
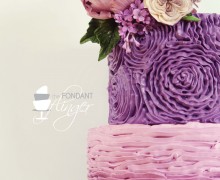
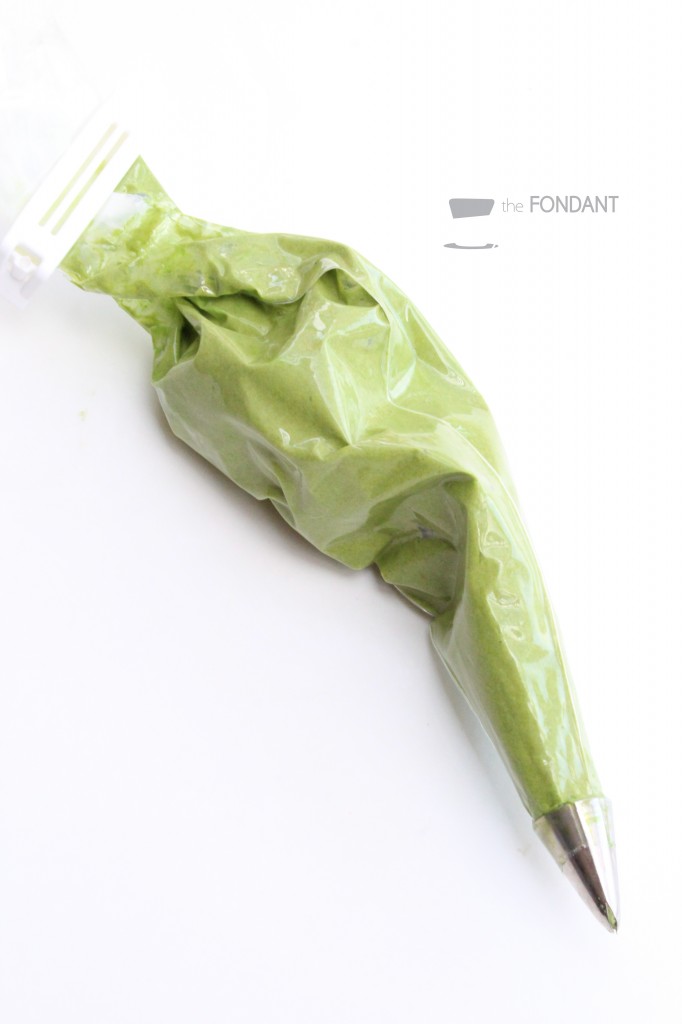
And finally to create the bottom leaf ruffle tier, here’s a mini tutorial for you!
Piped Grass Ruffle Tutorial
Necessary tools:
- Cake filled, buttercream covered and ready for final piping. I’ll be doing this little tutorial on wax paper instead of a cake since, well, I’m tired and need a break from the oven.

- Buttercream tinted to your preferred shade of green
- Piping bag fitted with Wilton tip number 68
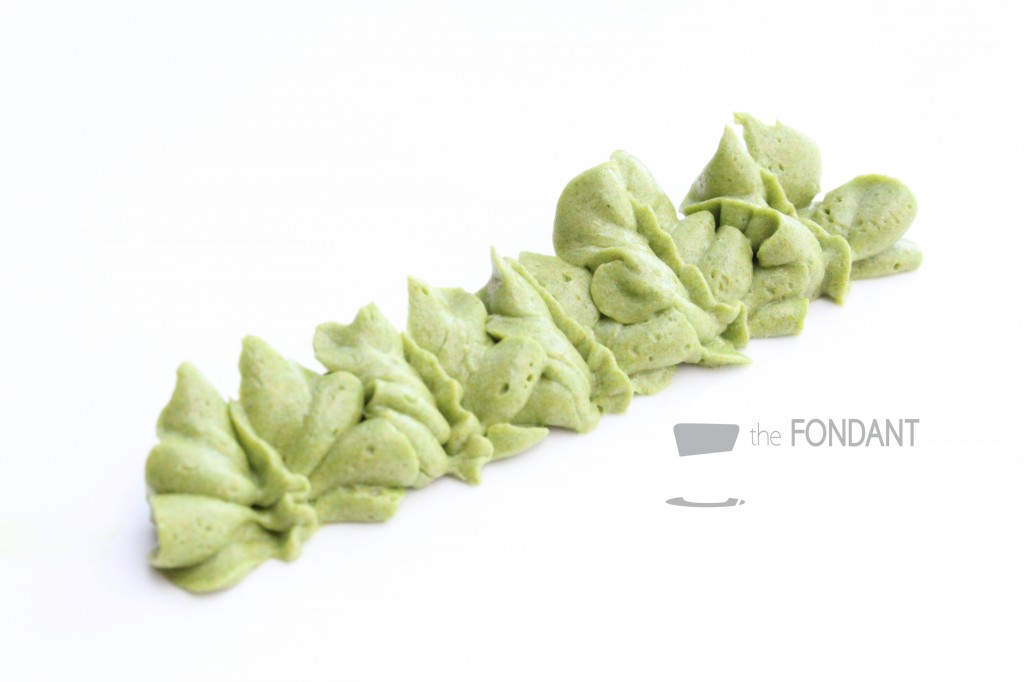
Starting at the top of a cake, create a row of leaves:
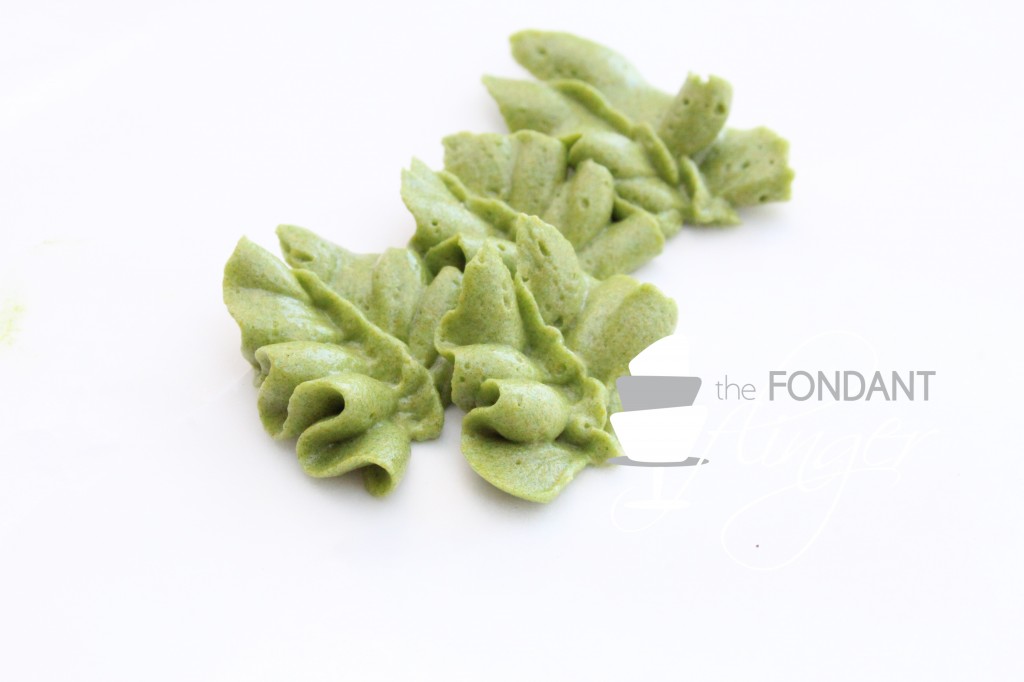
 Once this row has been completed around the top of the cake, start a staggered second row of leaves, slightly overlapping the top row:
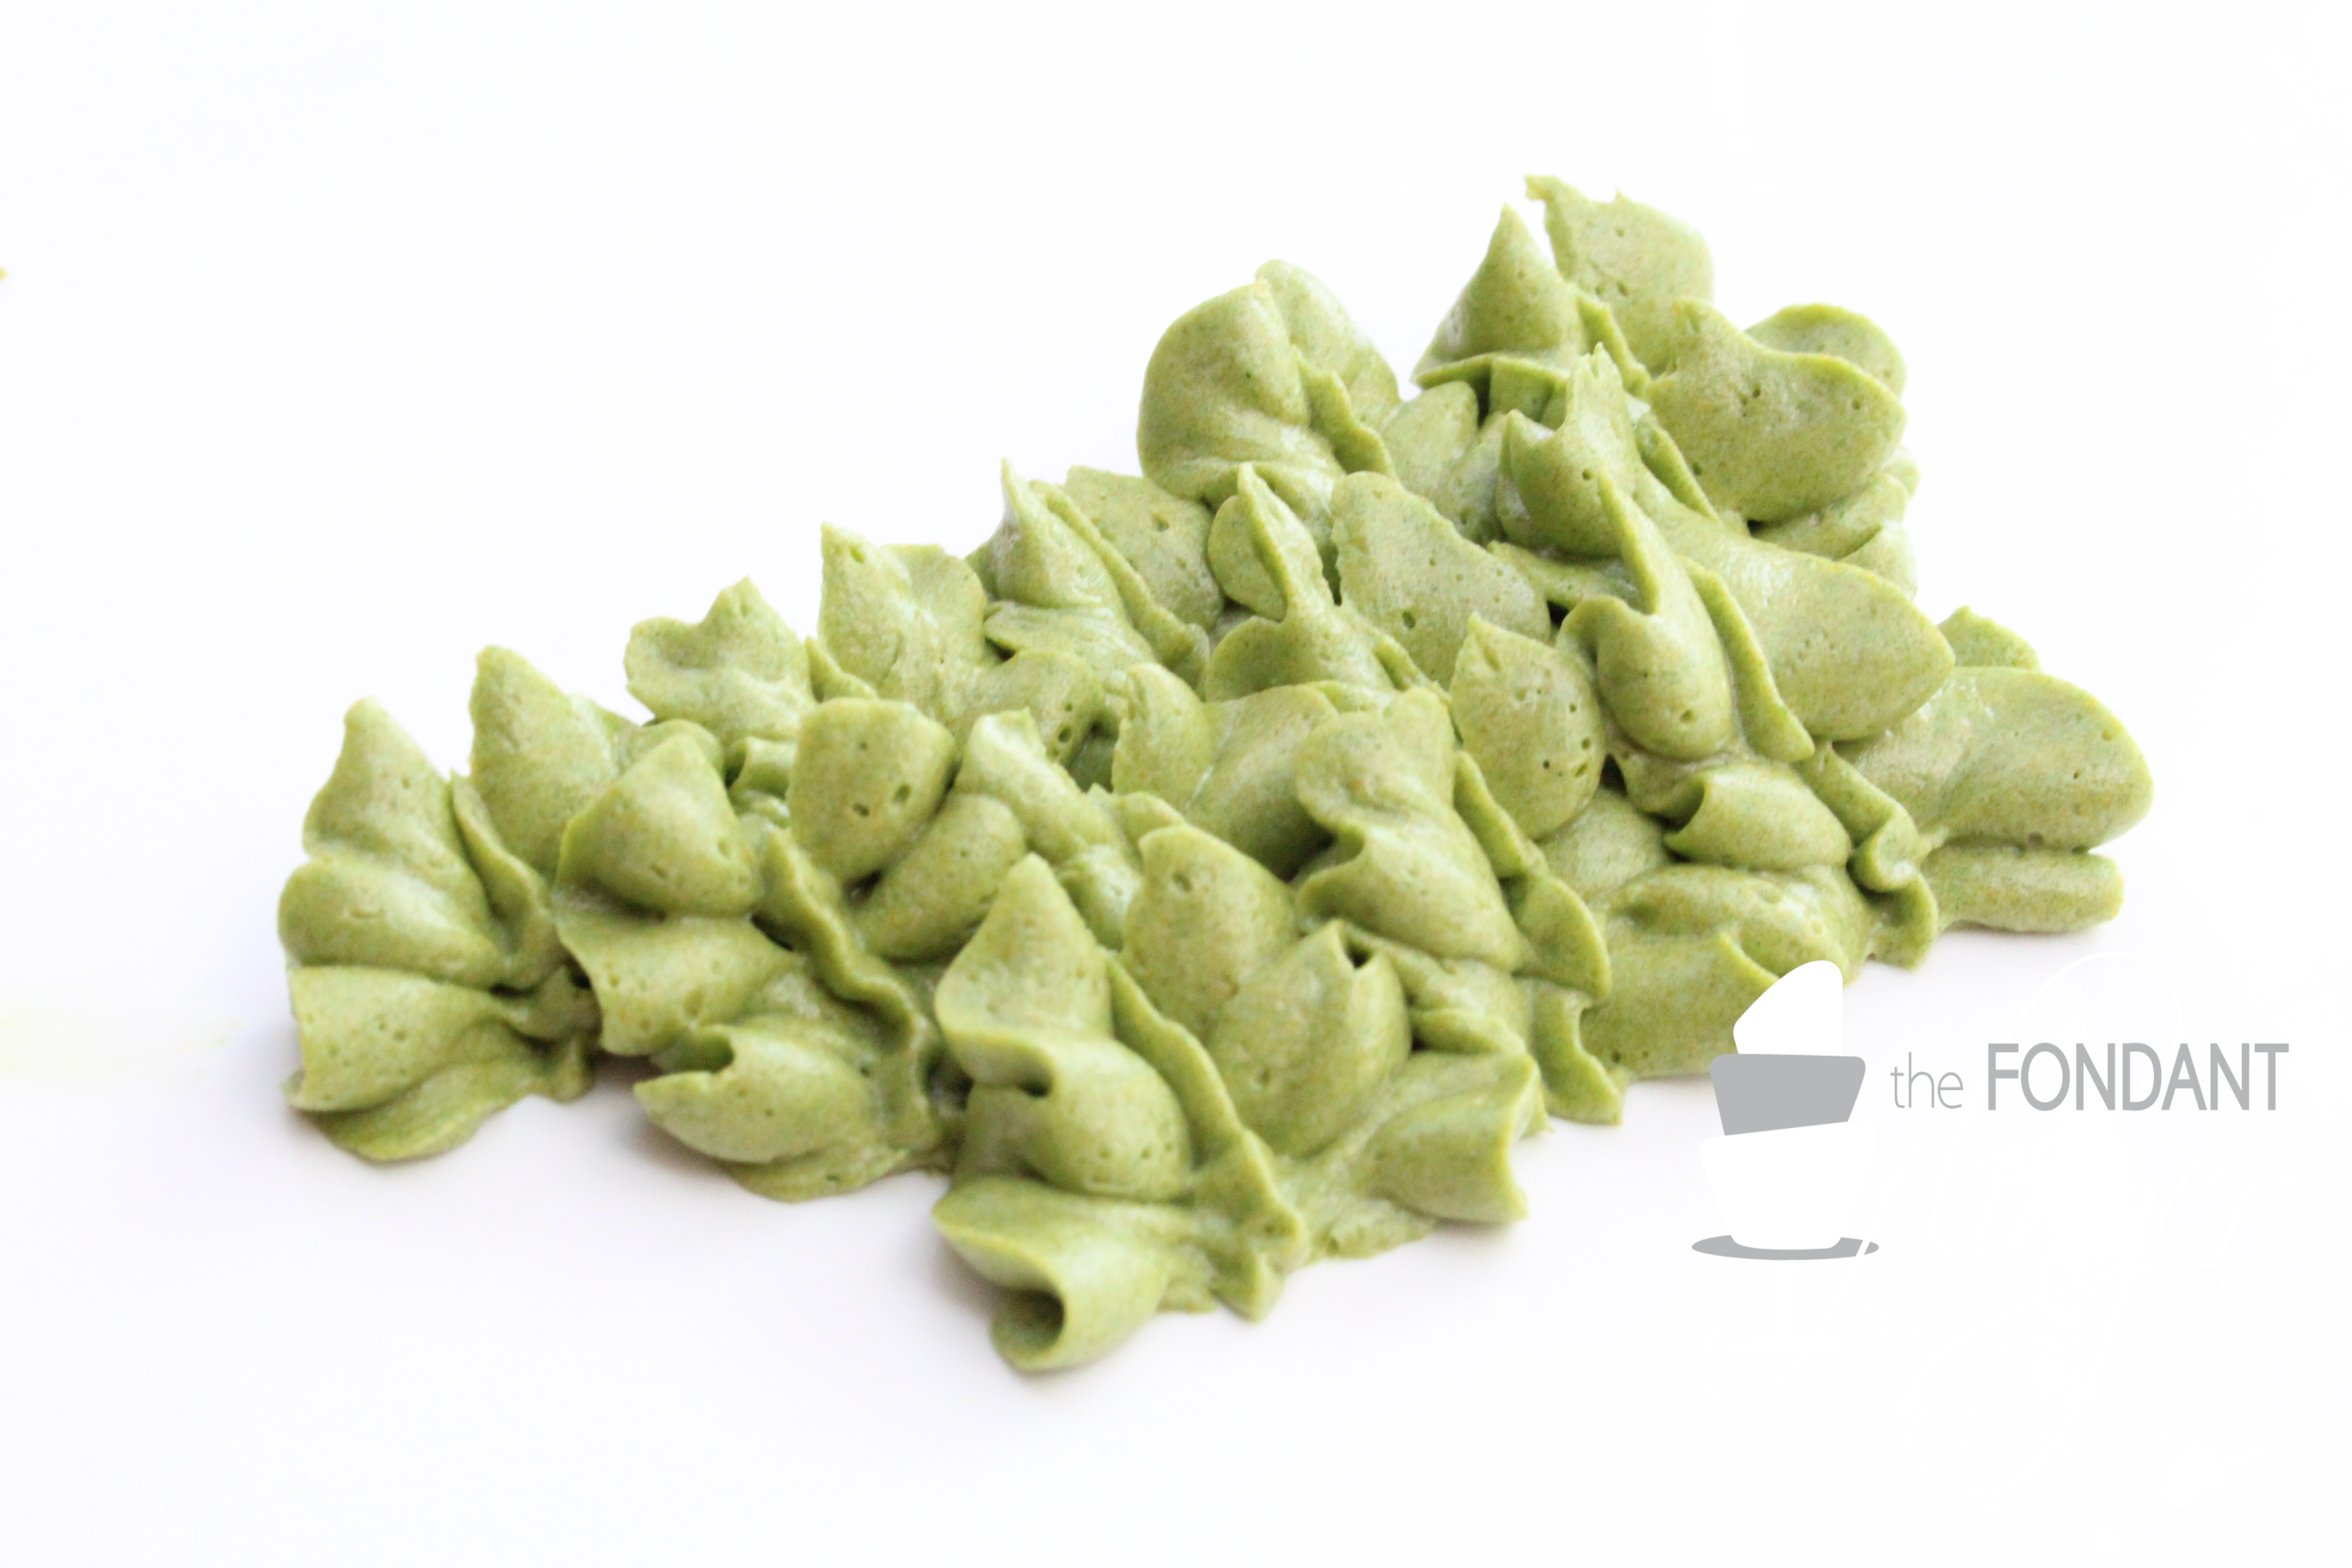
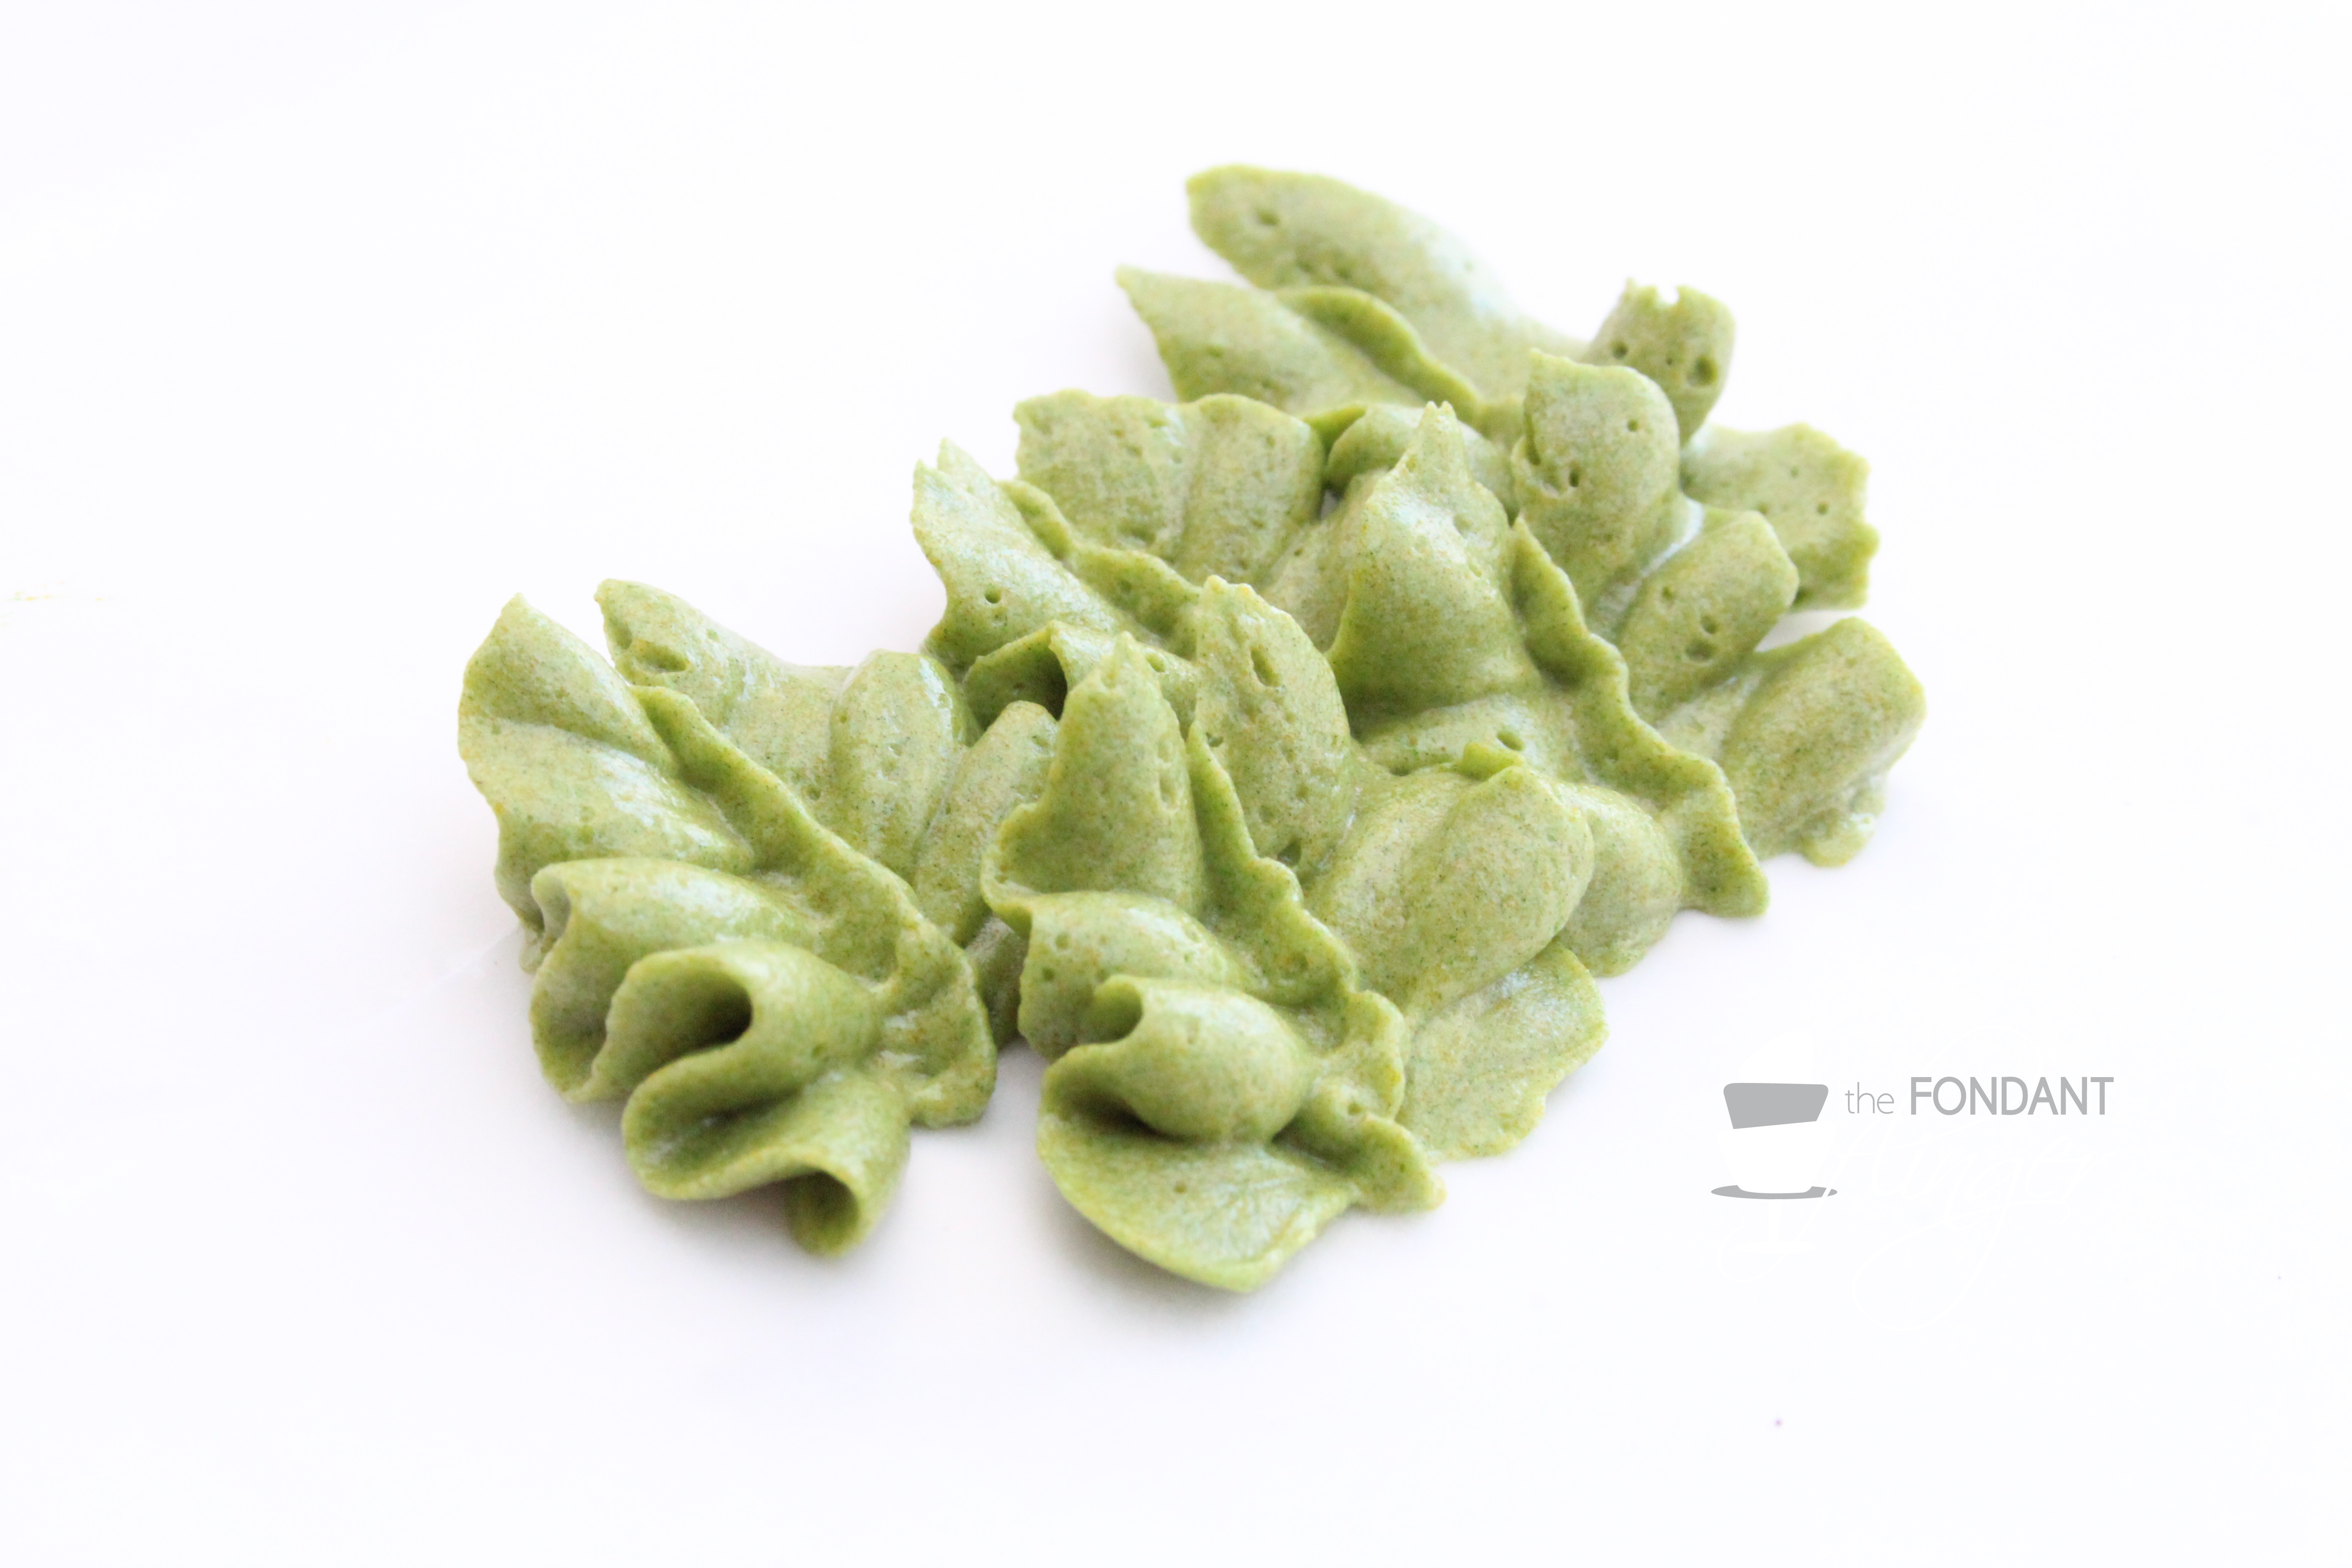
Continue adding row of leaves until you reach the base of the cake and you did it! You have your very own grassy ruffle tier!
Love the tutorial!! Really helps seeing the steps, tip #’s, etc. Thanks Rachel!!
Thanks, Trish! I know its a rather simple tutorial but some may find it easier to see it mid process. I’m going to start doing Tutorial Tuesdays and trying to be more active with doing the tutorials. Stay tuned!
You are so awesome! Much Cake Love! Sweets By Monica
HA! Well, I’m glad you think so, Monica! We still need to do our cake date one day!
Thanks R- this is great seems obvious when you spell it out, but I would have started (for no known reason) at the bottom and worked up! This is terrific!
Glad I could help! I usually learn everything the hard way so I’m glad when I can spare someone else from unnecessary frustration.
I DEFINITELY would have started from the bottom. Thanks for sharing!
Wow- gorgeous.
Thank you, Carrie!
What size tiers are these? It is a gorgeous cake!
Janice, this cake was an 8/ 6/ 4 inch tiered cake.
I absolutely LOVE this cake! I am wondering how many layers of cake you have on each tier? I’m guessing 3?
Thank you! Yes, I have 3 layers of cake on each tier. I just love the height it gives the overall design.