
Cake Masters Magazine bestowed upon me the honor of being included in the Around The World In 40 Cakes project. 40 cake artists each highlighting a destination using the medium of sugar.
I was thrilled to not only be included with a stellar list of artists from around the world but to also get my pick for the assignment; the island of Guam. What made this especially meaningful to me, was the fact that this is the 70th anniversary of Guam’s liberation by US troops from the Japanese occupation of Guam during WWII. Many islanders were slaughtered during the Japanese occupation and I considered this cake a way for me to pay tribute to those who lost their lives on the island.
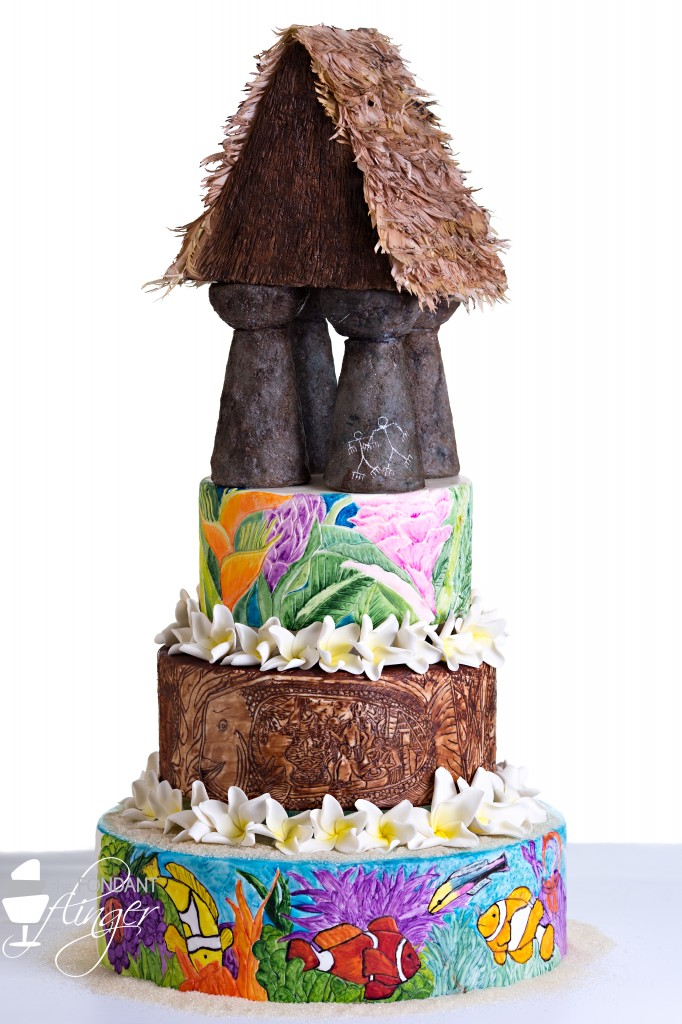
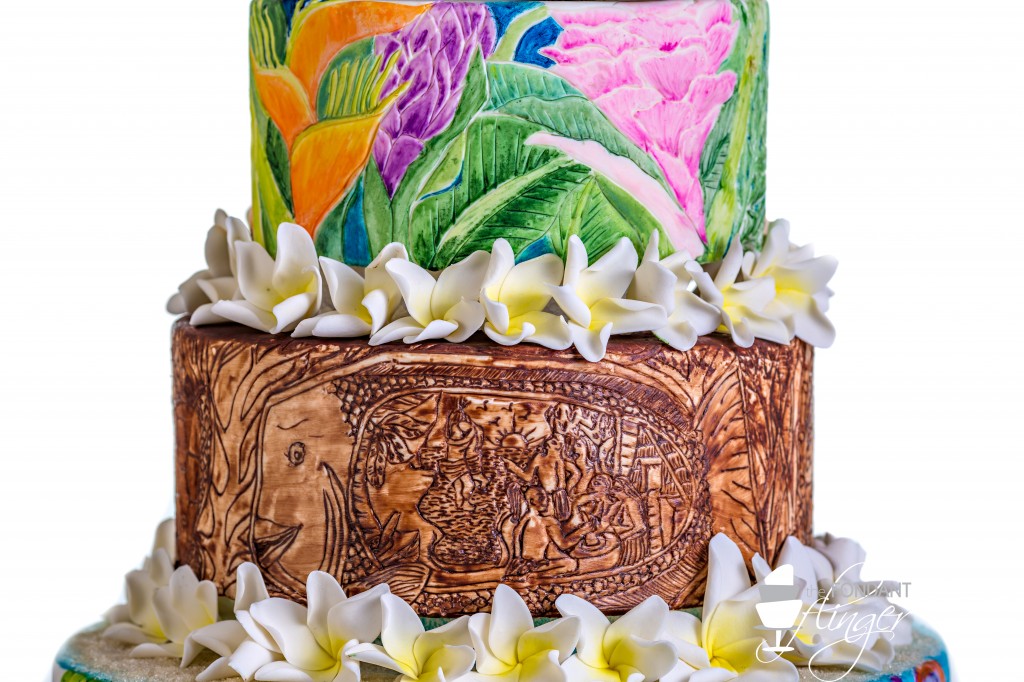
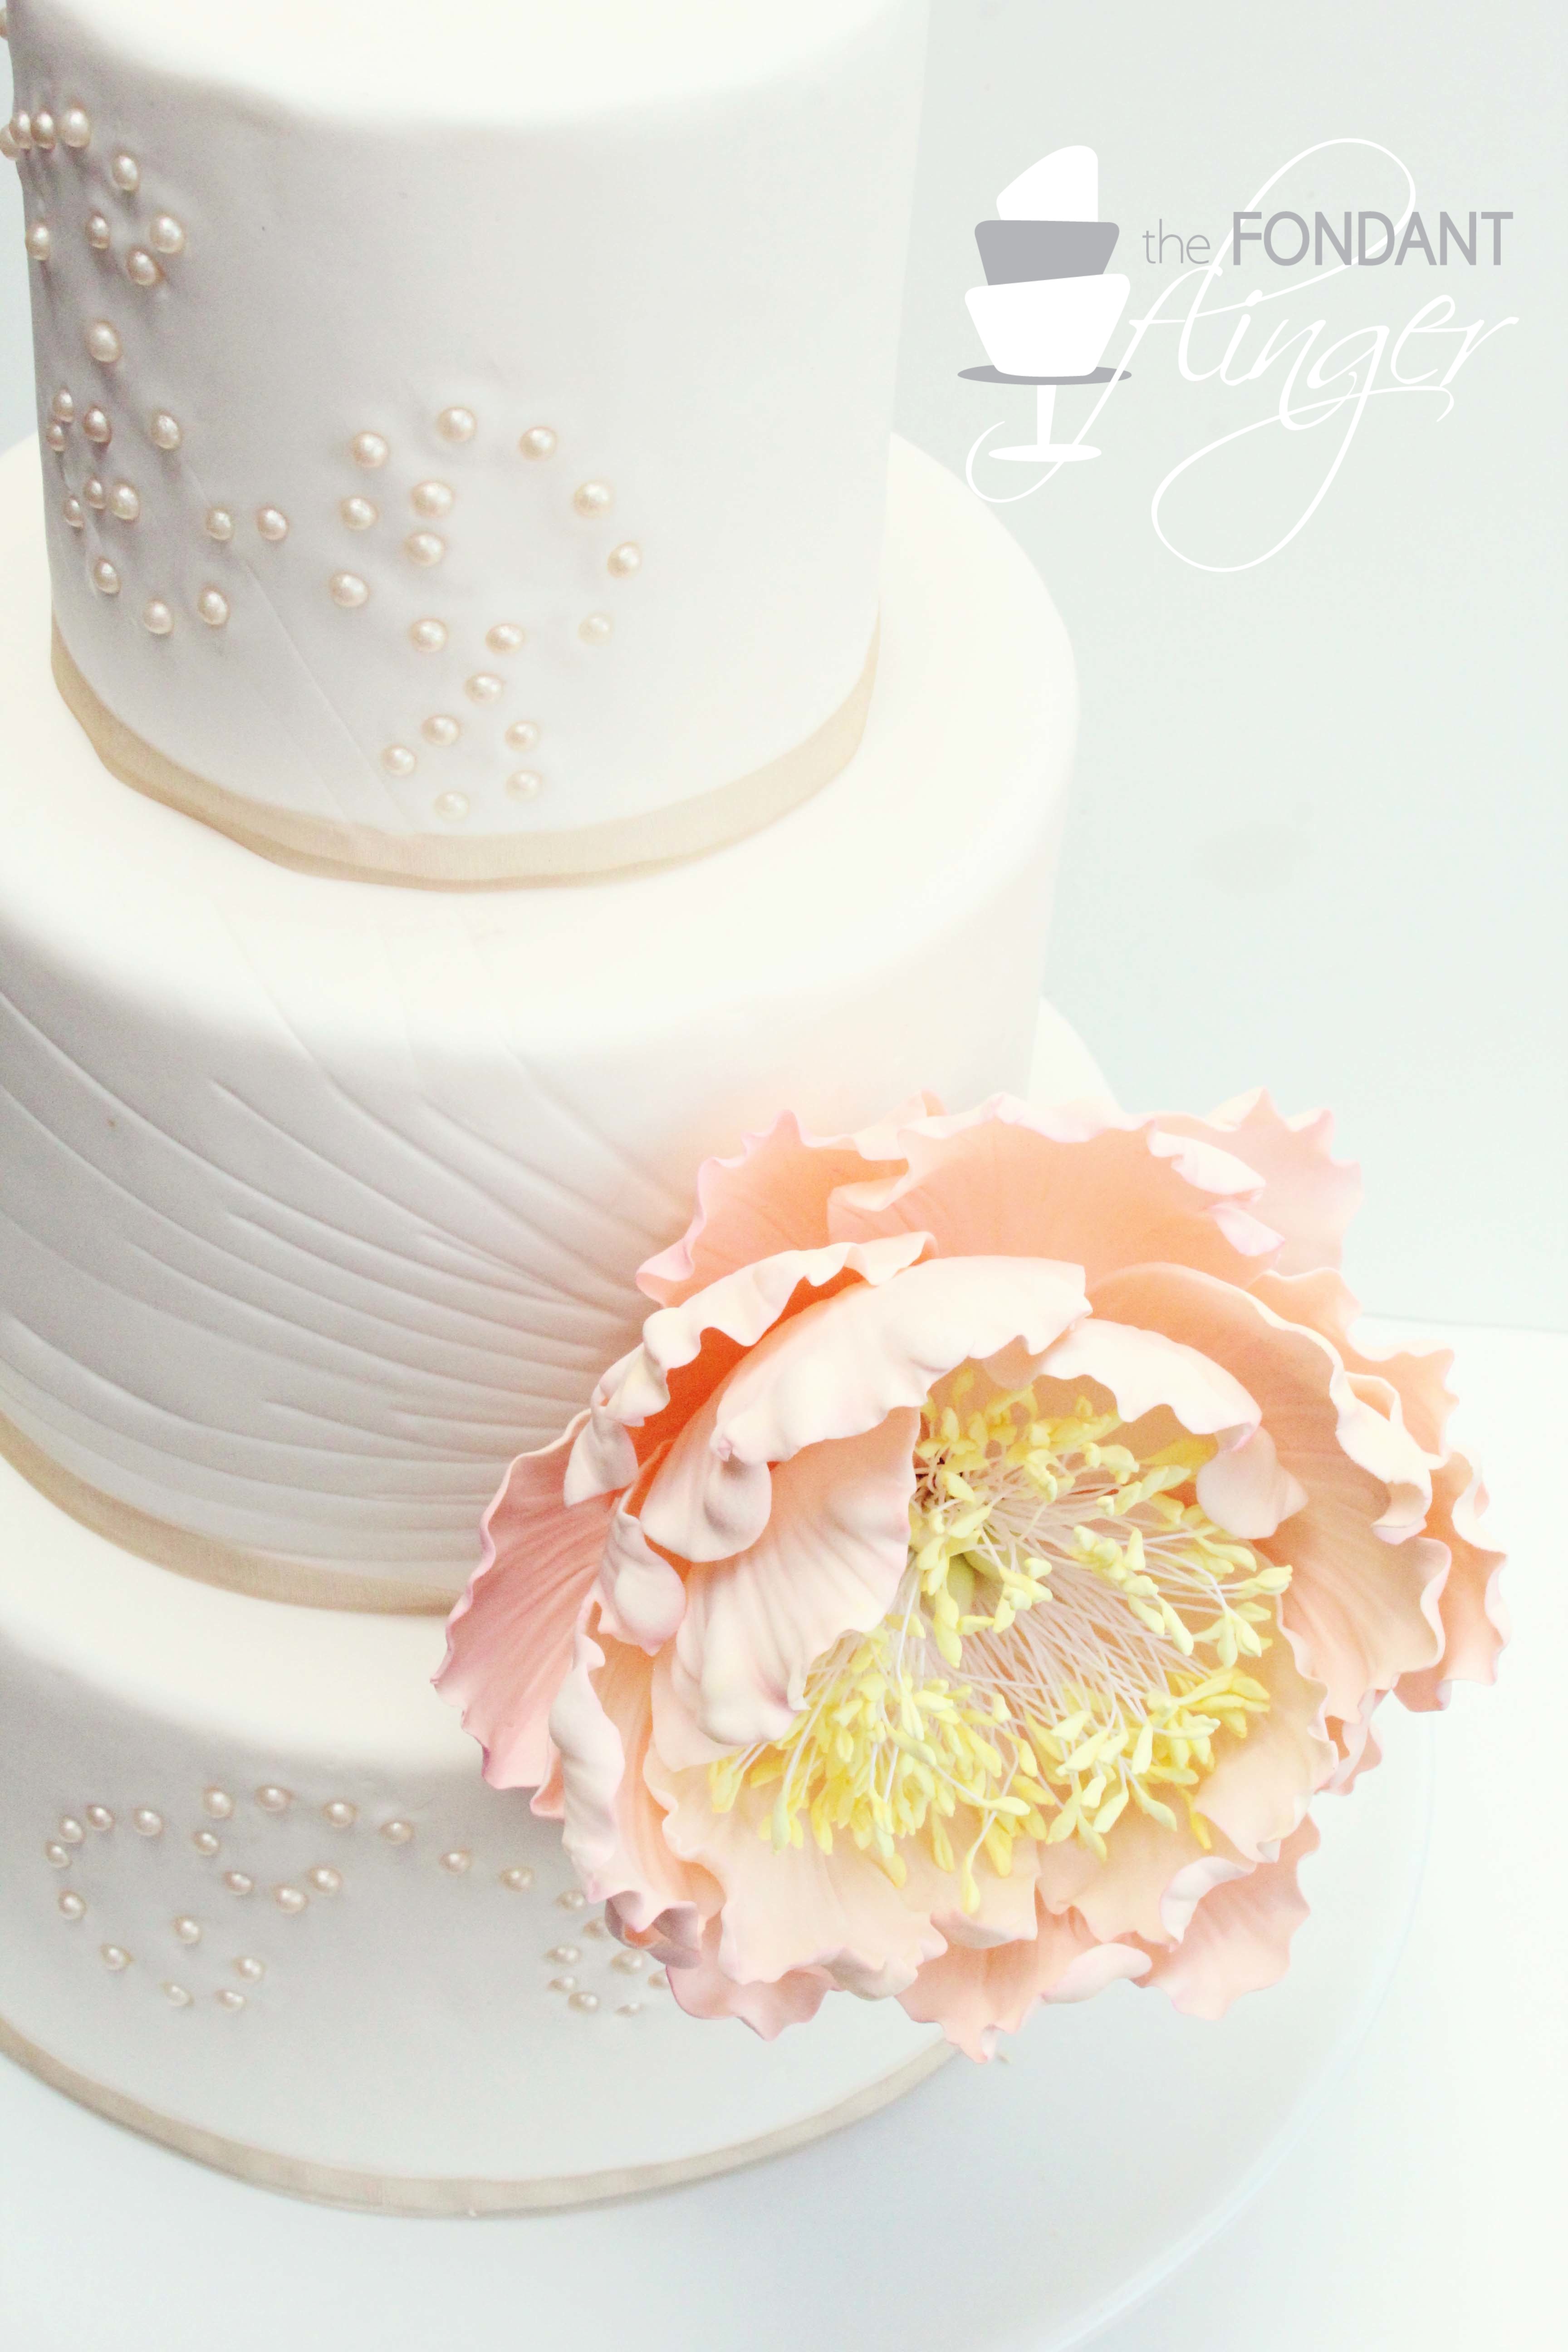
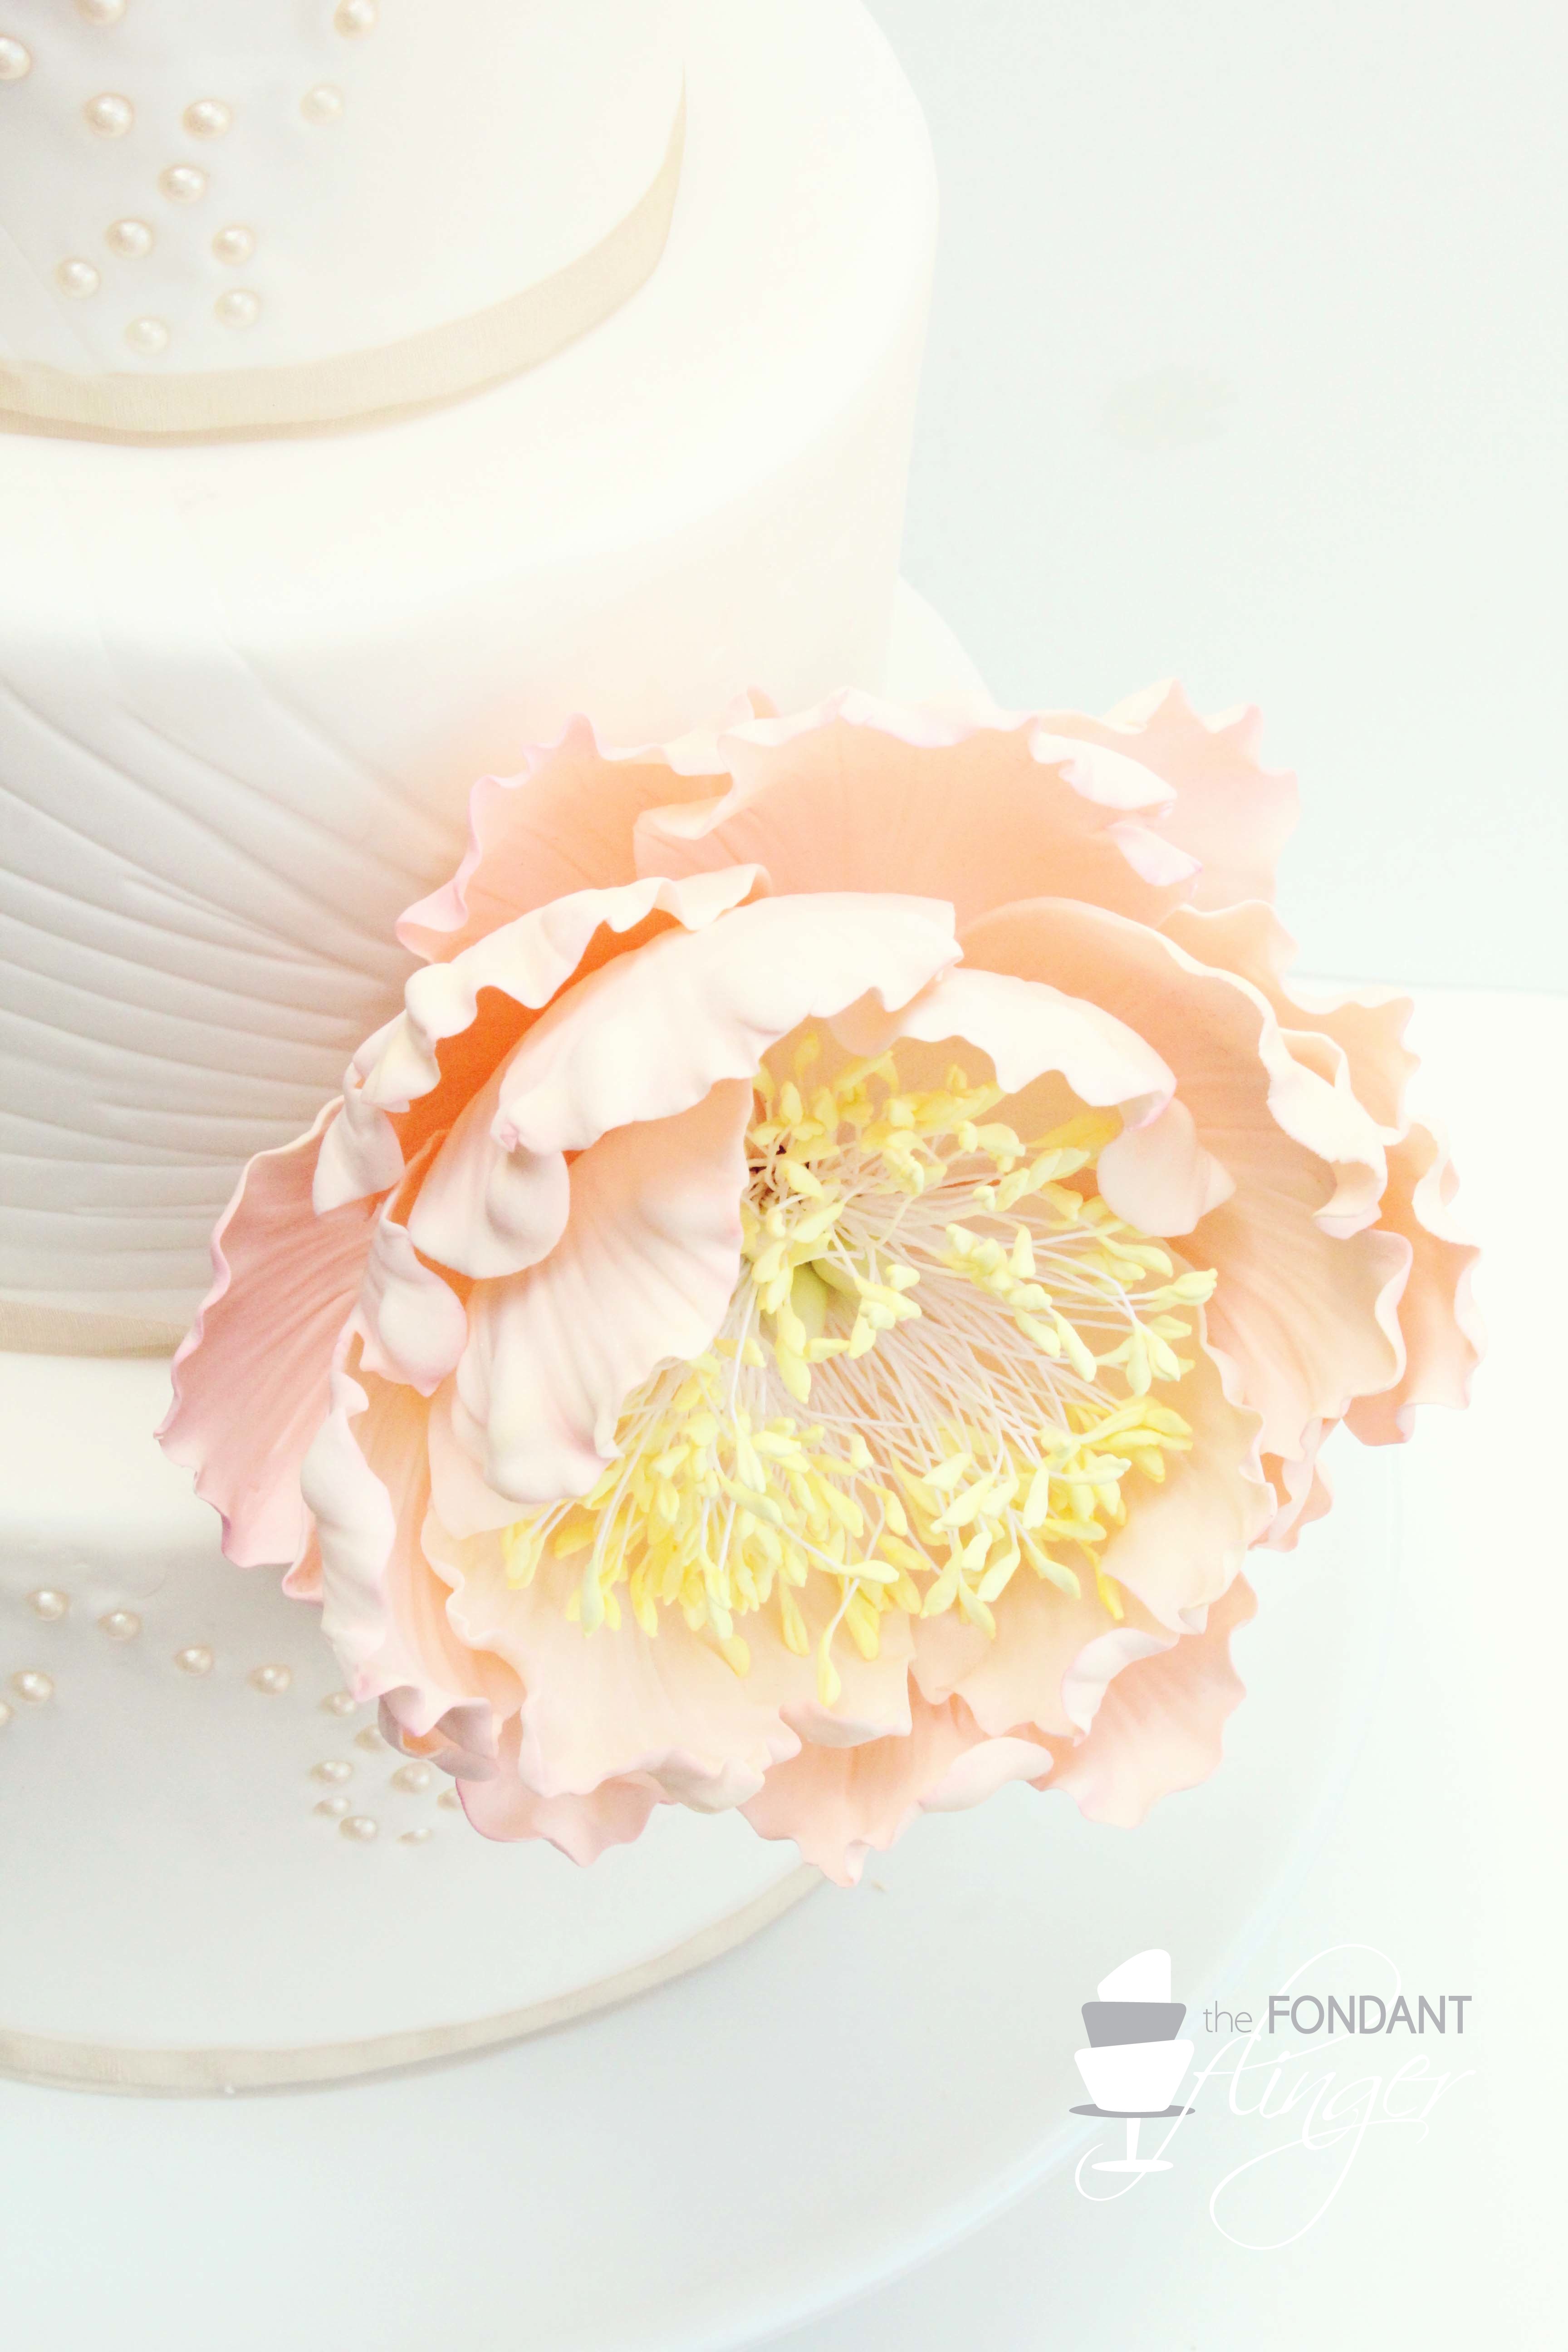
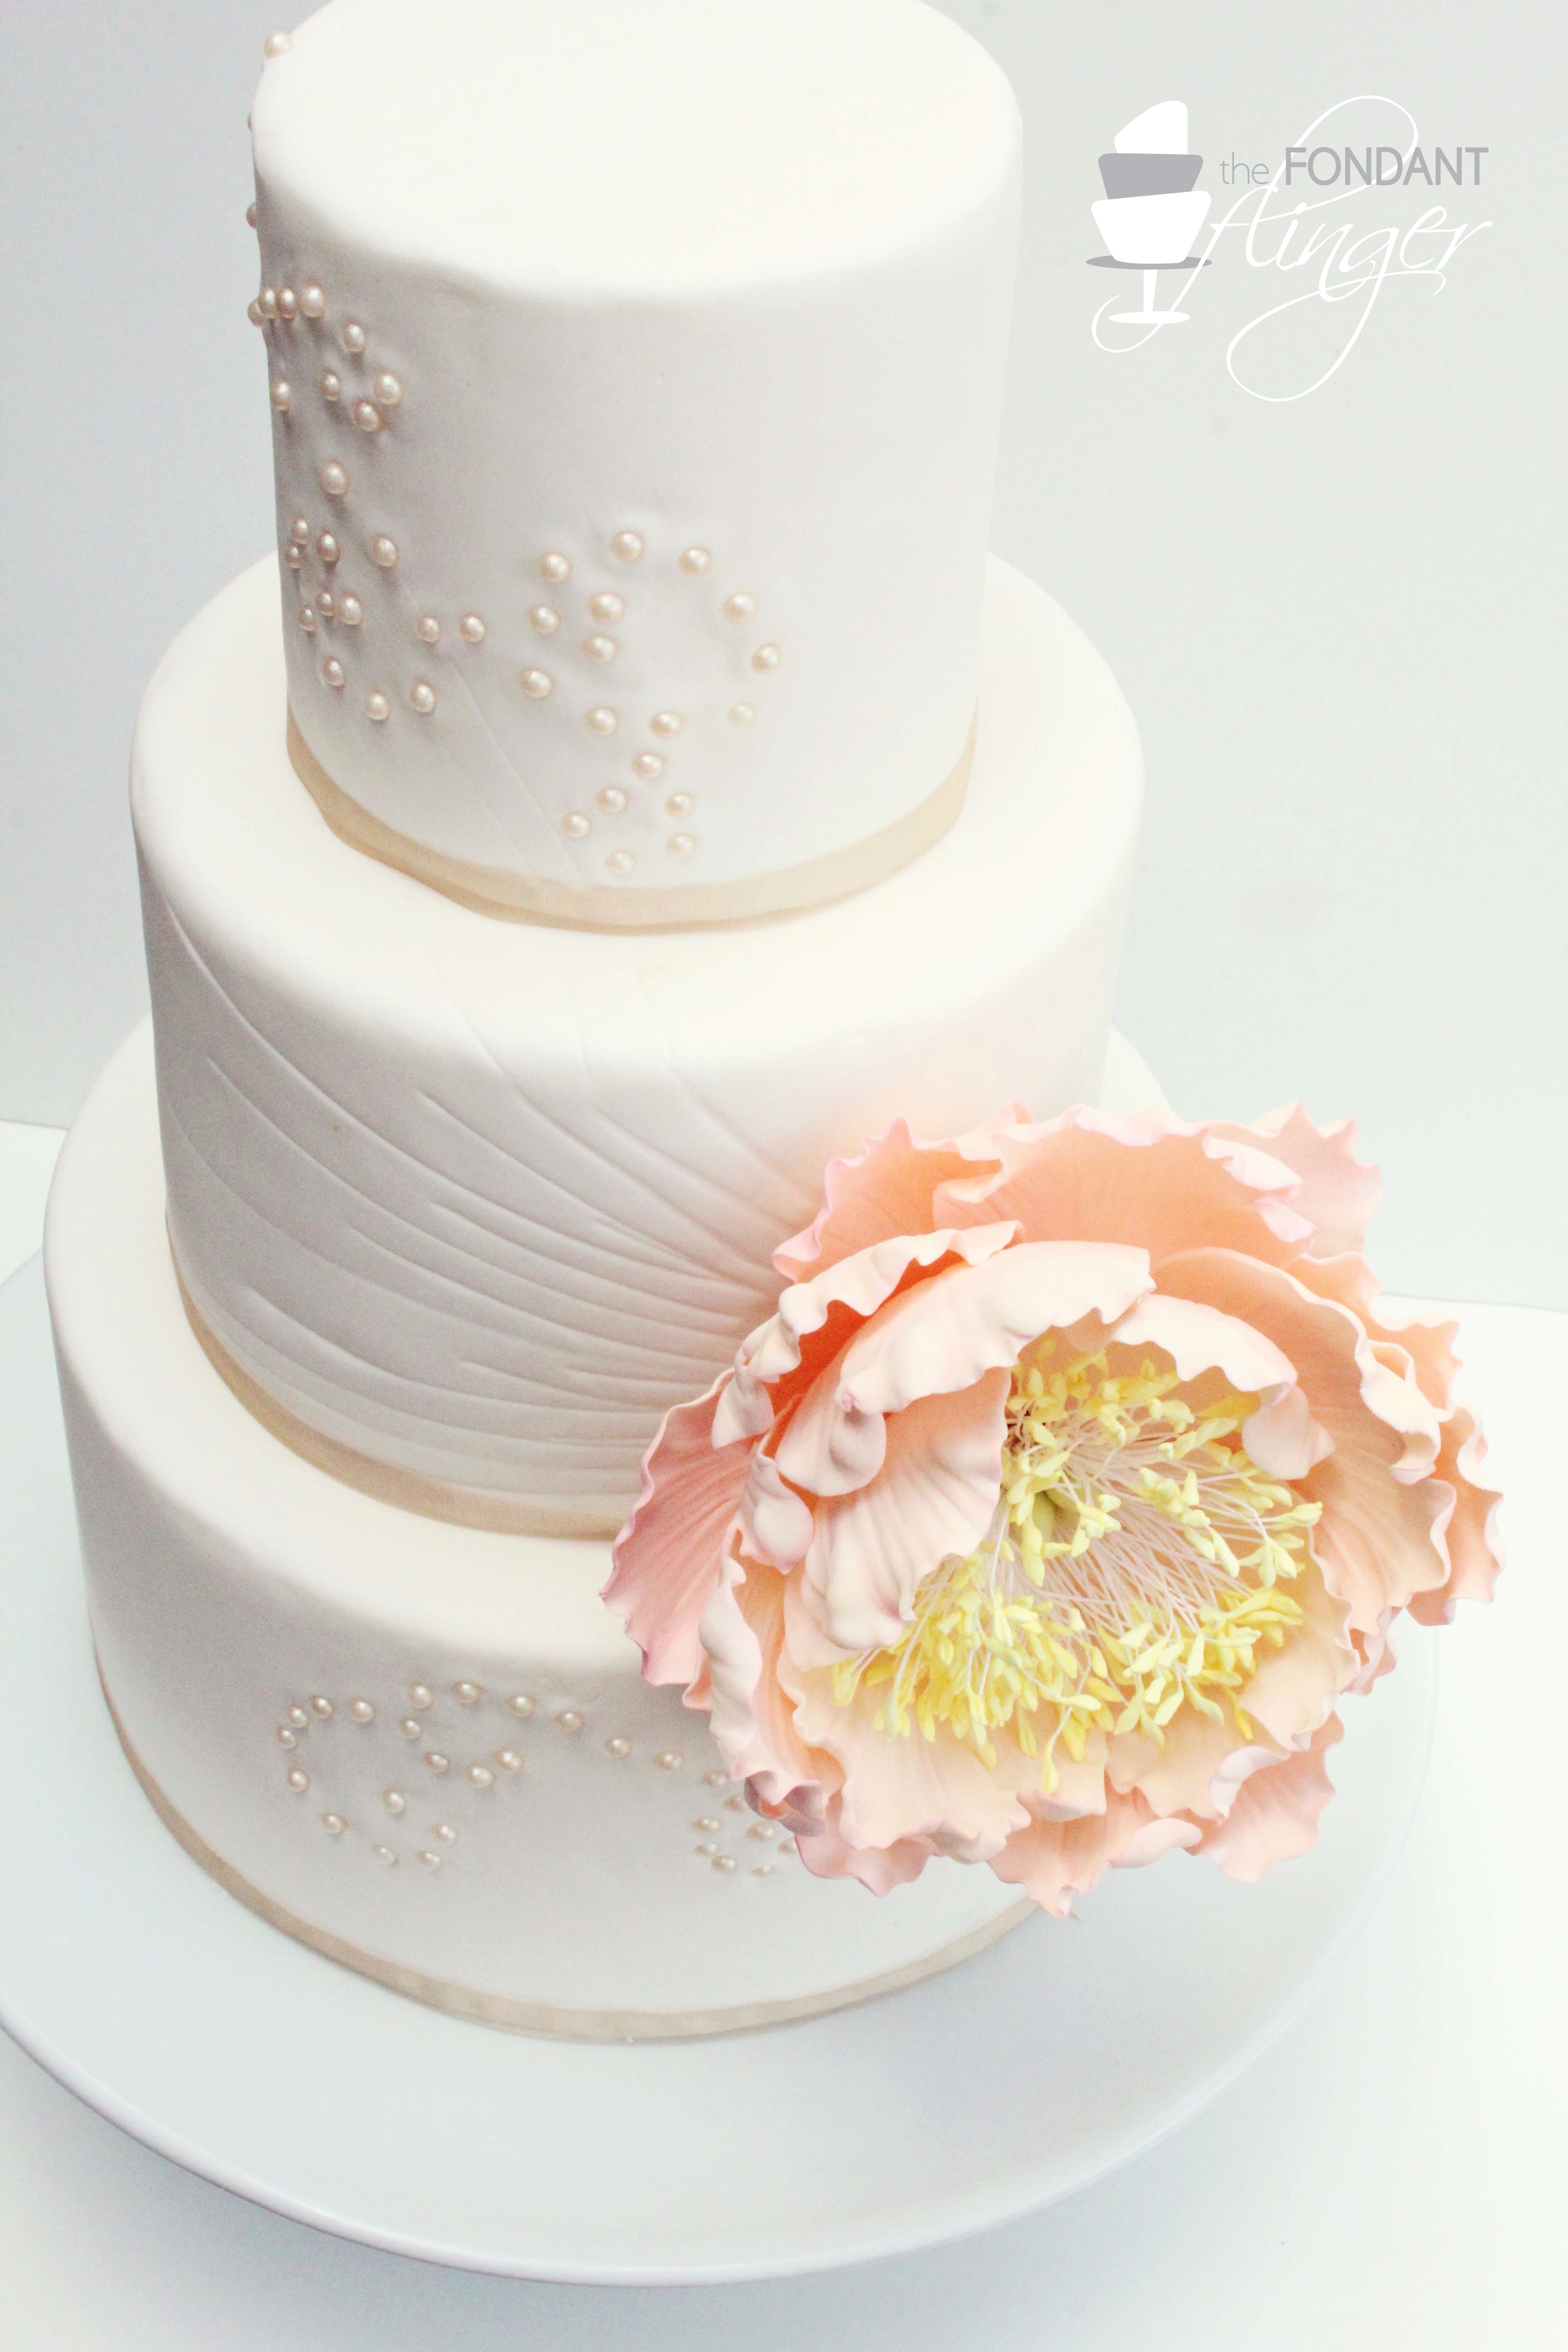
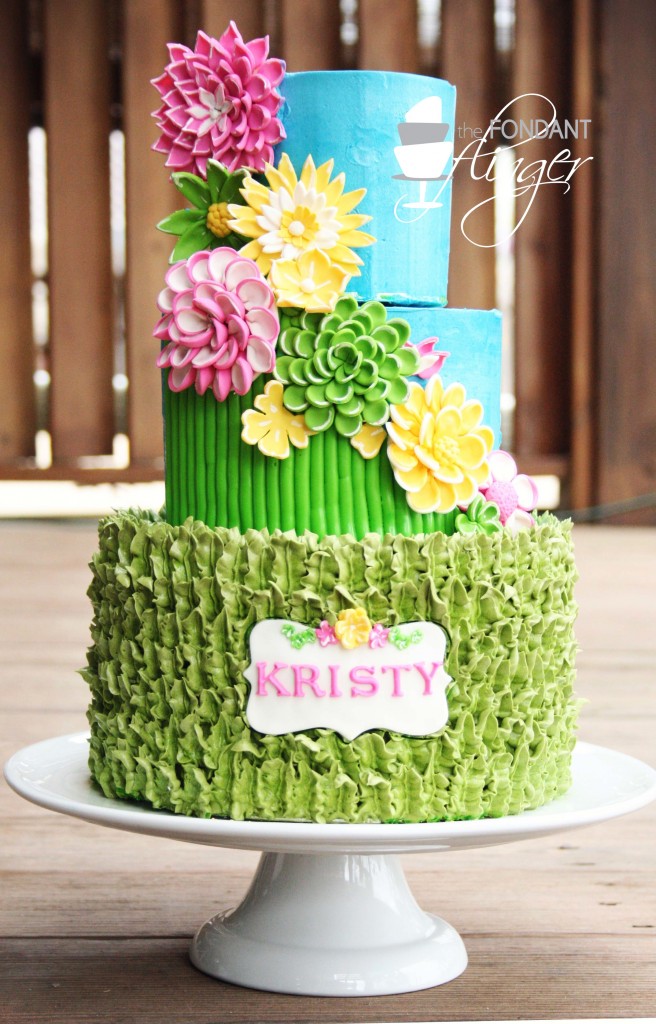
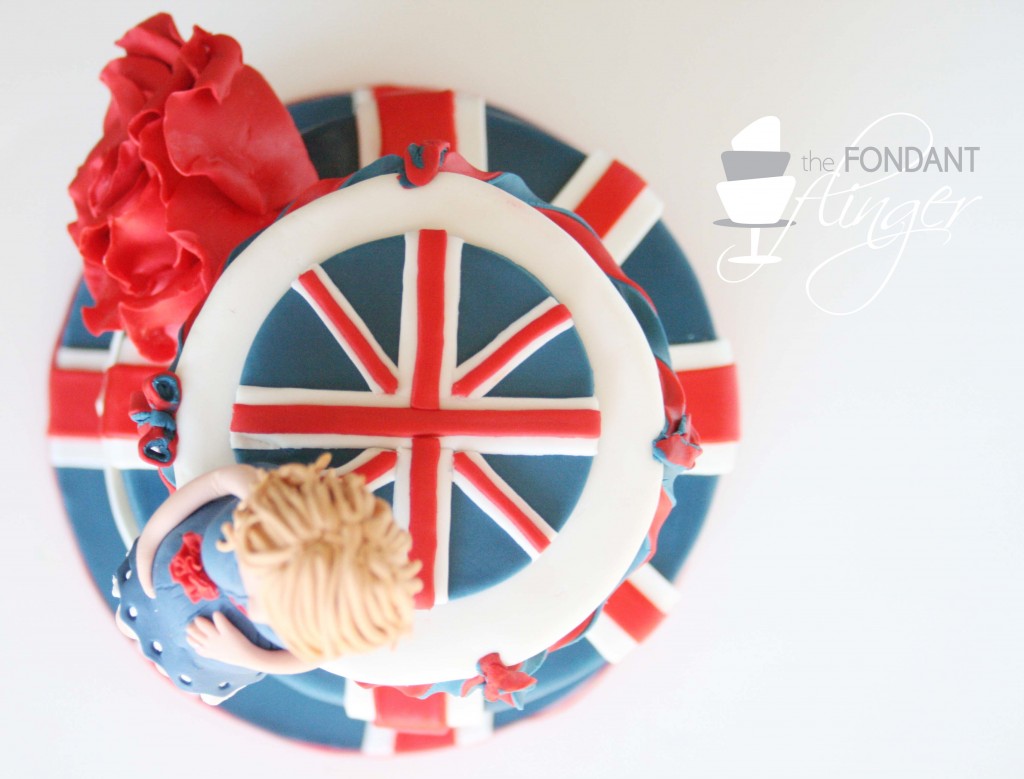
Fondant Flinger Guam Cake for Cake Masters Magazine - Photography by Lee Lopez
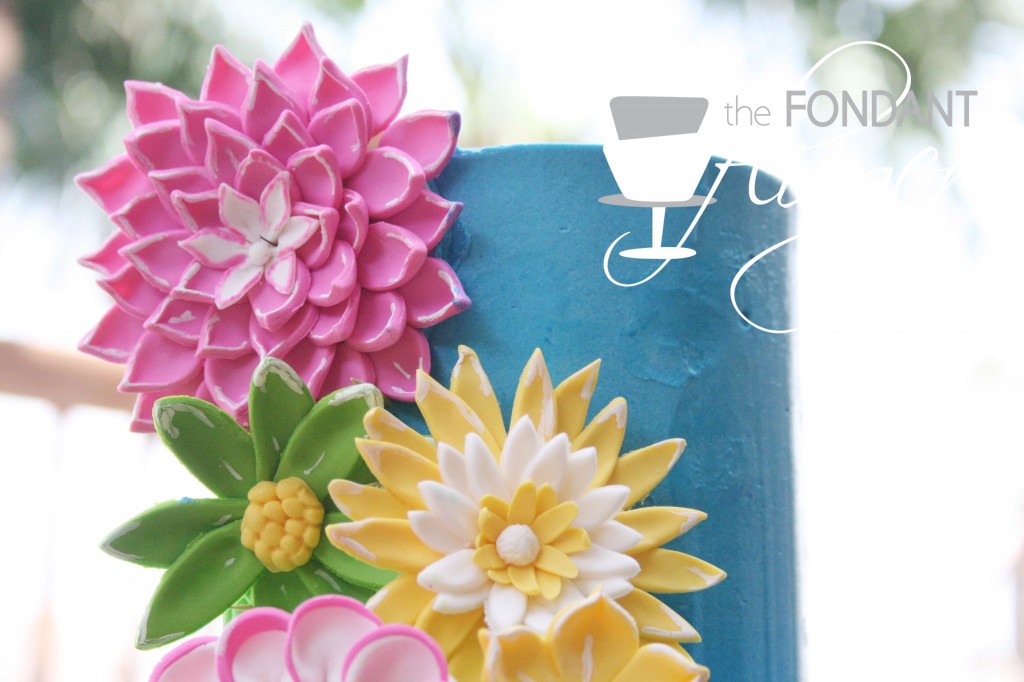
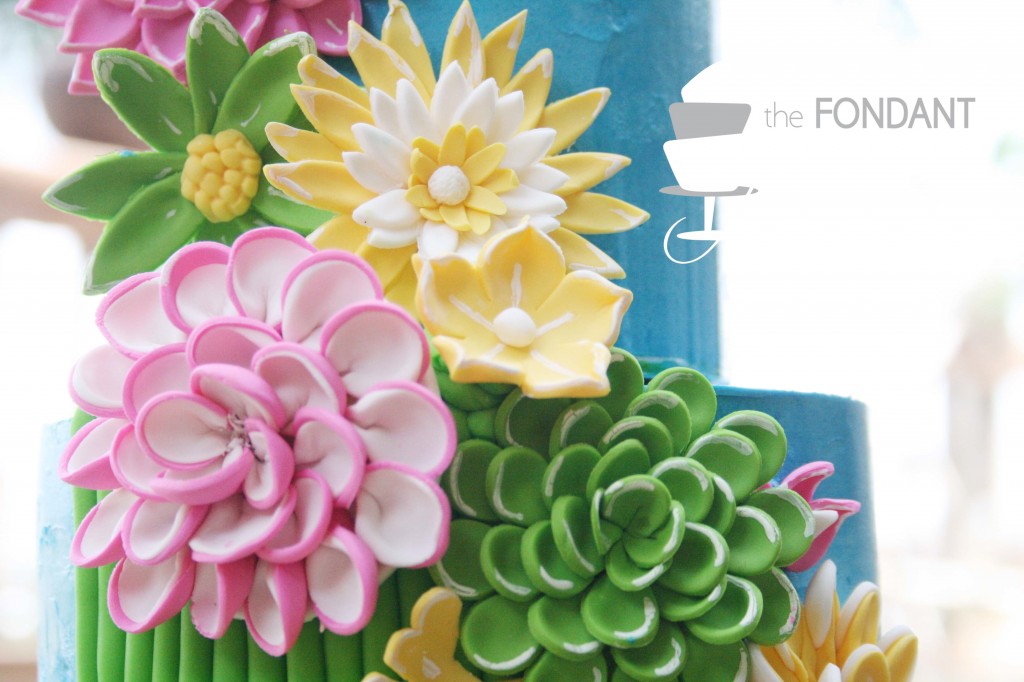
Guam cake inspired by the culture, tradition, art, and beauty of the island. Bottom tier is inspired by the undersea beauty of Guam’s coral reefs done in cocoa butter painting. Adorning each tier is a “lei” of plumeria. Guam is an incredibly welcoming island and guests arriving are given plumeria leis as a symbol of hospitality.
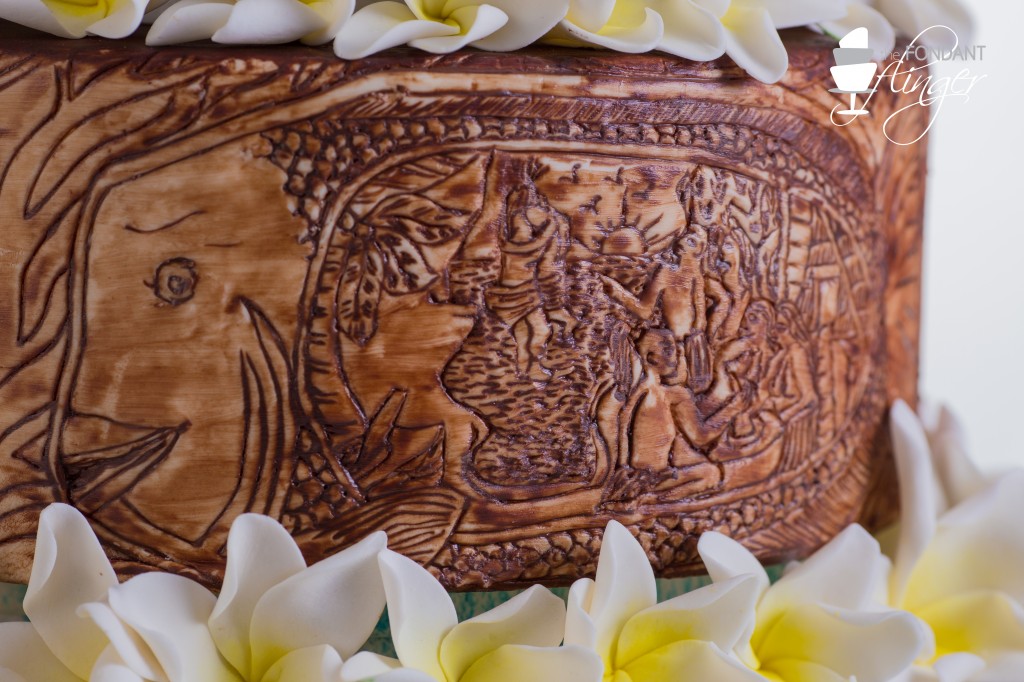
Fondant Flinger Wood Carving Detail - Photography by Lee Lopez
The middle tier was done to imitate Guam’s ifit (tree on Guam) wood carvings on storyboards. This one in particular tells the story of Two Lover’s Point, a story of two lovers forbidden to marry that tied their hair together and jumped from a cliff so they could spend eternity together. The original carving was completed by master carver Robert Taitano, a local artist. This tier was carved into the fondant with a needle and painted over with cocoa powder and cocoa butter to achieve the wood effect.

Fondant Flinger Latte Stone Hut Detail - Photography by Lee Lopez
The top piece is a replica of the traditional huts on Guam used by the natives. Set high atop carved stones (called Latte Stones) these woven palm huts were homes to the natives back before the Spanish arrived on Guam. The thatch roof is made from wafer paper colored with cocoa butter and food gel.
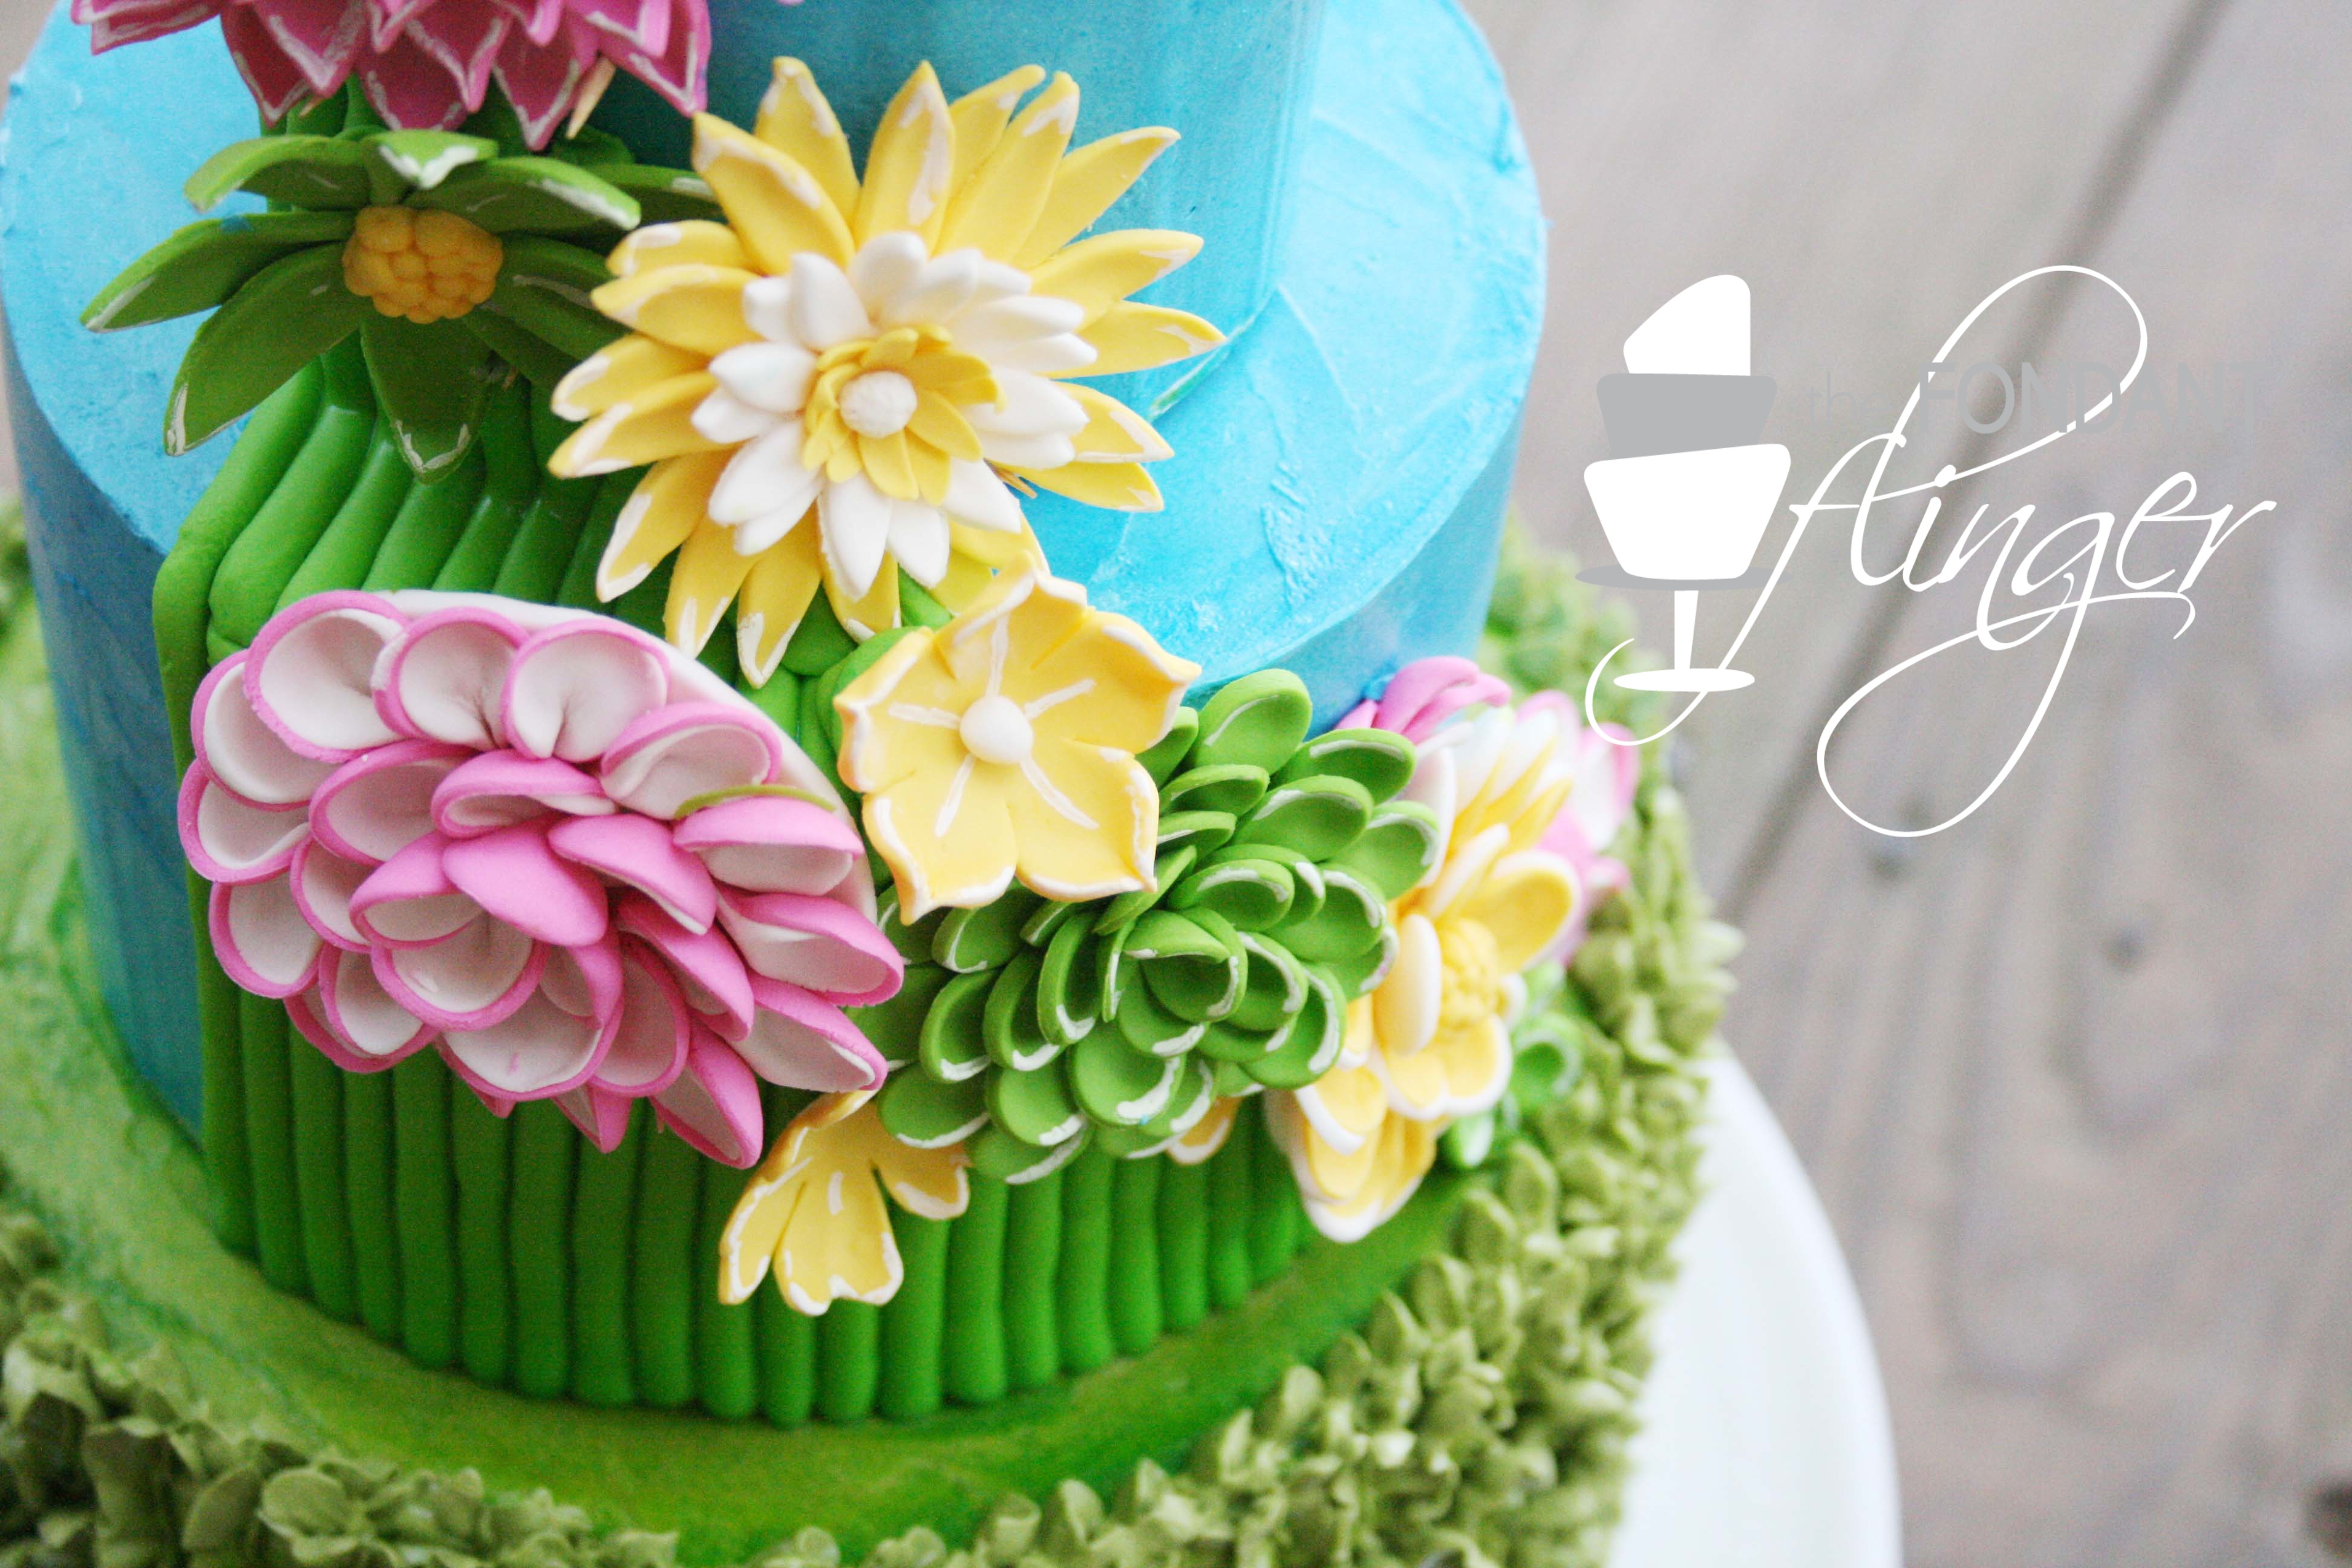
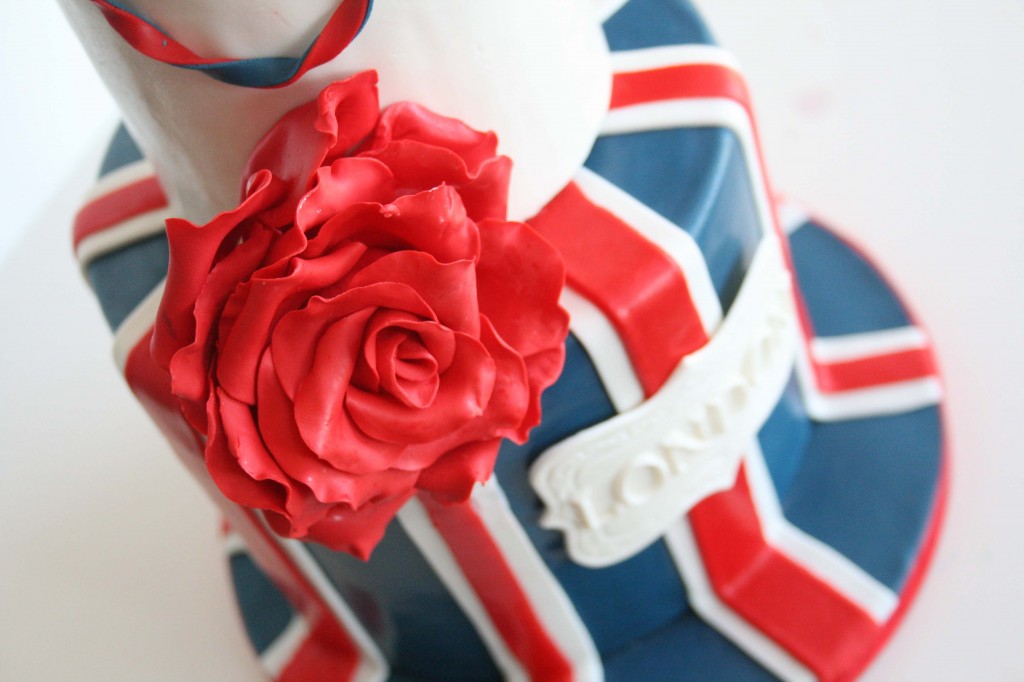
Fondant Flinger Guam Cake Close Up - Photography by Lee Lopez
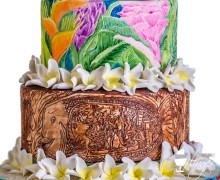
The top tier was inspired by the water color paintings/ and island shirts seen depicting the beautiful flora and fauna of the island. Torch ginger, bamboo and bird of paradise paintings done in cocoa butter.
Guam will always hold a special place in my heart since I had the privilege of calling it home for almost a decade throughout my life and it is also the place where I met my wonderful husband (ladies, seriously….you need a good man? Head to Guam! The men there are handsome AND they can all BBQ like no one’s business).  Guam is an incredibly unique destination and I hope that I did her beauty justice.


