Sugar art and cake design

I was so thrilled to make this ultra girly pink birthday cake for Grace.
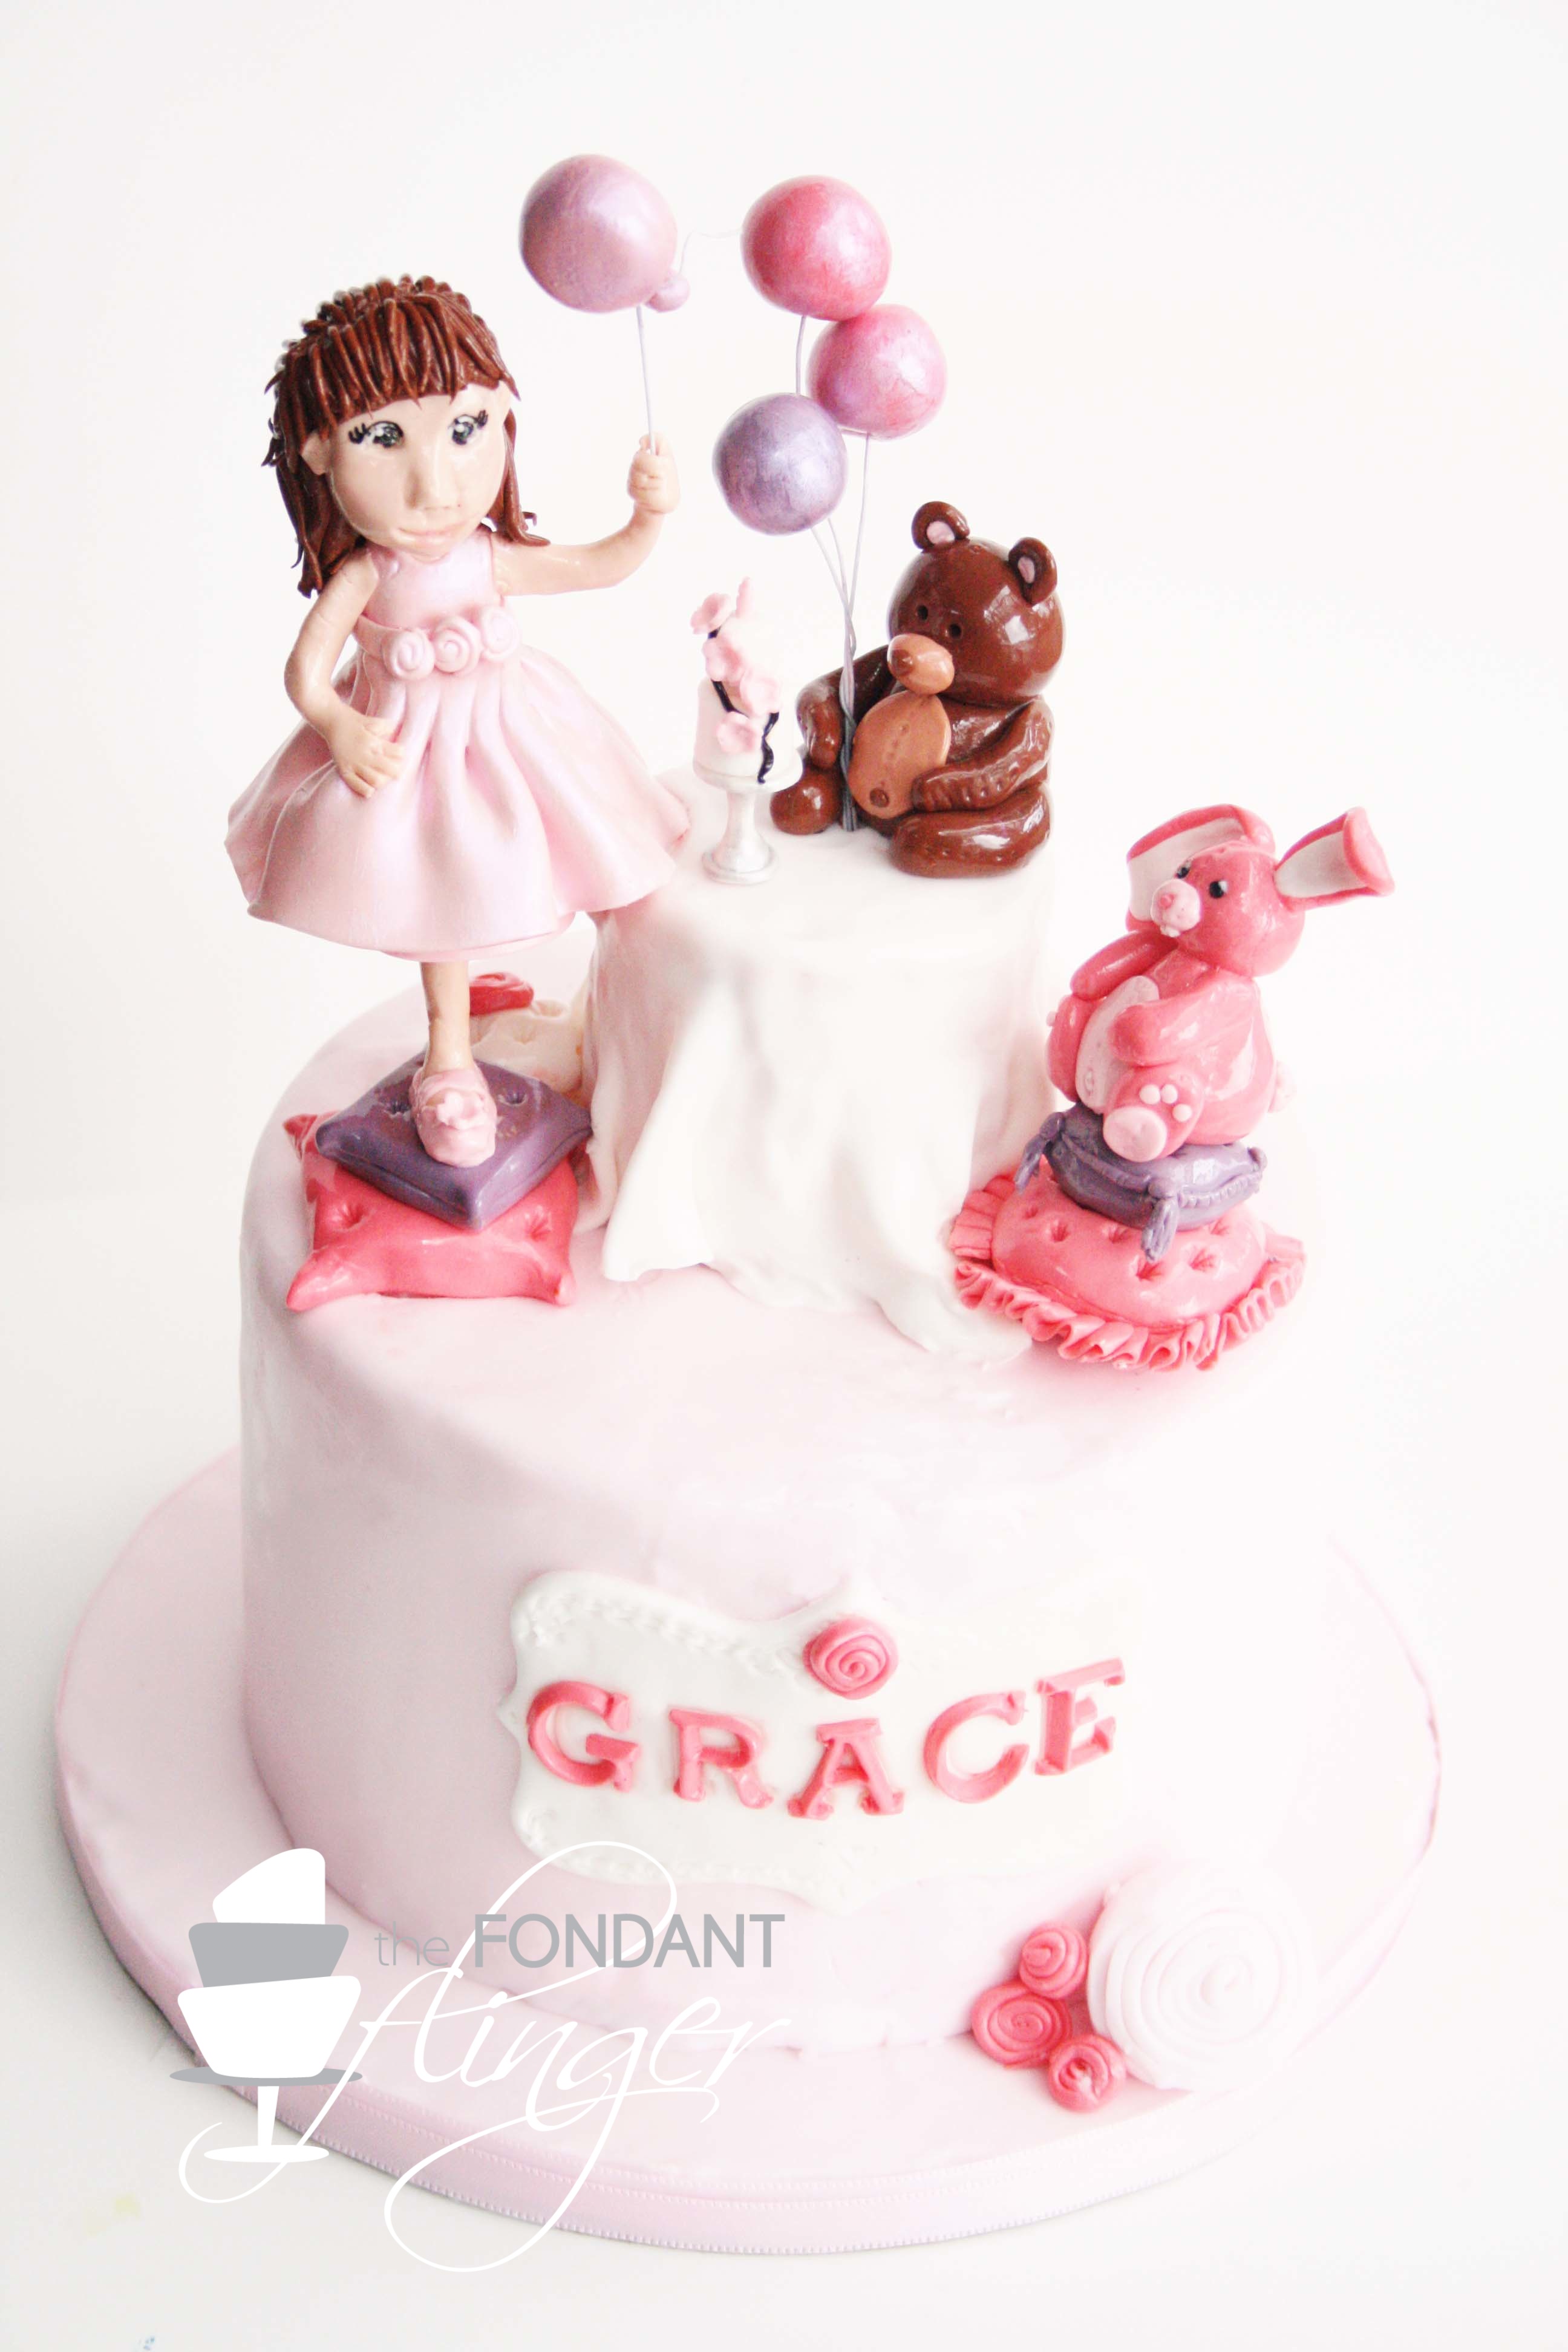
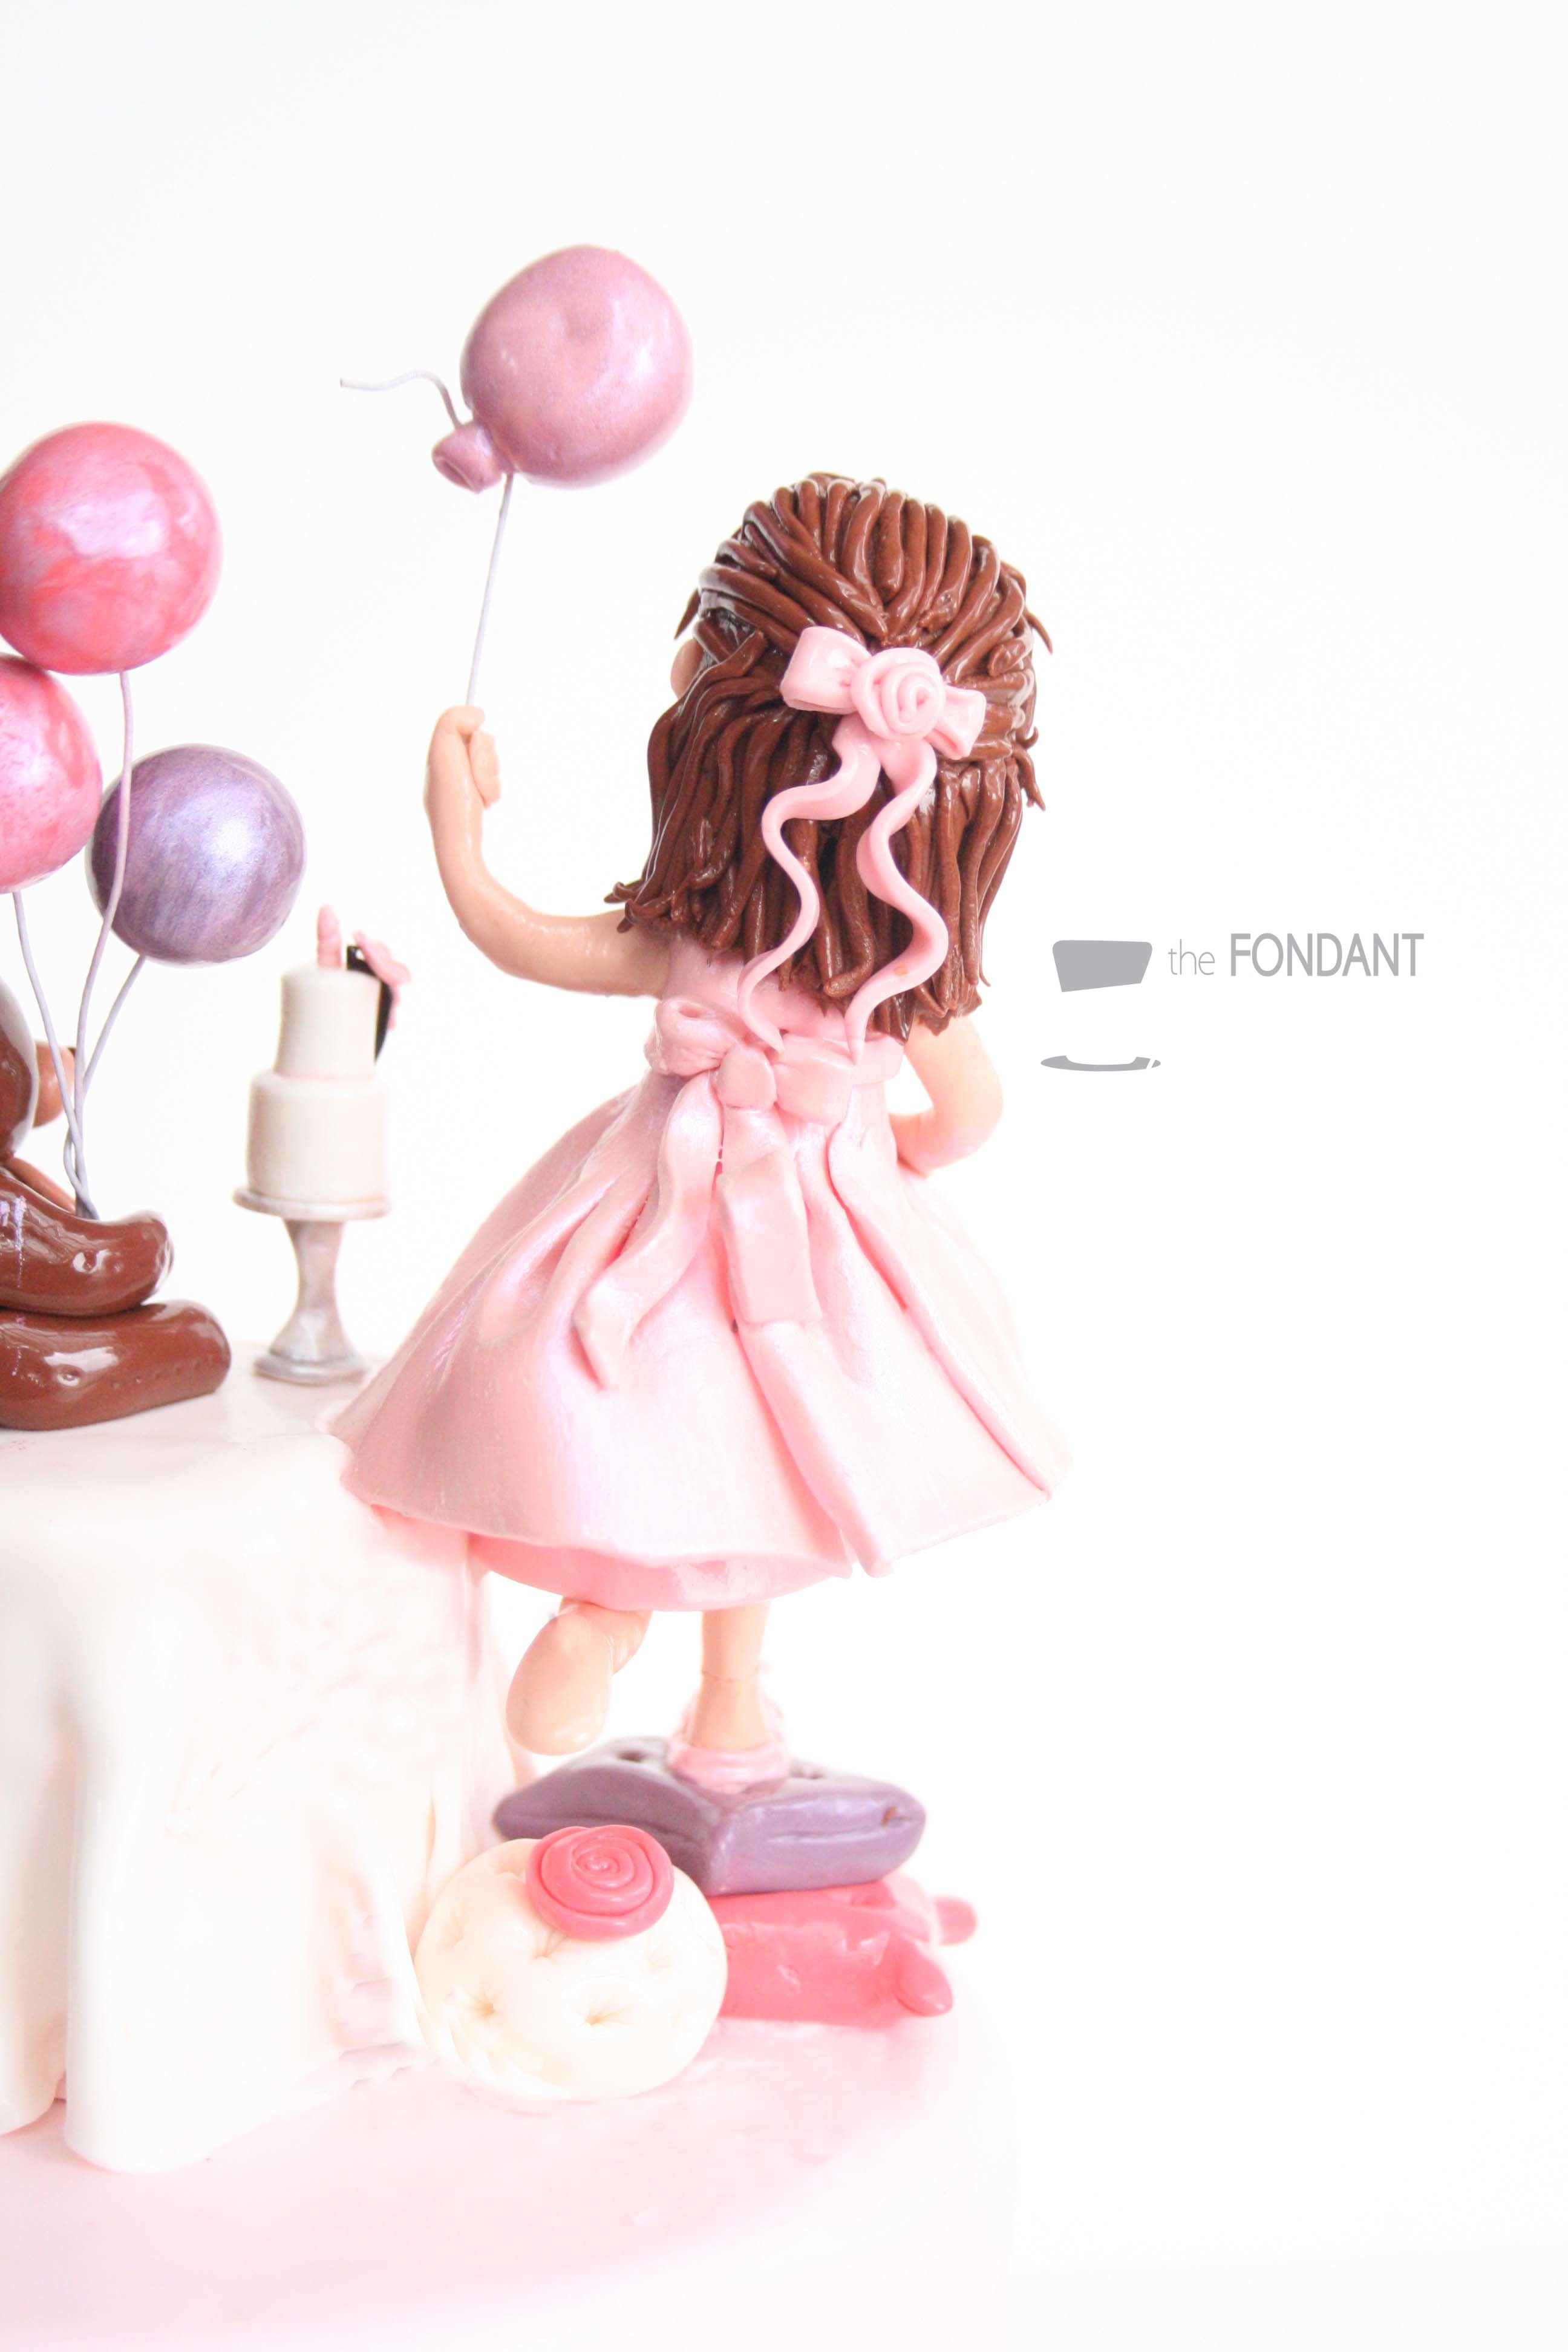
Grace celebrated her birthday by going to a very special tea party and the family surprised her with this cake that evening.
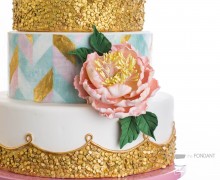
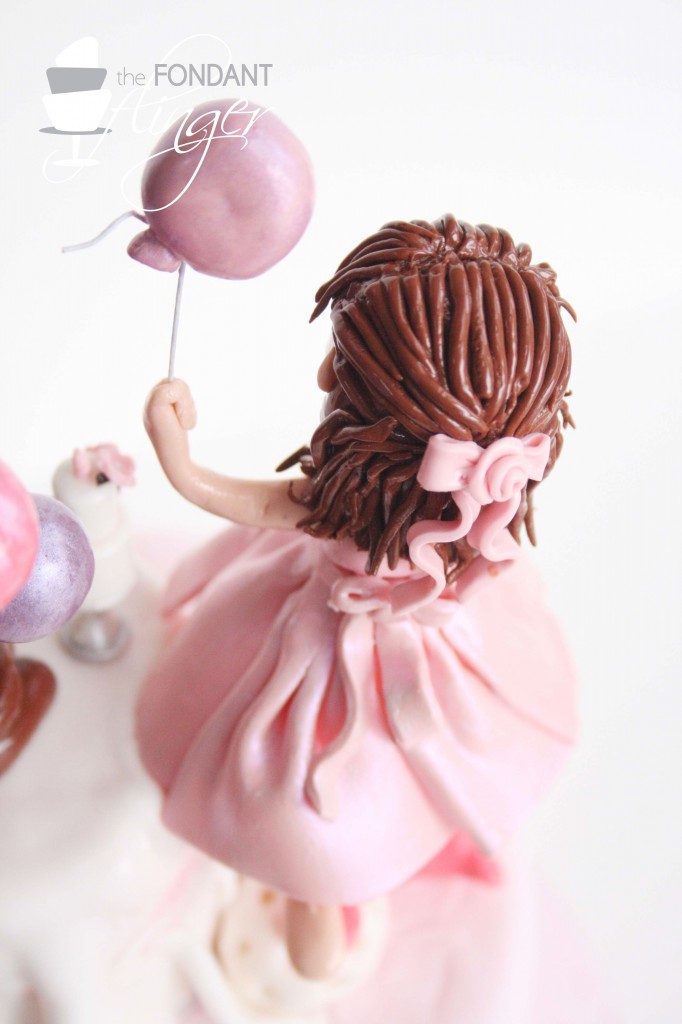
Grace’s Mommy had purchased a pink dress with rosettes for the birthday girl and I designed the figurine’s dress based on that image.

Grace also had spent some time in Okinawa and had seen the cherry blossoms in bloom. I replicated them for her teensy tiny birthday cake. Happy Birthday, Grace!
I had the honor of making a baby shower cake for my dear friend, Erika. It was only fitting that I designed something very British since her and her husband decided on the name, London for their little girl.

I was thrilled when I saw that Anne Heap of The Pink Cake Box has just recently launched a new class on Craftsy.com with fantastic tutorials for figurines.
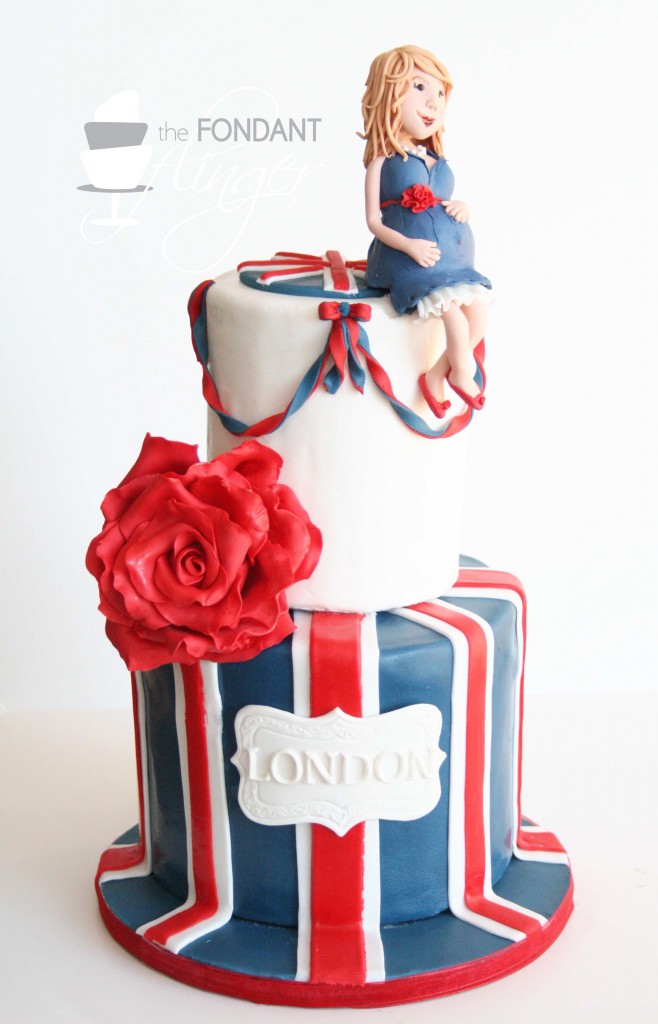
Even better was that Anne had included a tutorial to make a sitting pregnant lady! How perfect!!!
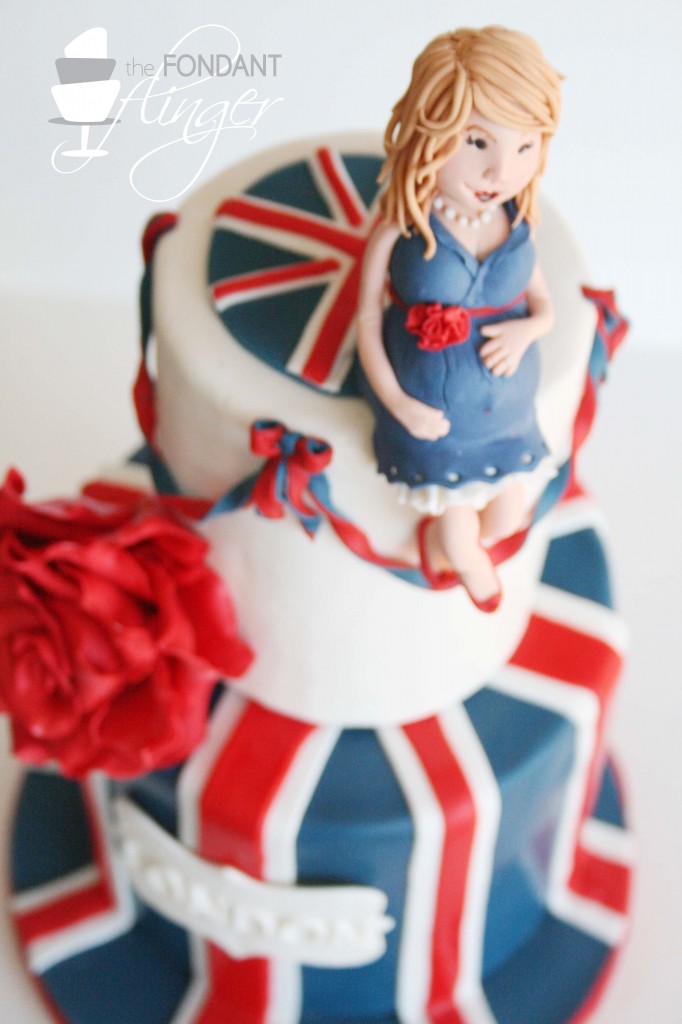
Anne’s steps were completely easy to follow, involved many tips and techniques to ease the process and she made it fun! Her casual teaching style and engaging personality made the videos incredibly enjoyable.
The figure took several days to fully assemble and dry so, if you do decide to purchase her class in preparation for a topper, make sure to allow your self plenty of preparation time. And before I forget, here’s a link to 25% off her class! http://www.craftsy.com/caketoppers25

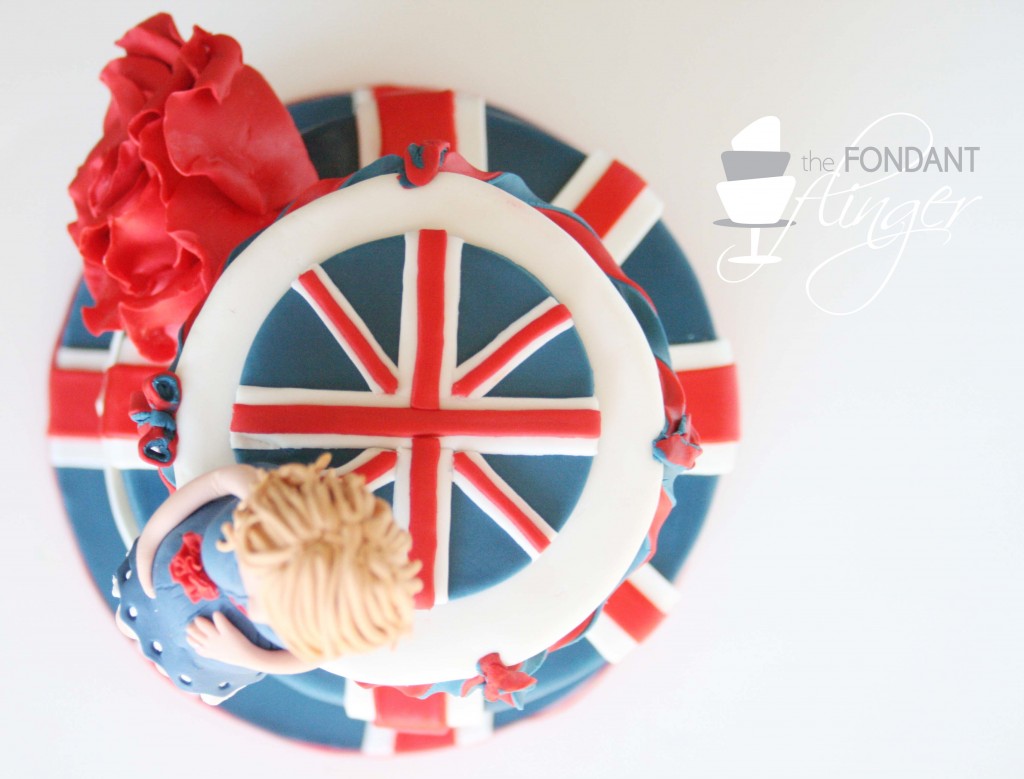
OK, and here’s my thinking behind the rest of the cake. I knew I wanted to incorporate the Union Jack flag for the bottom tier. To make it a bit more fluid and flag like, I decided to continue the striping down the sides of the cake and onto the cake board below. I think it gave the whole thing a bit more “BAM”!

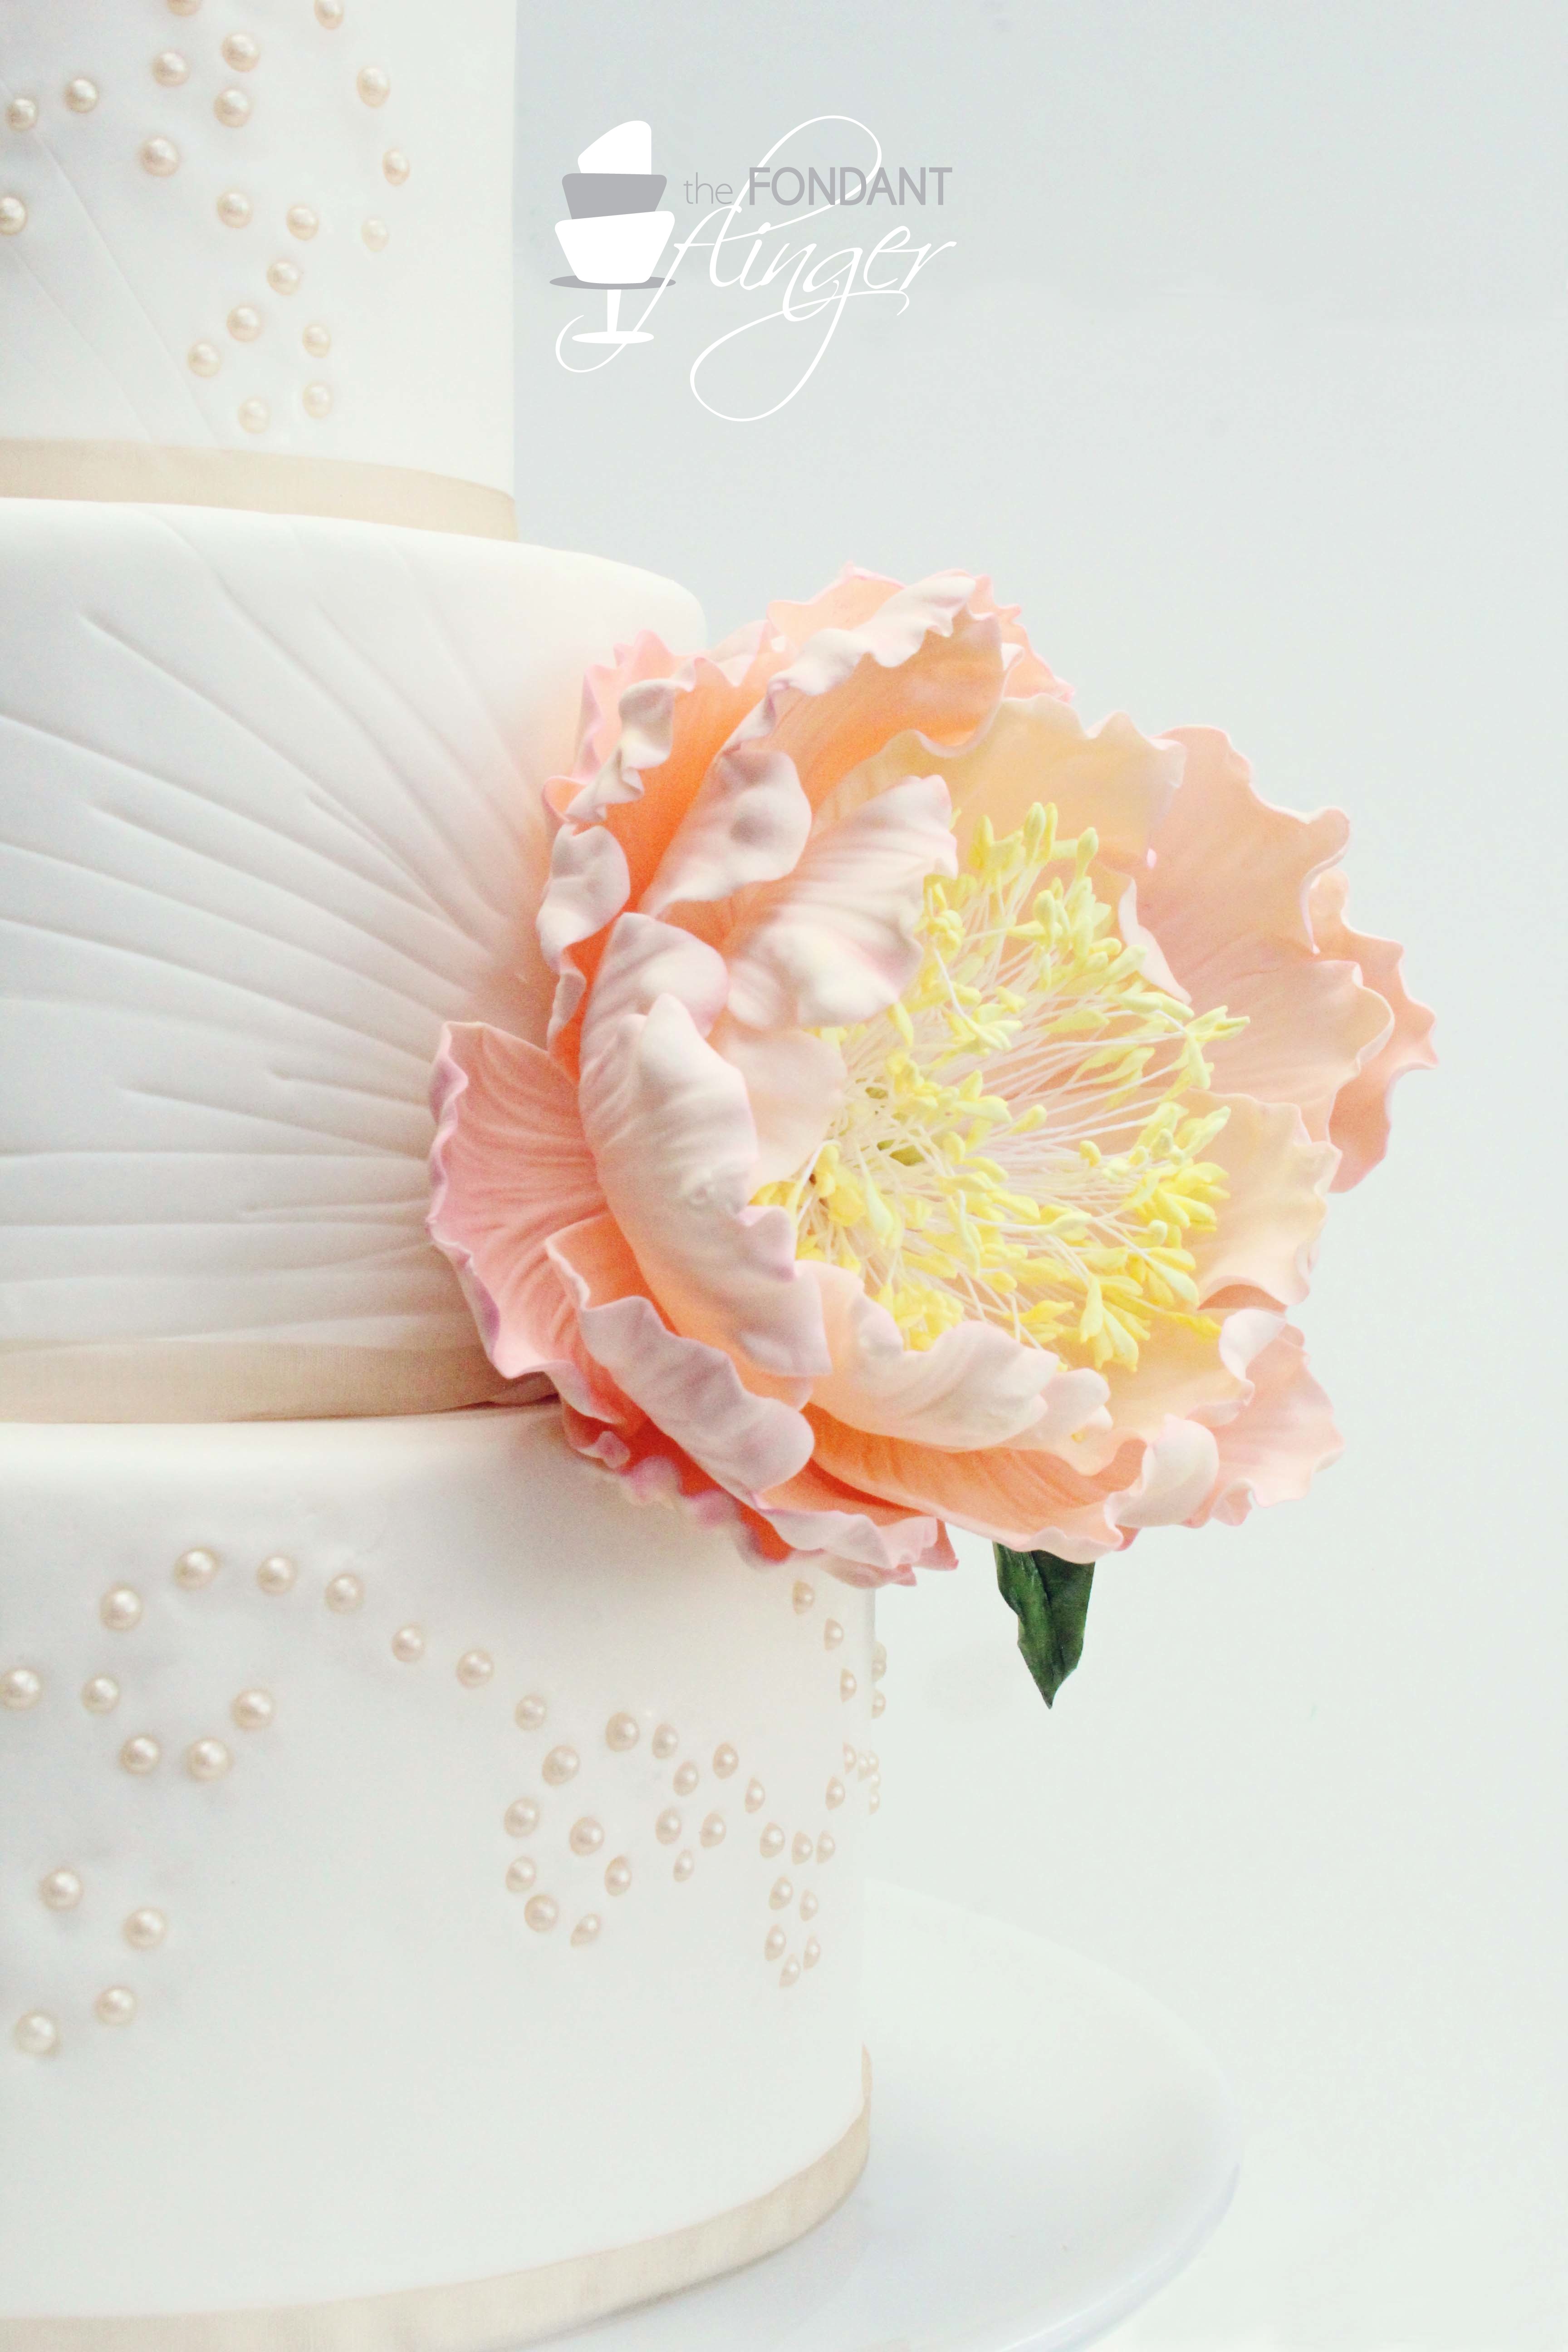
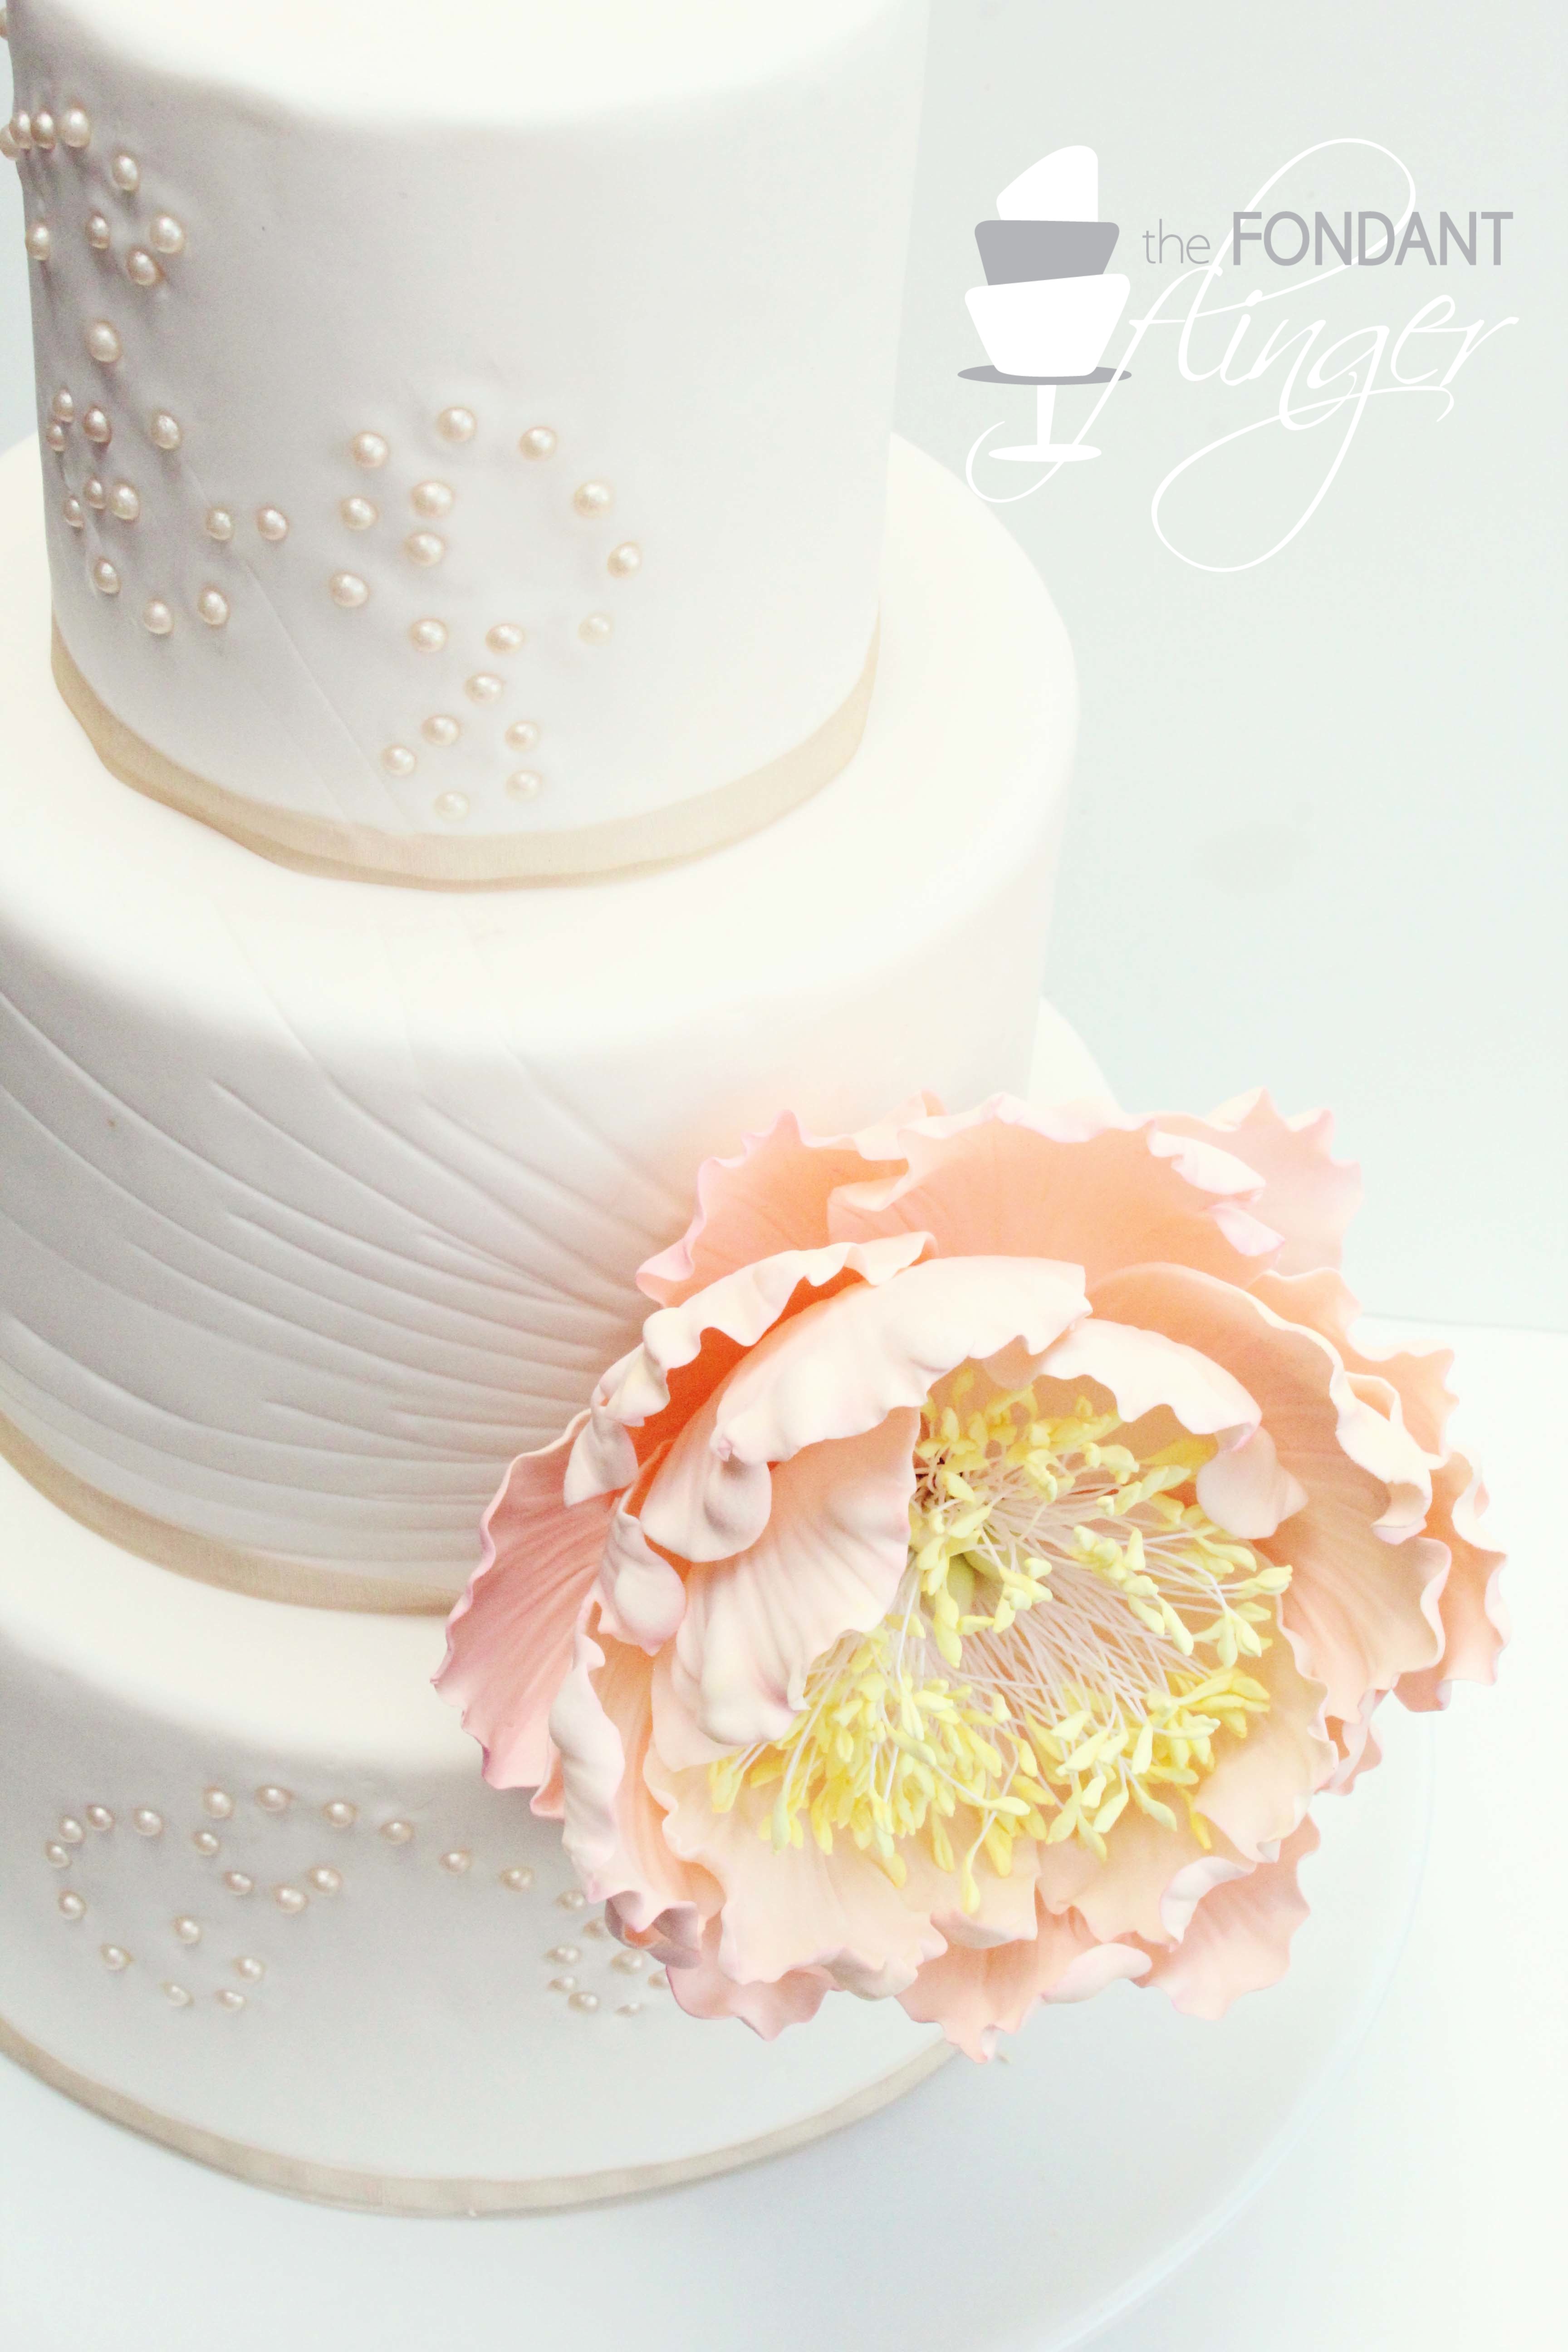
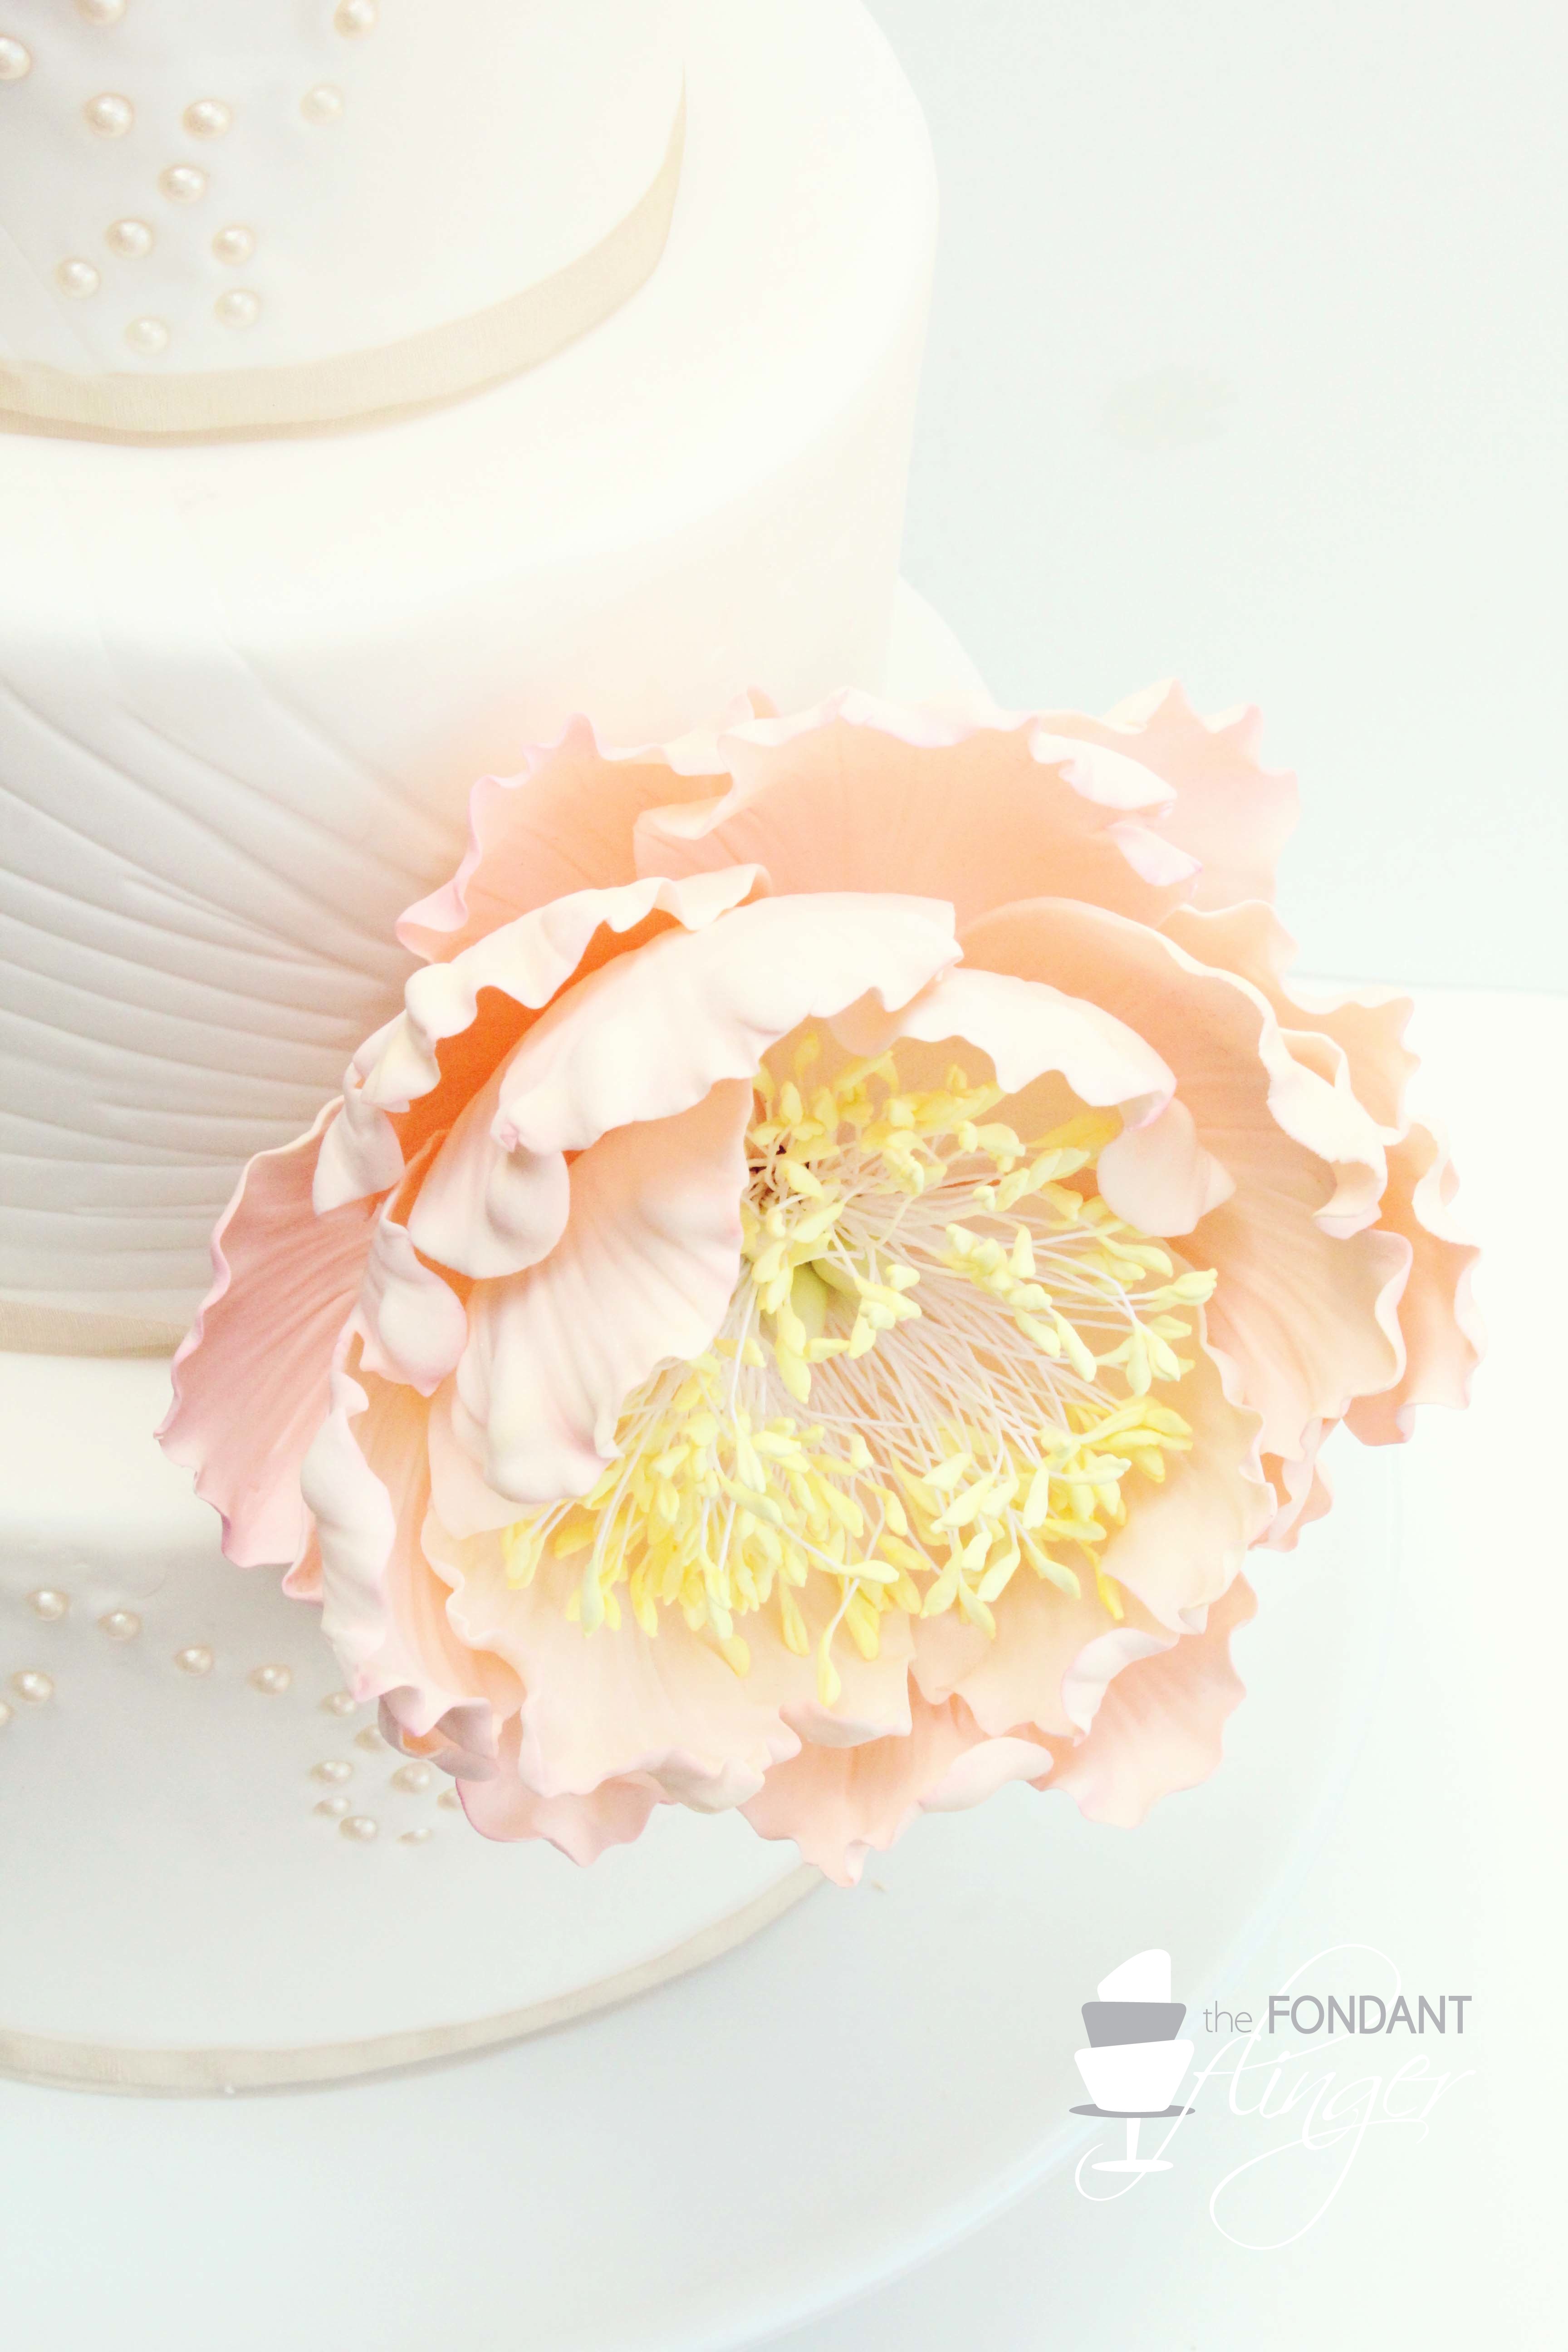
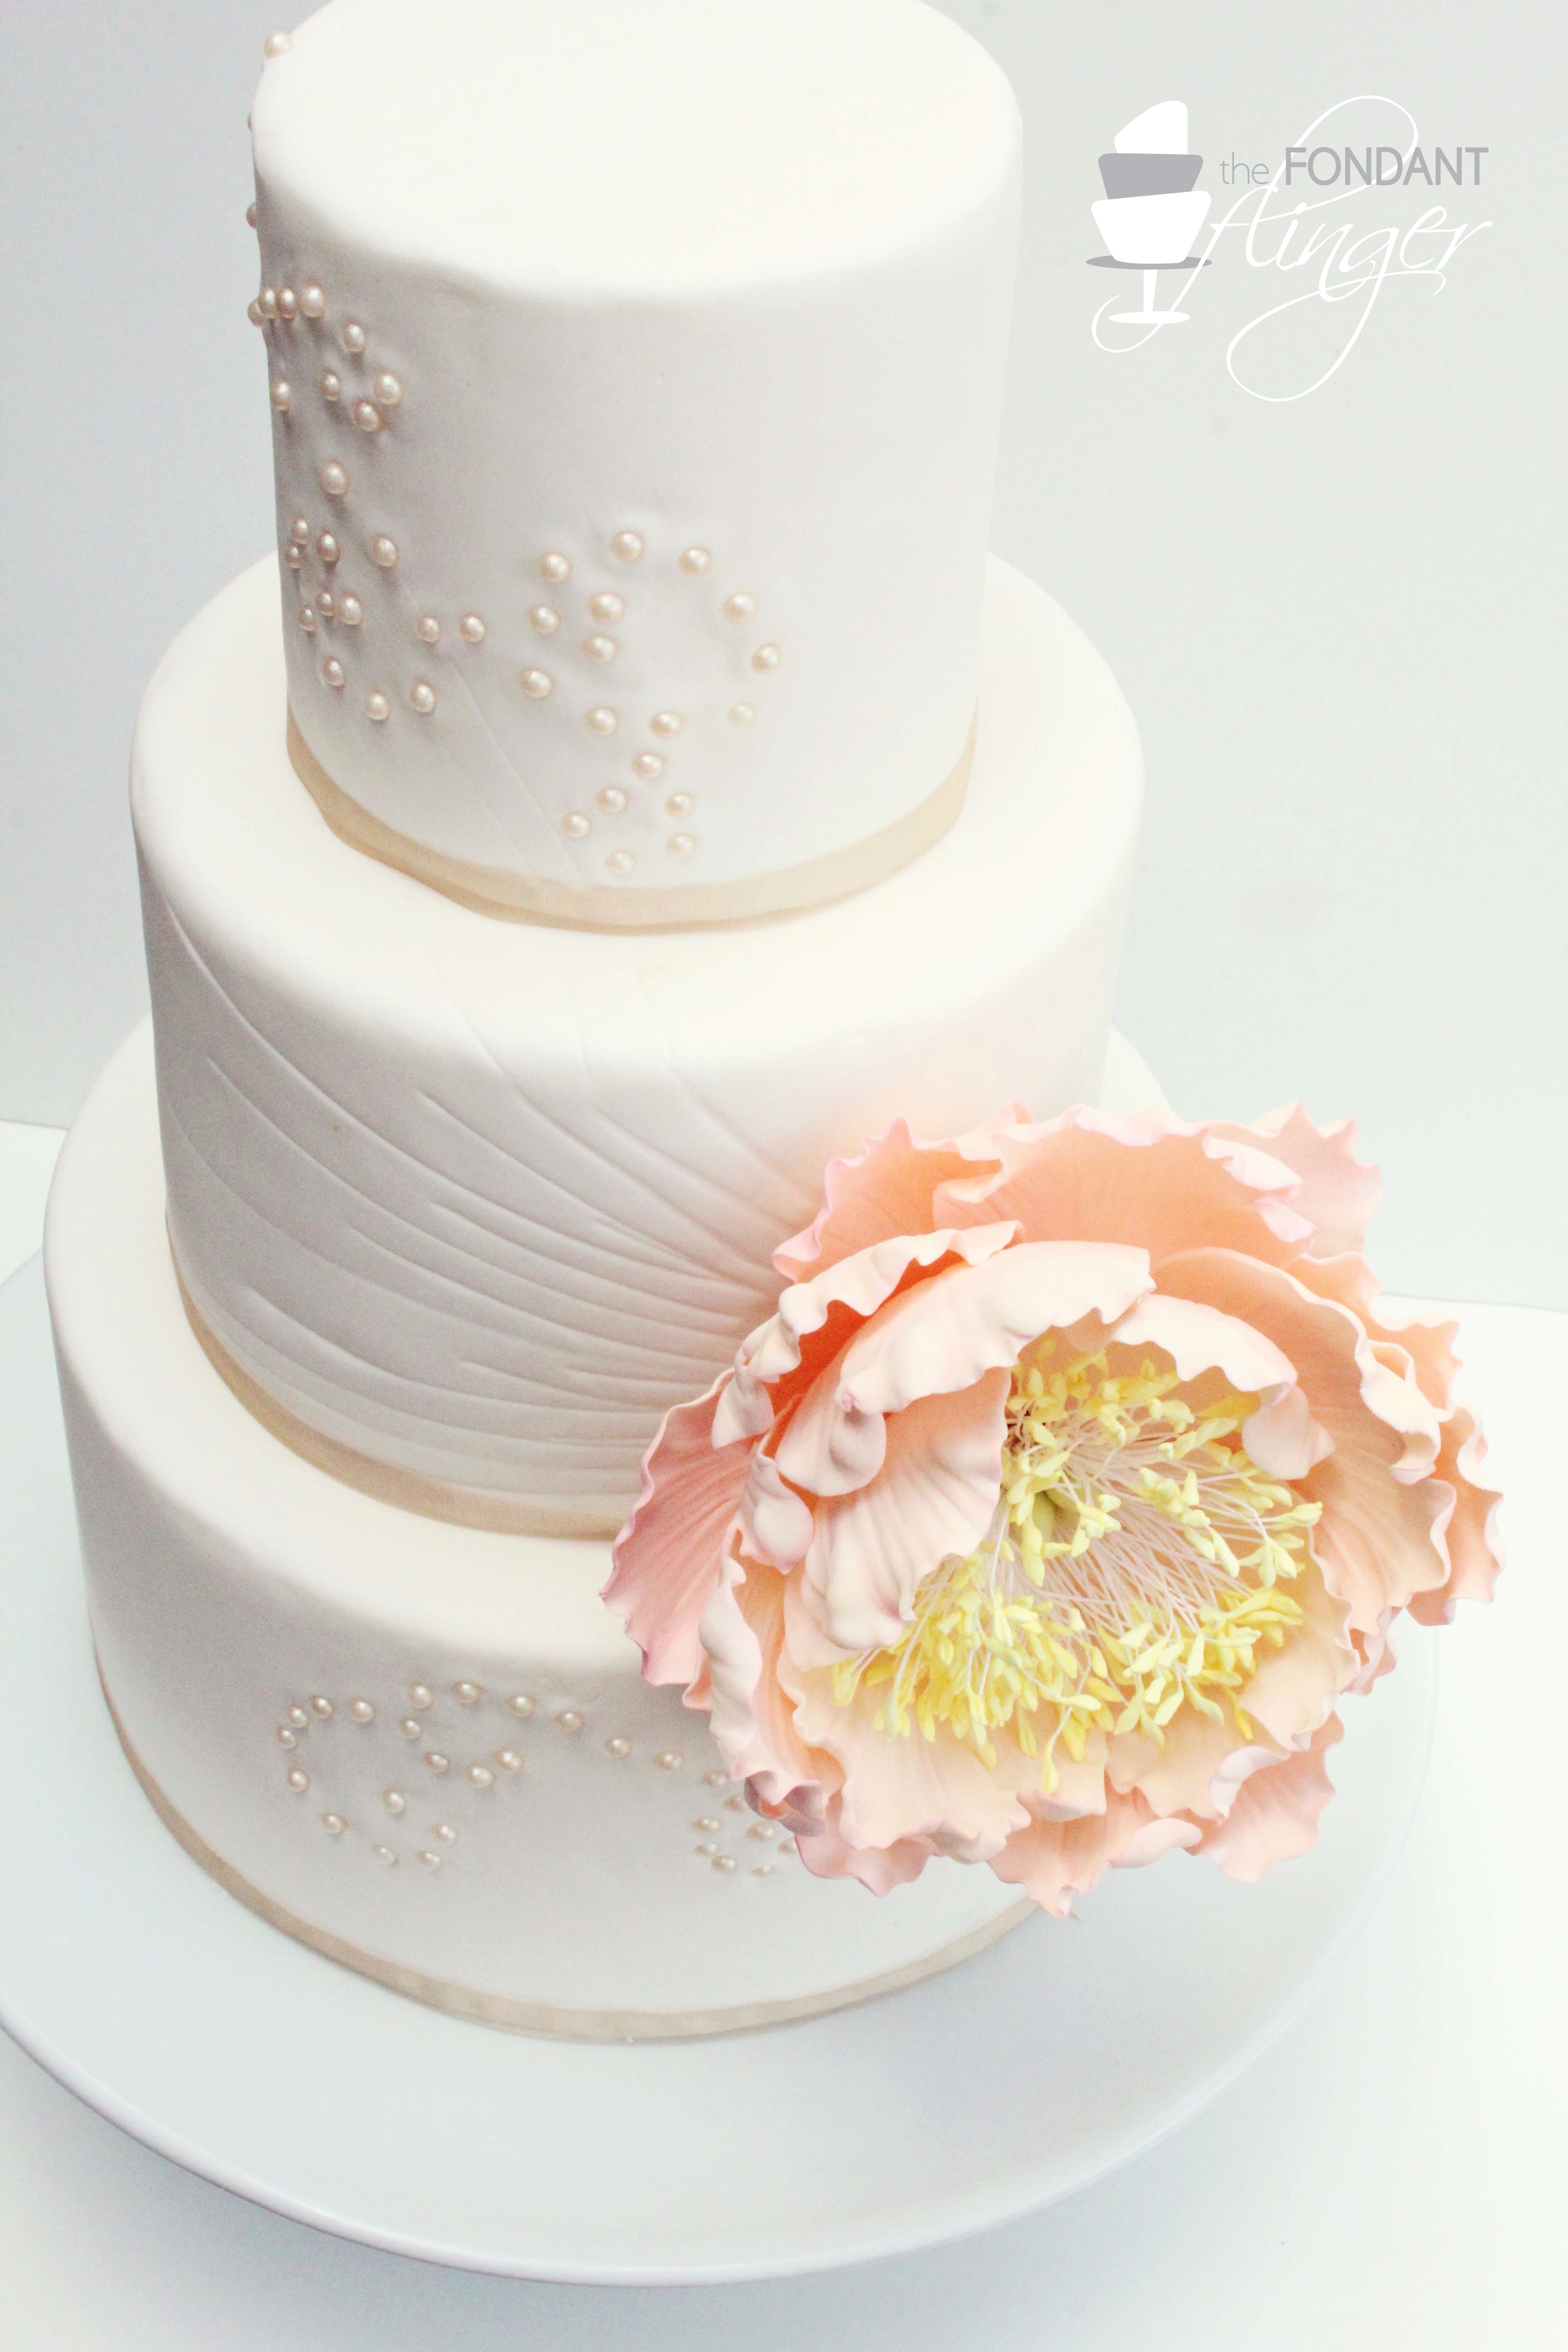
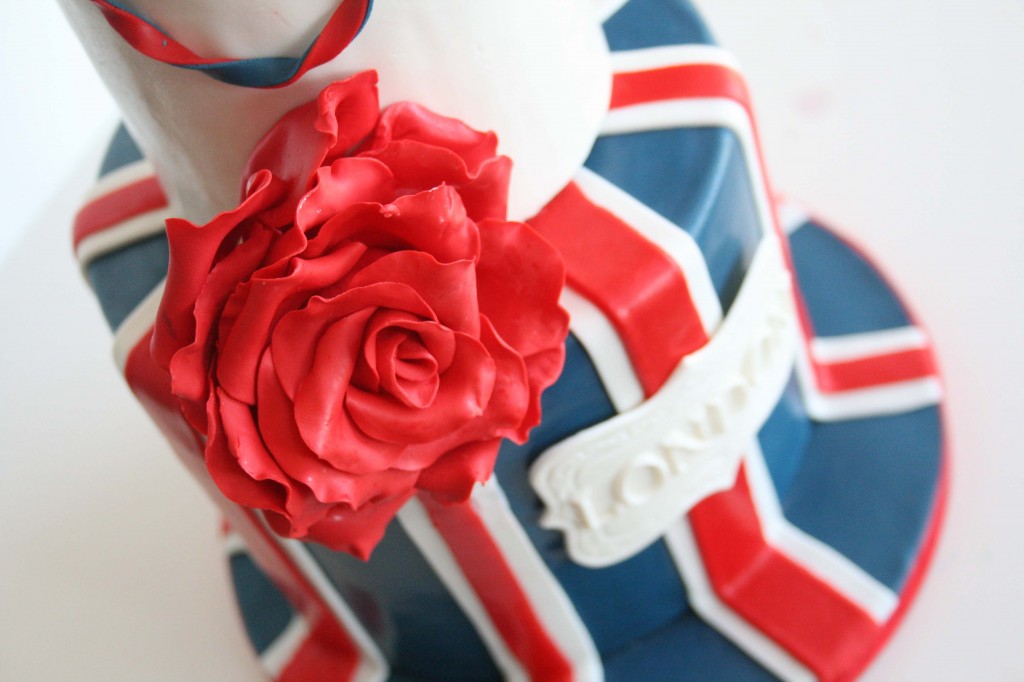
I wanted the cake to have a lot of oomph so I designed the cake to include the large rose between the 1st and 2nd tiers. After I drew up the design, I went back to my figurine and added the small red ruffle rose on her waistline to coordinate. Jamie at Yuma Couture Cakes kept posting photos of cakes with beautiful swags so I created these two toned swags for the top tier, set off with a small bow on the front. I used an awesome plaque cutter (from coppergifts.com, as well as alphabet cutters for London’s name and etched the side designs with a needle.
The bottom tier was chocolate rum with dark chocolate ganache and peanut butter swiss meringue buttercream and the top tier was a lemon cake with lemon curd and vanilla swiss meringue buttercream and in case you were wondering, Erika loved it!

This was the first wedding cake that I worked on in which I had no contact with the bride. A bridesmaid took care of all the arrangements. I wish I had gotten the opportunity to meet this bride. Maybe then I’d have an awesome story to share about the meaning behind a wedding cake devoted to puzzle pieces.

But since I don’t, I’ll just assume that the Bride and Groom finally found each other and the fit was perfect.

The design of this cake had to be simple. The tiers were naked swiss meringue buttercream with the basic flavors of chocolate, vanilla and marble.

Originally, the bridesmaid had requested a simple border of joined puzzle pieces lining the bottom of each tier. However, this idea popped into my head and I sketched it out for her so I could present the idea to her. She loved it and gave the bride her opinion on changing the design to something more dramatic. Thankfully, the bride agreed since once I have an idea in my head, its really all I can think about!

We were keeping to a tight budget so I kept all the decorations simple. I purchased a mini puzzle cutter from Copper Gifts and cut out puzzle pieces from gumpaste. I cut some of them in half, some diagonally and kept some whole to add some variation to the design. The pieces that were cut in half worked perfectly for those pieces that seem to be coming out of the cake. I painted them all with silver luster dust diluted with vodka, let them dry and arranged them on the buttercream covered, stacked tiers.
I added some random silver dragees to add another element to the cake. The puzzle pieces dried a bit “flat” color-wise and the dragees had a sheen similar to the initials. I think that their addition made the cake more cohesive.
The couple had provided the initials to be used so I added these just as the bridesmaid arrived to pick up the cake. They were pretty heavy and I was worried about having them so close to the edge of this tier but thankfully, they stayed put!


This is by far my FAVORITE cake. When I started the design process, this EXACT design is what was in my head and I couldn’t have been more excited that it came out exactly as I had hoped.

I love designs including textured layers of cake and my hope was that this cake would maintain its elegance after the grass layer was completed. In my head, the concept seemed *amazing* but I was a bit concerned that it would look a bit childish when it was completed.

It didn’t. 

As soon as I started assembling the cake, I started getting excited…….

Like REALLY excited! So excited in fact that I emailed Carrie at Half Baked, the Cake Blog to see if perhaps she was interested in featuring it on her awesome site.

She said yes, by the way. You can see the write up here.
I think the painted poppies are what make this cake “pop”. I made them from gumpaste, let them completely dry and hand-painted them using various blue food colorings diluted with vodka. After they dried, I came back and did a bit of highlighting with white food coloring. A little yellow gumpaste, a bunch of stamen and a toothpick were all I used for the centers. Again, I was going for a painting so I didn’t bother with trying to make them look real.
The grass was incredibly tedious. I used a lily flower cutter and cut off the bottom portion so that I had a strip of leaves. Using a ball tool, I lengthened each leaf and softened the edges. I did this for hours and hours (6) with multiple shades of green to achieve the ombre look.
The final step I did on this cake was to dust the yellow tier with gold luster dust. I didn’t think that it really showed up until I saw these fabulous photos from Sylwia Ok Photography.
All in all, I could not have been more pleased with the outcome of this cake! It makes me happy and since it was Mother’s Day and there were 8 inches of snow on the ground in Alaska, I could have used all the “happy” I could find!


A friend of mine asked me to make a cake with pansies for their Mother’s birthday. Most of the pansy cakes that I had seen we’re pretty much designed in the same way. I wanted a pansy cake that had some “oomph”, and yet still had some class. I went with a version of the pansy that mimicked one you would find in a painting. The birthday lady’s favorite pansy was a blue one so I used a range of blues on my pallette.

I first made the pansies using white gumpaste, and a five petal flower cutter. I lengthened each petal and used a ball tool to soften the edges. I elongated one petal on each flower to create the “pansy” look.

I rolled the white gumpaste into a long thin rope and used small sections to create the center. I then let the pansies set on flower formers to get a more natural shape.

After the flowers dried, I painted them using food coloring and vodka mixed together. I then positioned the flowers on the cake and painted on the leaves and blue background.

You may not know this but I love making cakes. Who’d have guessed it, right? But there’s something you probably didn’t know. Louisiana doesn’t have a cottage law of any sort. Do you know what that means?! I can’t bake and sell cakes from home anymore. Isn’t that devastating?! I mean, seriously, what on earth am I going to do with all my free time?! Well, I already have started filling my days with cupcake topper orders so that I can maintain my fondant fix but there’s still nothing like making a cake from start to finish. That’s why I was thrilled when my friend Melissa let me make her son’s 1st birthday cake! And even more excited when I found out that she had chosen a vintage circus theme for the party. What’s not to love about antiqued coloring and way over-the-top font?!


She had 2 cupcakes in addition to the cake so I made these little fellas to accompany the elephant:

and this little seal too:

Thank you, Melissa for letting me make Liam’s cake!
Before the start of any cake, I research the theme rather extensively. I gather books, photos, toys, anything I can get my hands on that will help me understand fully what I am creating. Being a mother of two boys gave me the great advantage of having an endless supply of truck paraphernalia. When my research portion is completed, the walls of my work space are generally covered. This is my work space for the Optimus Prime project:

Images of truck from various angles are included from various books and photos gathered during my research phase.
I could not have been more excited when I found the front and side view truck renderings. Using my printer, I blew up the images to the dimensions that I needed for my cake and cut them out. These are what I use to constantly check the scaling of each piece of the truck.

Blueprints printed, resized to scale and measurements taken.
After I know the general dimensions of the cake, I can work on the pieces that will have to be constructed out of gumpaste. In this case, I knew the side view mirrors, front window frame, grill, bumper, muffler thingy (yeah, I’m most definitely not an authority on what the individual pieces are called), etc. would have to be constructed out of gumpaste and then painted with silver luster dust. I went ahead and made the rims first since they looked REALLY cool. I measured the diameter on the rim of the truck on my blueprint to get the size circle cutter I needed and proceeded to cut 6 circles out of white gumpaste and used a round piping tip to create holes around the edges of the rims. Now, the front two tires of the truck had rims that were convex and the back 4 rims were flat. To make the two circle convex, I laid them on top of an upside down plastic painting pallet to dry. The other 4 rims just dried laying flat. As they were drying, I measured the center portion of the rim and used small round cutters to cut out 6 circles for the inner circle on the rims. I again used a small piping tip to make the small circles around the edges. Last, I used another piping top to cut the center circle of the rims. I assembled them all and let them dry. The other pieces I made according to the dimensions on my blueprint. Here are the pieces drying in this photo below. Just disregard those Lorax tree trunks on the left.

After the pieces dried, I painted them with silver luster dust mixed with some vodka and set them on parchment paper to let dry overnight.

I also completed the wheel wells ahead of time:

I knew that I wanted the truck raised off the cake board so I had to enlist the talents and skills of my wonderful husband. I gave him dimensions for the board including where I wanted the dowels places under the truck portion of the cake board so they would be hidden by the tires. He made the board and while he did that, I baked the cakes and whipped up some peanut butter swiss meringue buttercream. Once the board was done, I wrapped it in foil and began to cut and position the cakes on the board.
Here is the board my fantastic husband made for me:

In hindsight, it should have been more narrow in the front but this worked well enough for what I needed. I layered cake with buttercream and cut the cake down until I got the dimensions and the basic truck shape. I crumb coated it and let it chill and harden in the refrigerator.
And here’s the fun part! I covered the bottom board in black fondant, attached the tires and wheel wells, covered the hood in red fondant and attached the grill and headlight pieces.

Coming along now, isn’t it?! See? I told you this was the fun part! I covered the cab with blue, attached the windshield, muffler thingies and all those other random pieces of metal stuck to the outside (Yep, still don’t know what any of it is called) and made holes to place the rear view mirrors. See those white poofy things near the bottom of the picture? I used marshmallows covered in fondant for the air tanks.

Basically after this, it was just adding flames and detail where I thought it needed it. And there you have it! Easy peasy!


Wow! A year?! Its crazy how much one person can learn in one year.
Last May when I started Fondant Flinger, I had fairly low expectations. It was just going to be a hobby; something to do in my spare time when I got bored. I had no idea the amount of support I would get from our community here on Kodiak. Before I knew it, every weekend was booked months in advance and what started as a hobby turned into a passion. I don’t think I could have ever prepared myself for the personal sacrifices I would have to make, mostly in the extreme lack of sleep! I know that I can fully thank the Lord for a supportive husband, the talents He has blessed me with and the strength to get me through this past year. Another wonderful source of support came from the online baking community who provided endless encouragement to those of us just starting out. What a wonderful group of bakers out there!
So that’s what this giveaway is about. I wanted to, in a small way, give back to the baking community and the fans that provided me with encouragement during this last month and to celebrate reaching the 5,000 fan milestone! WOO HOO!
This contest will start today marking my 1 year anniversary and will end on June 6th (my birthday!). See terms and conditions for a complete list of the rules. One very special person will win the GRAND PRIZE PACKAGE (valued at over $300) which includes items from these amazing vendors:
A $50 Gift Certificate for Fondant Toppers from:
A 12″ Blushing Bride Cake Stand (a $120 price value plus free shipping) from:
")
A Dozen Cookies (a $48 value plus free shipping) from:

An Aproness (valued at $45) from:

a Rafflecopter giveaway
Again, from the bottom of my heart, thank you for an incredible 1st year!
Rachel
![]() I remember first seeing fondant work on the various cake decorating television shows and thinking “I can do that!” I bought a pack of fondant from the local Walmart and dove into the world of sugar shaping with the creation of my son’s 2nd birthday cake. I haven’t looked back since and fondant flinging has become my wonderful obsession. [Read More …]
I remember first seeing fondant work on the various cake decorating television shows and thinking “I can do that!” I bought a pack of fondant from the local Walmart and dove into the world of sugar shaping with the creation of my son’s 2nd birthday cake. I haven’t looked back since and fondant flinging has become my wonderful obsession. [Read More …]