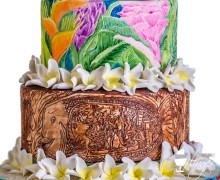

*sigh* Love and romance are in the air and my newsfeed is bursting with gorgeous bouquets, detailed gowns, and shimmering linens. Its wedding season for sure! I adore weddings. If I could get married every weekend (to my same handsome groom of these past 12 years) I would! Its just such an enchanting event and I cannot get enough of them. My love of weddings is one of the reason I decorate cakes. If I can’t get married every weekend, then at least I get to participate in the wedding by designing THE wedding cake for these lovely couples. I love hearing all the plans and details that the bride and groom have chosen and then taking the different design elements of her dress, the invitations, the venue and trying to create something uniquely them.
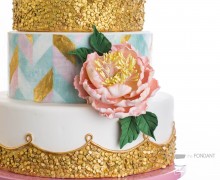
Jessica contacted me around the time I had completed my Gold Sequins Cake for a collaboration with Sarah’s Stands (you can read the post by Sarah here) in which I used Erin Gardner of Wild Orchid Baking Co‘s gold confetti techniques from her new Craftsy class. Jessica had loved the gold sequined tiers and asked if I could create a cake for her incorporating those sequins.
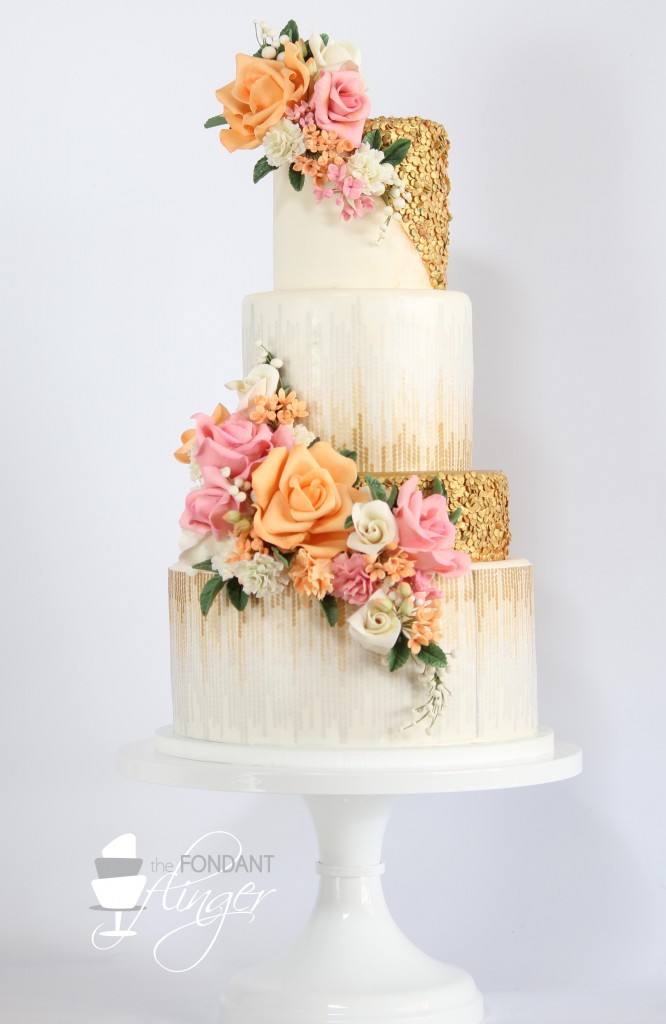
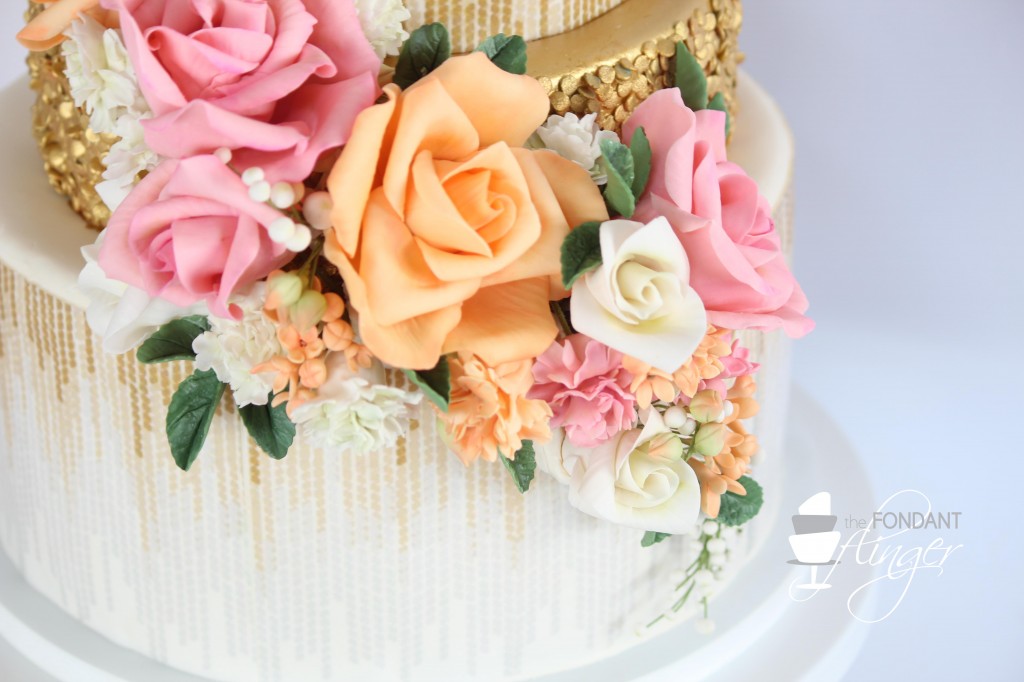
I was thrilled at the opportunity and ultimately came up with this design for Jessica’s big day. Using a pattern like the one from her invitations, I added the cascading metallic shattered chevrons to the tiers surrounding the shorter sequin covered tier. My hope was that they would appear to be almost bursting out of the gold sequin covered tier. I then used a diagonal line to separate the top tier into two portions; one left white and one covered with the gold sequins that I knew Jessica loved.

Jessica had sent over some photos of the flower arrangements that she had chosen which included pink and peach roses. I had been playing with making gum paste roses but had never been happy with their final look. I knew I had to pull off some seriously gorgeous flowers for this cake so I turned to my expert and friend, Kara Andretta of Kara’s Couture Cakes. Thankfully, Kara had created an amazing tutorial for making these more natural looking roses. I spent hours pouring over her Youtube tutorial (found here) and even more time harassing her via FB messages until I was content with the look of my roses. I used a variety of filler flowers including buds, carnations (learned those from the fabulous Miso Bakes in her post on The Cake Blog, and those cute little finger flowers that I learned from Jacqueline Butler of Petalsweet Cakes.
 I was nothing short of ecstatic to see the outcome of this cake. It came out exactly as I had pictured in my mind and the bride loved it! It was delivered to the lovely Palmettos on the Bayou in Slidell, Louisiana and looked gorgeous with the backdrop of oaks and palmettos scattered along the bayou. Oh the charm of the bayou with the moss covered trees dripping into the bayou waters….so scenic…makes me wish I could get married again….